
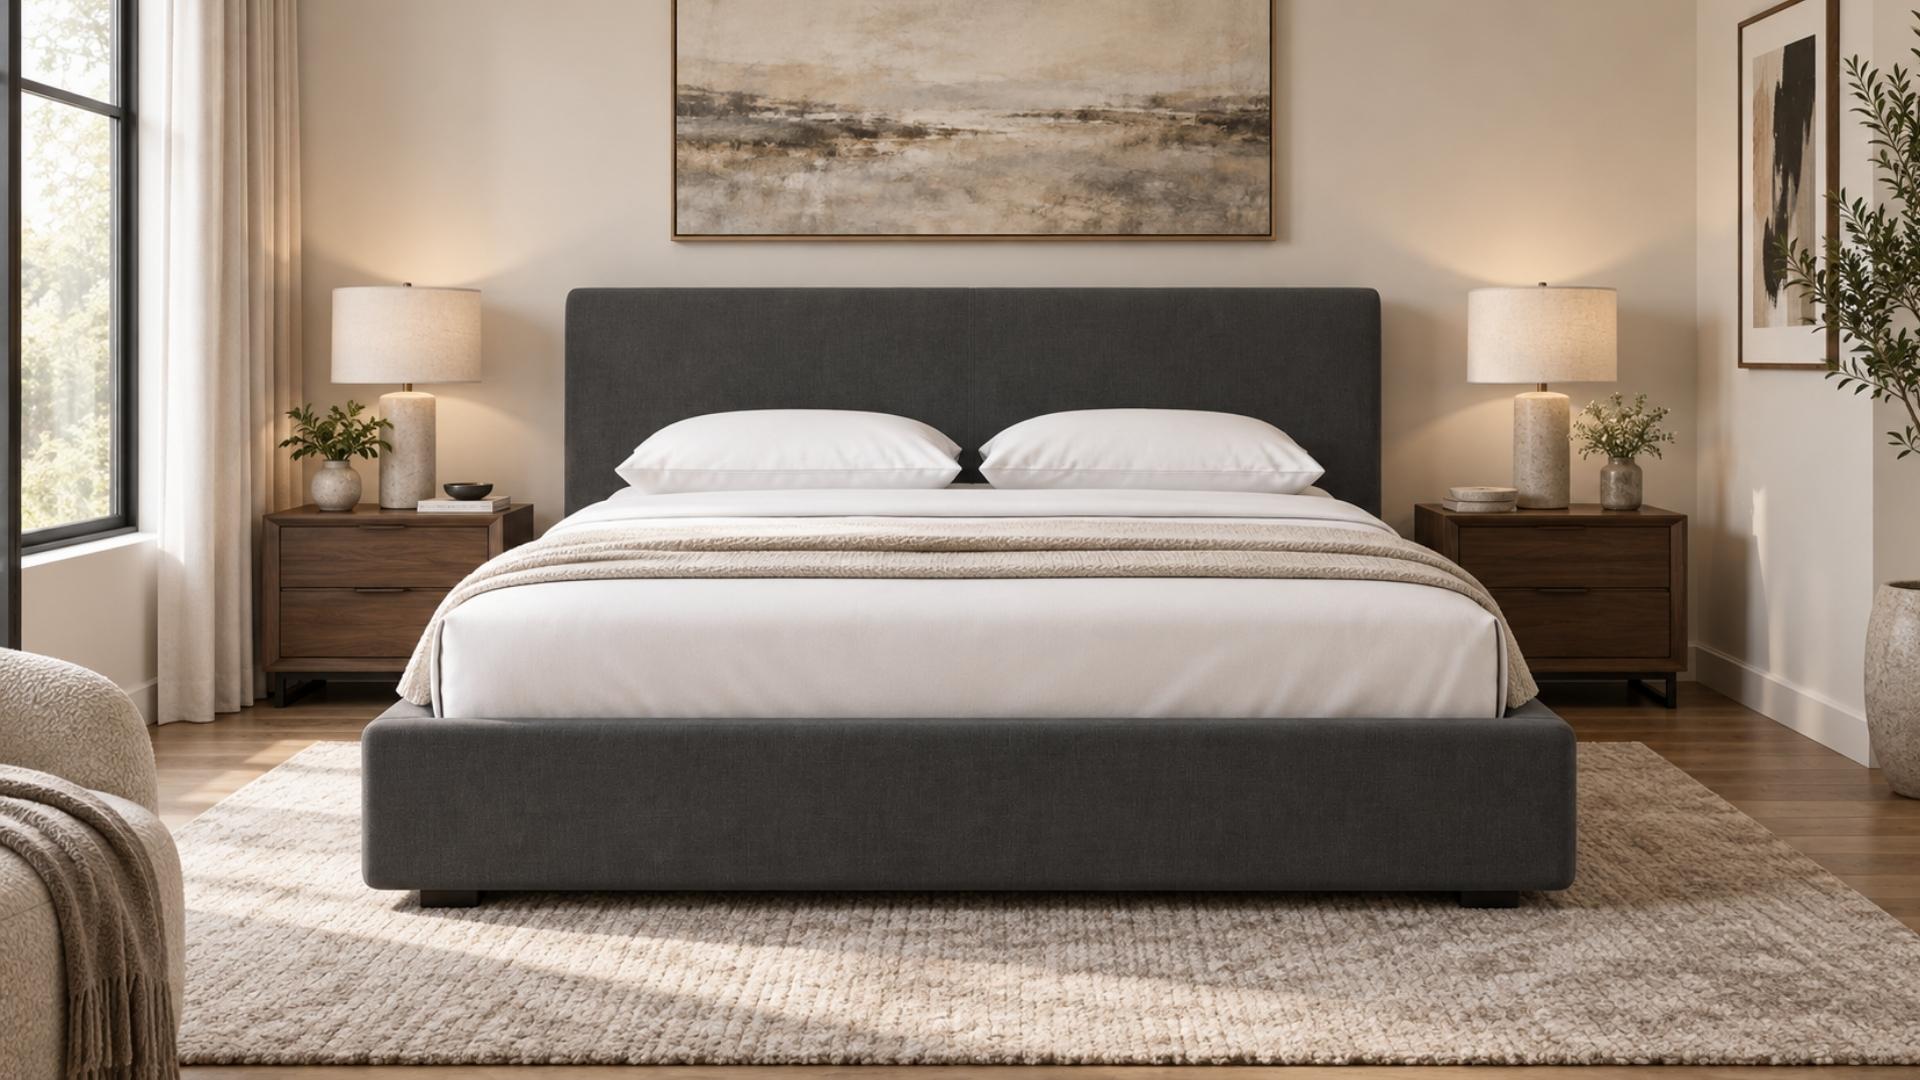

A DIY bed canopy can change the feel of a bedroom without asking for a full makeover. The idea is simple: hang fabric above the bed, let it fall naturally, and the room feels softer, warmer, and a little more private.
You do not need a fancy four-poster frame or advanced DIY skills either. A sheet, curtain panel, hoop, hook, or tension rod can be enough to get started.
The main things that matter are choosing the right fabric, measuring carefully, and using hardware that can safely hold the weight. Once you have those pieces, the rest is mostly draping and styling. It is a relaxed weekend project that can still make a noticeable difference.
What Is a Bed Canopy?
A bed canopy is fabric hung above or around a bed to make the space feel softer, cozier, and more private. It can be attached using one ceiling hook, four corner hooks, a hoop, or a curtain rod, depending on the look you want.
People add canopies for several simple reasons. They can warm up a plain bedroom, cover an empty wall or unattractive ceiling, and create a playful “princess tent” feel in a child’s room without replacing the bed frame.
The best part is that the project does not require advanced DIY skills. With the right fabric, secure hooks, basic tools, and a little patience, you can create a bed canopy in about two free hours on a weekend.
What You’ll Need: Simple Material Checklist
Before you start, gather your supplies. You have two paths here: sew it for a sturdier finish, or skip sewing and use hem tape or fabric glue instead.
I’ve made both, and honestly, the no-sew version holds up fine for a purely decorative canopy that nobody’s yanking on.
- Fabric: flat sheets, duvet covers, sheer curtains, tulle, or mosquito netting
- Hardware: ceiling hook, curtain rod, adhesive hook, or tension rod
- Extras: fabric glue or iron-on hem tape (skip sewing), needle and thread (if sewing), scissors, measuring tape
Choose washable fabric if possible. Heavier curtains need stronger anchors than lightweight sheer tulle.
Fabric Type | Best For | Sew or No-Sew |
|---|---|---|
Flat bedsheet | Beginners, full coverage | Either |
Sheer curtain panel | Soft, airy look | No-sew friendly |
Tulle or netting | Kids’ rooms, princess style | No-sew only |
Mosquito net | Cheapest, ready-made shape | No cutting needed |
Pro tip: If this is your first canopy, start with a flat sheet. It’s already hemmed on all four sides, so you skip the hemming step completely.
How Much Fabric Do You Actually Need?
Most people guess here, and that’s where canopies end up too short or too skimpy. Use this instead: measure from your ceiling hook down to where you want the fabric to end, then multiply by 1.5 to 2 for fullness if you want draping folds instead of a flat, stretched look.
Bed Size | Approx. Width | Fabric Length Needed (with fullness) |
|---|---|---|
Twin | 38 in | 7–8 ft |
Full | 54 in | 8–9 ft |
Queen | 60 in | 9–10 ft |
King | 76 in | 10–11 ft |
If you’re planning to use a flat sheet as your canopy fabric, check the standard sheet dimensions before buying one. Twin, full, queen, and king sheets vary quite a bit in width and length, so the right size can save you from unnecessary cutting or joining fabric later.
My own queen bed canopy used just under 9 feet of fabric hung from a single center hook, and it still had enough drape to pool slightly on the floor, which I like. If you want it to sit just above the floor instead, buy a little less.
Steps to Make Your DIY Bed Canopy
Once your materials are ready, these five steps take you from measuring the space to hanging and styling a canopy without making the project harder than it needs to be.
Step 1: Measure Your Space

Measure the distance from your ceiling or wall mounting point down to where you want the canopy to end, whether that’s the headboard, mid-mattress, or floor. If you’re unsure of your mattress size, use the table above to measure your bed’s width.
Write both numbers down before you buy anything. This one step prevents almost every sizing mistake people make with their first canopy.
Step 2: Choose and Cut Your Fabric

Pick a fabric from the table above based on the look you want and whether you plan to sew. If you’re using a flat sheet, you likely won’t need to cut it at all.
If you’re using a bolt of fabric, cut it to your measured length plus a few extra inches for hemming and draping room. Always cut a little longer than you think you need.
Step 3: Hem the Edges of the Canopy

If your fabric already has finished edges, like a sheet or curtain panel, skip this step. If not, fold the raw edge over and either sew a straight line or press on iron-on hem tape.
No-sew tape works well for a purely decorative canopy. It won’t hold up to heavy tugging, but it’s not meant to.
Step 4: Install Your Hook or Rod
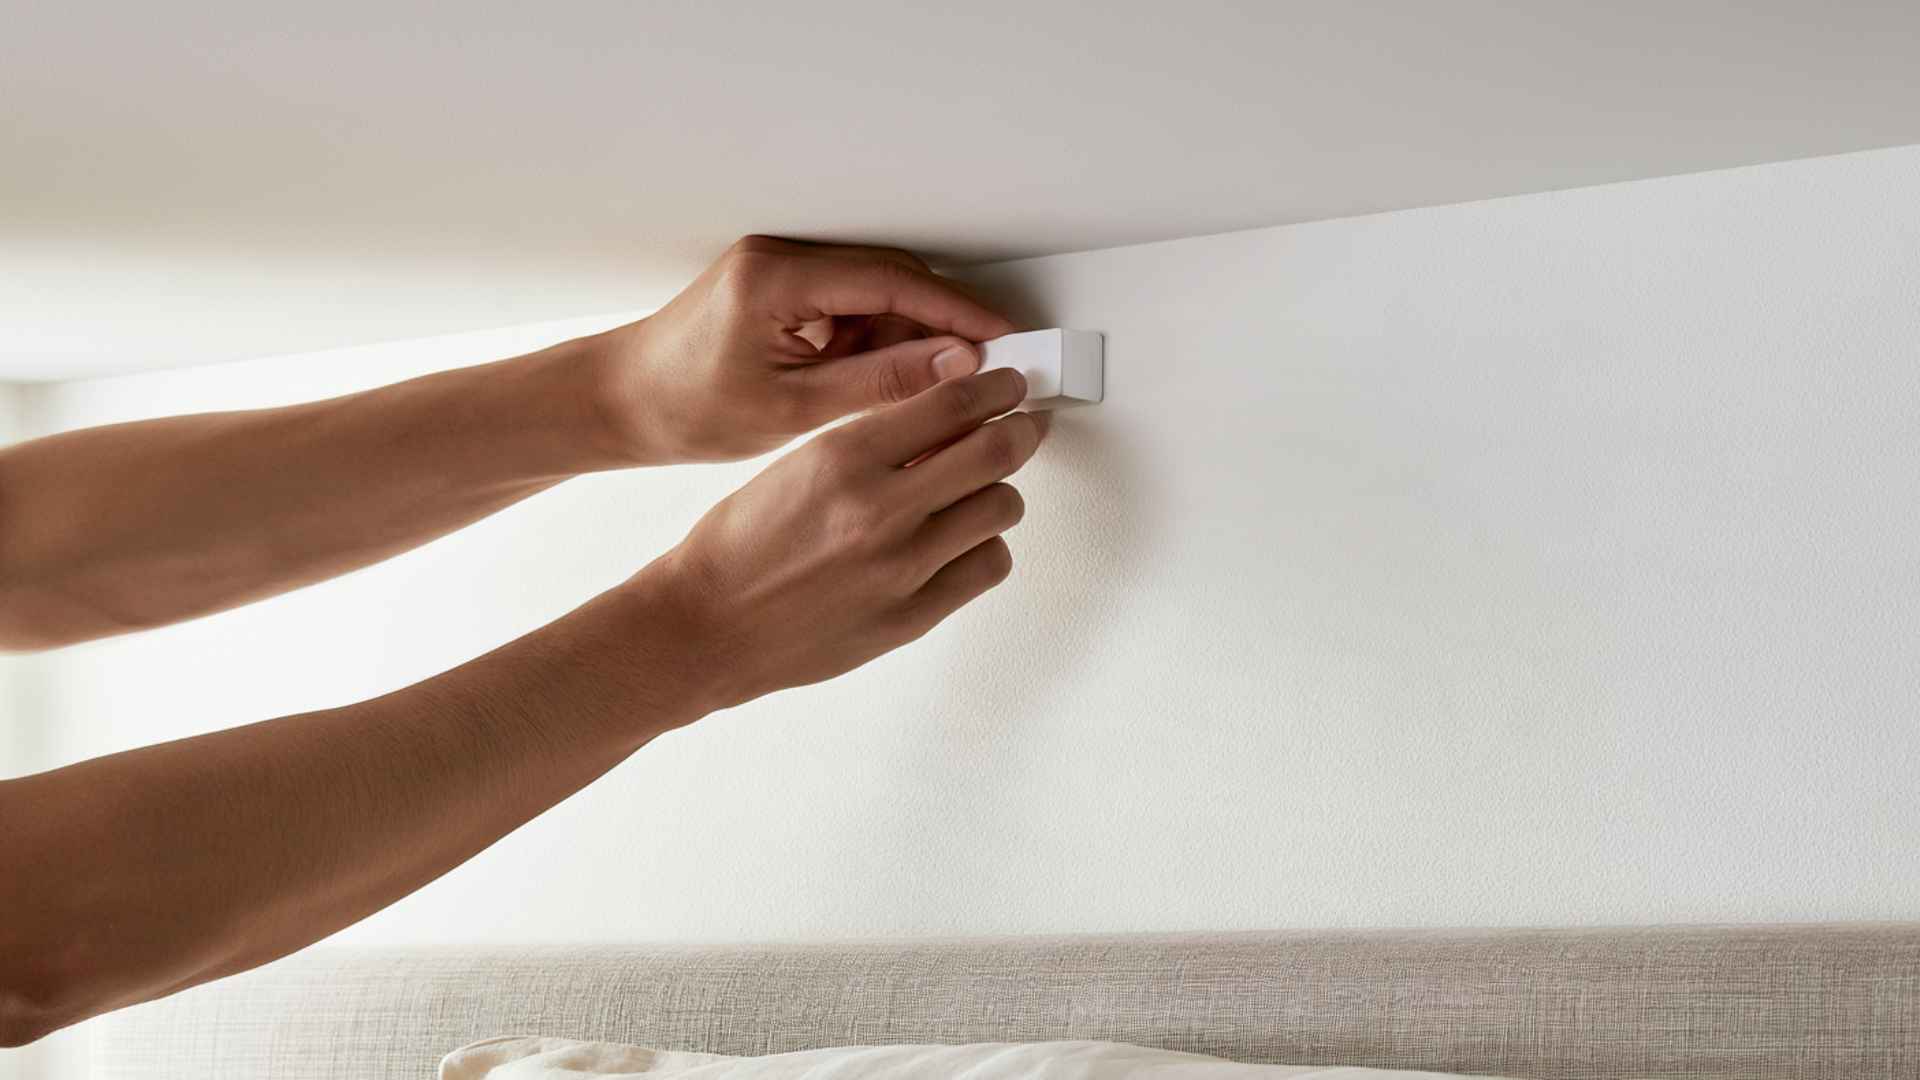
Choose your hardware based on your wall type and the mounting section above. If you’re using an adhesive hook, clean the ceiling or wall surface first, since dust and oil weaken the grip.
For heavier fabric, like velvet, or a four-poster setup, skip the adhesive route and anchor into a ceiling joist or wall stud instead.
A stud finder locates one quickly, and screwing into solid wood holds far more weight than any hook rated for drywall alone.
If your ceiling has a textured or popcorn finish, and your home was built before 1978, check for asbestos before scraping or drilling, since older texture coatings can contain it.
Give adhesive hooks a full hour to set before hanging any fabric on them. Rushing this step is the number one reason DIY canopies fall overnight.
Step 5: Drape and Style the Fabric You Made

Loop or clip your fabric over the hook, then let it fall naturally on both sides of the bed. Don’t pull it too tight. I usually make the bed neatly before adjusting the final drape because it’s much easier to see where the fabric should fall.
Uneven, slightly loose folds often look better than a stiff, perfectly symmetrical drape. Add ribbon, a second fabric layer, or other small details once the main shape feels right.
Different Ways to Drape and Style a Bed Canopy
Once you’ve got the basic method down, you can shape it a few different ways depending on your room and ceiling height.
- Single-point drape: one center hook, fabric falls on both sides; easiest and best for renters.
- Hoop canopy: fabric clipped to an embroidery hoop or hula hoop; great for kids’ rooms
- Four-poster canopy: four hooks or rods, one at each corner; most dramatic but needs more hardware
- Headboard canopy: mounted low and wide, doubles as a headboard for beds pushed against a wall
For a shared kids’ room or a custom bunk bed setup, keep the fabric short and well secured so it does not hang across ladders, rails, or sleeping areas.
If your ceiling is under 8 feet, skip the four-poster style. It tends to feel cramped in shorter rooms. I’d point most first-timers toward the single-point drape. It’s the fastest, cheapest, and easiest to take down if you change your mind.
How to Mount a Canopy Without Drilling?
Renters ask this the most, so let’s answer it straight: yes, you can hang a canopy without touching your ceiling with a drill. You have three solid options, and they’re not all equal.
- Heavy-duty adhesive hooks: Check the manufacturer’s rating before buying, since it varies a lot by product. Standard adhesive ceiling hooks are usually rated for very light loads, often around half a pound, which is enough for a single layer of sheer fabric but not much more. Most adhesive hook brands also warn against hanging anything directly over a bed, so read the label before you buy, and choose a tension rod or stud-anchored hardware instead if your hook’s instructions include that warning.
- Tension rods: wedge between walls, no adhesive or holes at all
- Push pins: lightest option, only safe for very thin fabric like tulle
I tested two adhesive hook brands on my own ceiling. One held a sheer curtain panel for three weeks with zero sagging.
The cheaper one slipped by morning. My honest take: spend the extra $2 or $3 on a name-brand adhesive hook. It’s the difference between a canopy that lasts and one you’re re-hanging every week.
Bed Canopy Safety Tips for a Smooth Experience
A canopy is fabric hanging close to your bed, so a few precautions matter here.
Safety Check | What to Do |
|---|---|
Hook strength | Match the hook’s weight rating to the fabric, and check the label for a “do not hang over beds” warning before choosing an adhesive hook. Heavier fabric needs stronger hardware, ideally anchored into a stud or joist. |
Heat sources | Keep the canopy away from candles, hot string lights, and space heaters. |
Wall or ceiling damage | Check your lease before using adhesive hooks on painted or textured surfaces. |
Kids and pets | Tie back loose, trailing fabric to reduce pulling, tangling, or tripping risks. |
A quick safety check every few weeks can catch loose hooks, stretched adhesive, or sagging fabric before the canopy becomes a problem.
Mistakes to Avoid While Making a DIY Canopy
A few small errors are why most first-attempt canopies look sloppy or fall within a week. Watch for these:
- Buying fabric length based on a guess instead of an actual ceiling measurement
- Hanging heavy fabric like velvet on a lightweight adhesive hook
- Skipping the hour-long set time for adhesive hooks before hanging fabric
- Pulling the drape too tight, which flattens the look instead of adding softness
- Choosing a four-poster style in a room with low ceilings
Get the measurement and the hook right, and the rest of this project is mostly just fabric and patience. Start with the single-point drape if you’re not sure where to begin. It’s the version most people actually finish in one afternoon.
Conclusion
Making a diy bed canopy is one of those projects that looks more complicated than it really is. Once the measurements are right and the hardware feels secure, hanging the fabric becomes the easy part.
I would start with a simple single-point drape, especially for a first attempt, because it leaves plenty of room to adjust the fabric until it sits naturally. You don’t need to make every fold even.
A slightly relaxed drape usually gives the bed more character anyway. Just keep the fabric away from heat, check the hooks from time to time, and use hardware suited to the weight. After that, all that is left is stepping back and enjoying a bedroom that feels more inviting.
Frequently Asked Questions
Can I Make a Bed Canopy without Sewing?
Yes. Use iron-on hem tape or fabric glue instead of stitching. It’s not as strong as sewing, but it holds fine for a decorative canopy nobody pulls on hard.
How Much Fabric Do I Need for A Bed Canopy?
Measure ceiling to end point, then multiply by 1.5 to 2 for fullness. A queen bed typically needs 9 to 10 feet of fabric for a nicely draped look.
Will a Canopy Work on A Slanted or Low Ceiling?
Yes, but skip the four-poster style. A single-point drape or headboard canopy works better in rooms under 8 feet tall since it needs less vertical clearance.