


A quilt is more than layers of fabric stitched together. It is something you build piece by piece, turning simple cuts into a warm, useful blanket.
Learninghow to make a quilt may look tricky at first, but it becomes clear once you follow each step in order.
From picking fabric to joining the final binding, every stage adds to the finished result.
If you are also curious about how to sew a quilt, the process starts with basic cutting and steady stitching that anyone can practice with time.
With patience and simple tools, you can create something useful and personal from scratch.
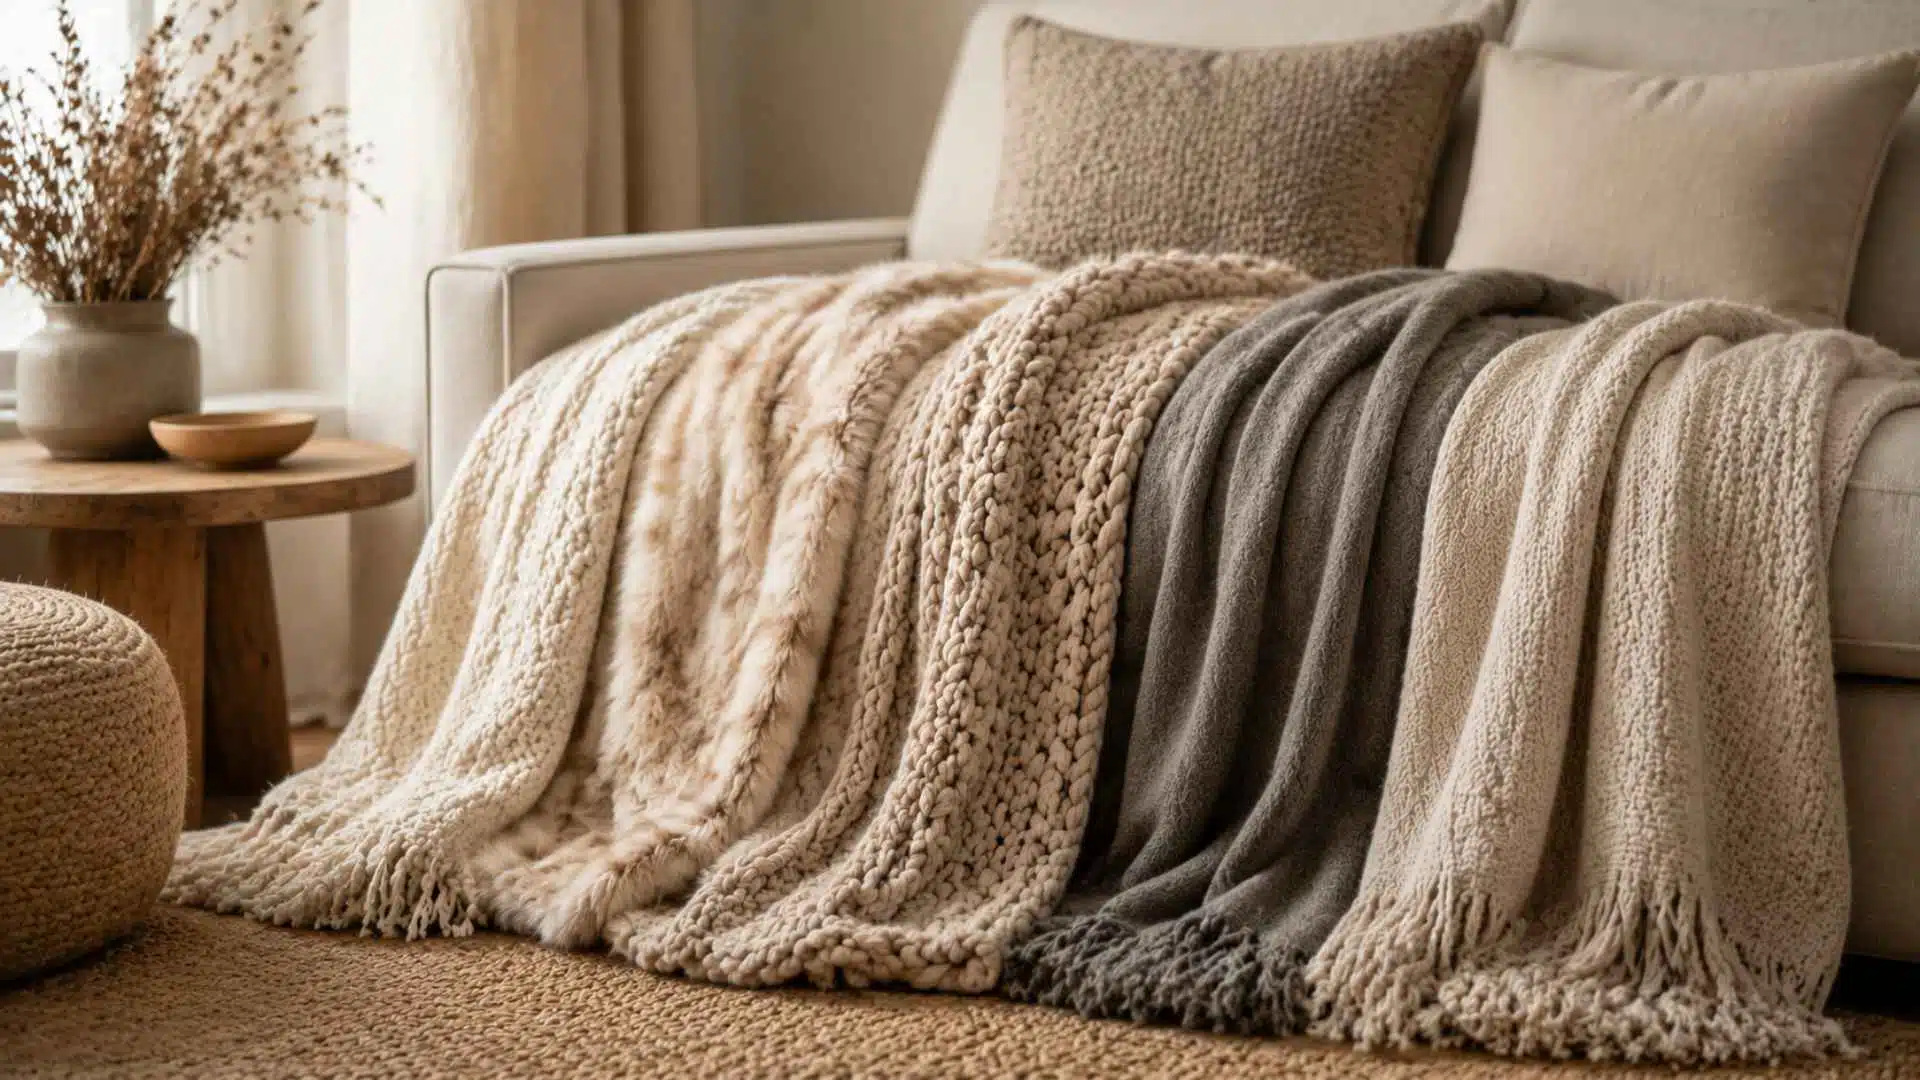
Why Quilting Is Worth Learning
Quilting is one of the few crafts where the skills you build on your first project carry directly into every subsequent project.
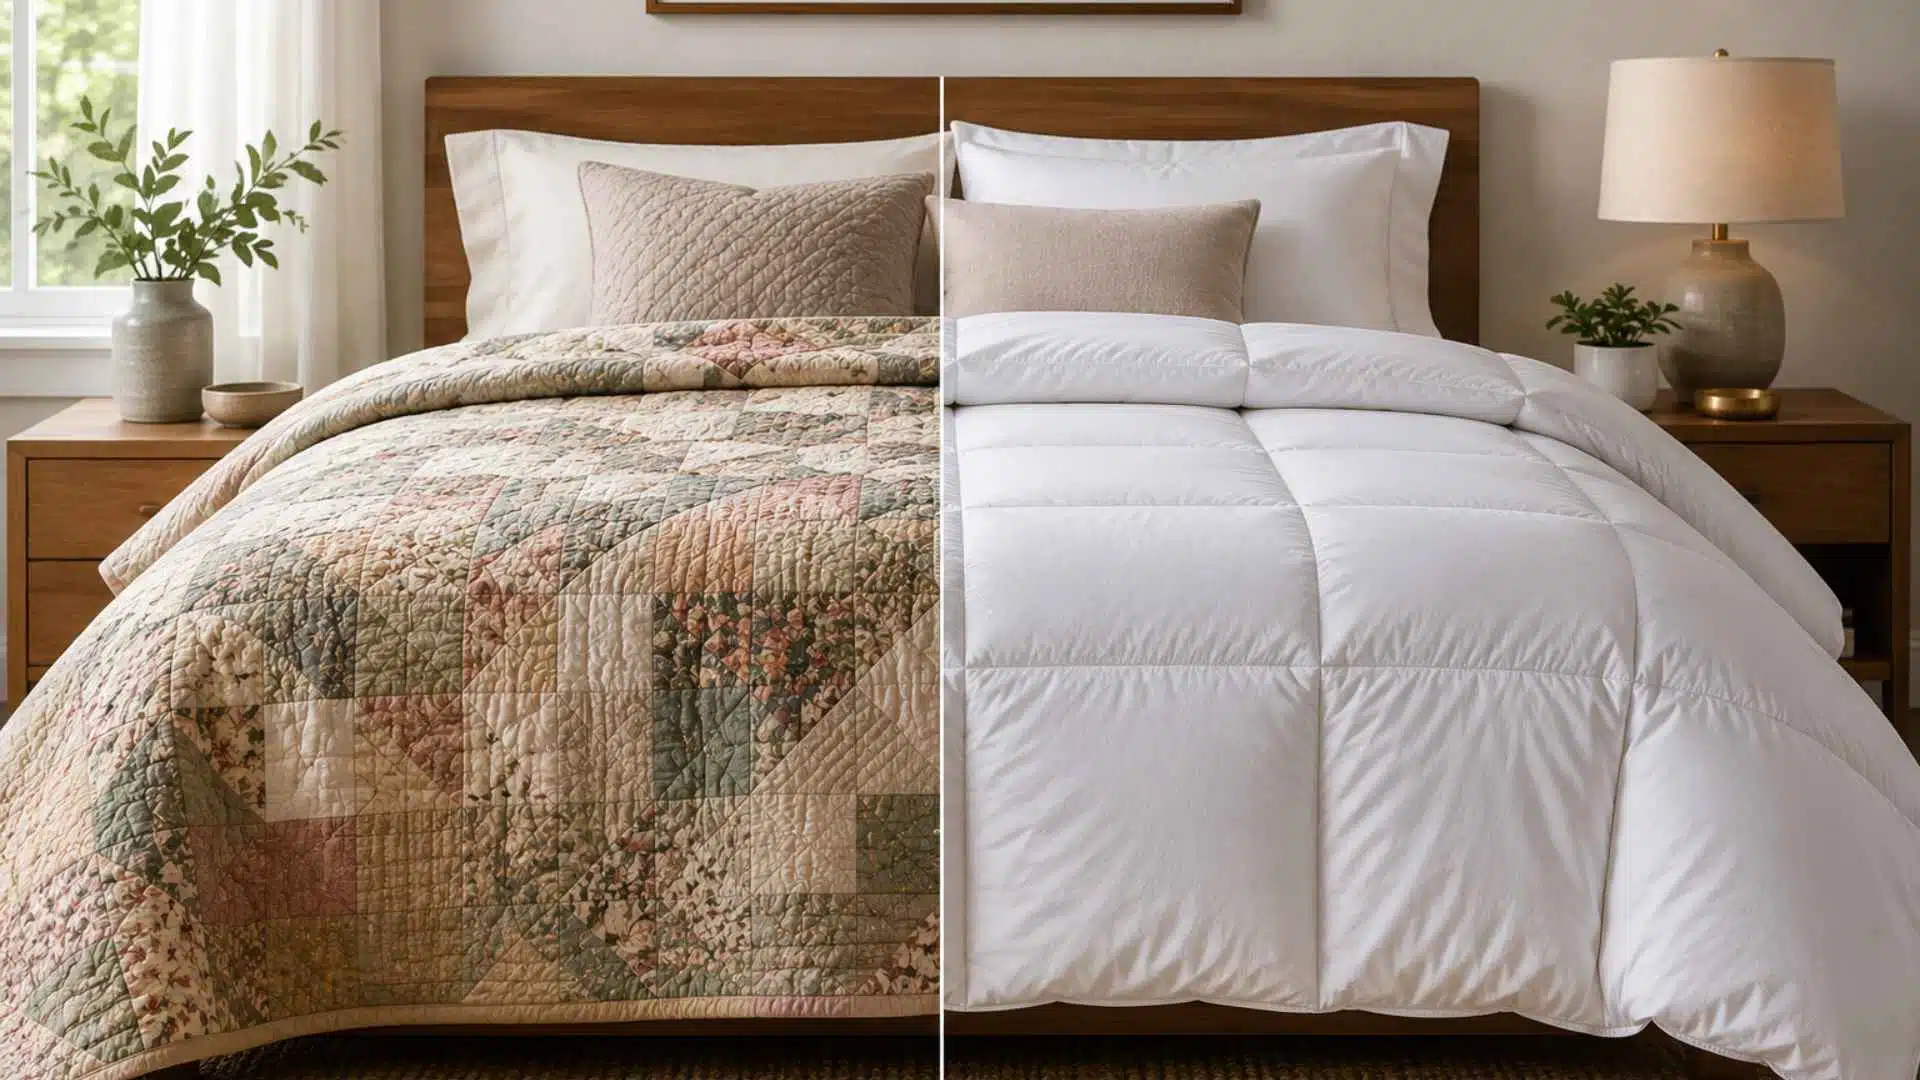
Once you understand how blocks fit together and how seams behave, you can take on more complex patterns with real confidence, and you’ll also start to see how quilts differ from comforters.
Beyond the skill side, quilting gives you something tangible at the end of every project, whether that is a baby quilt, a lap blanket, or a full bed quilt you made entirely by hand.
It is also a hobby that fits any budget since you can start small with basic tools and a few fat quarters and scale up as your skills grow.
Materials Needed for Making a Quilt
Before starting a quilt, it helps to keep all your materials ready in one place. Having the right tools and fabrics makes each step easier and helps avoid mistakes while cutting, sewing, and assembling your quilt layers.
| Category | Materials | Purpose |
|---|---|---|
| Fabric | Quilting cotton, backing fabric | Quilt top design and back layer |
| Filling | Batting | Middle layer for warmth and structure |
| Cutting Tools | Rotary cutter, ruler, cutting mat | Accurate measuring and cutting |
| Sewing Tools | Sewing machine, needles, thread, fabric, scissors | Stitching quilt pieces and layers |
| Pressing Tools | Iron | Flattening seams and fabric |
| Marking Tools | Fabric marking pen | Marking, cutting, and stitching lines |
| Basting Tools | Safety pins or spray adhesive | Holding layers together |
| Optional | Seam ripper | Fixing mistakes |
These basic materials are enough to complete your first quilt from start to finish. Once everything is ready, you can move through each step more smoothly and focus on learning the sewing process with confidence.
How to Make a Quilt?
Making a quilt from scratch is more approachable than it looks, and breaking it down into steps makes the whole process easy to follow from the very first cut to the finished edge.
Step 1: Choose Your Quilt Design and Plan Your Layout
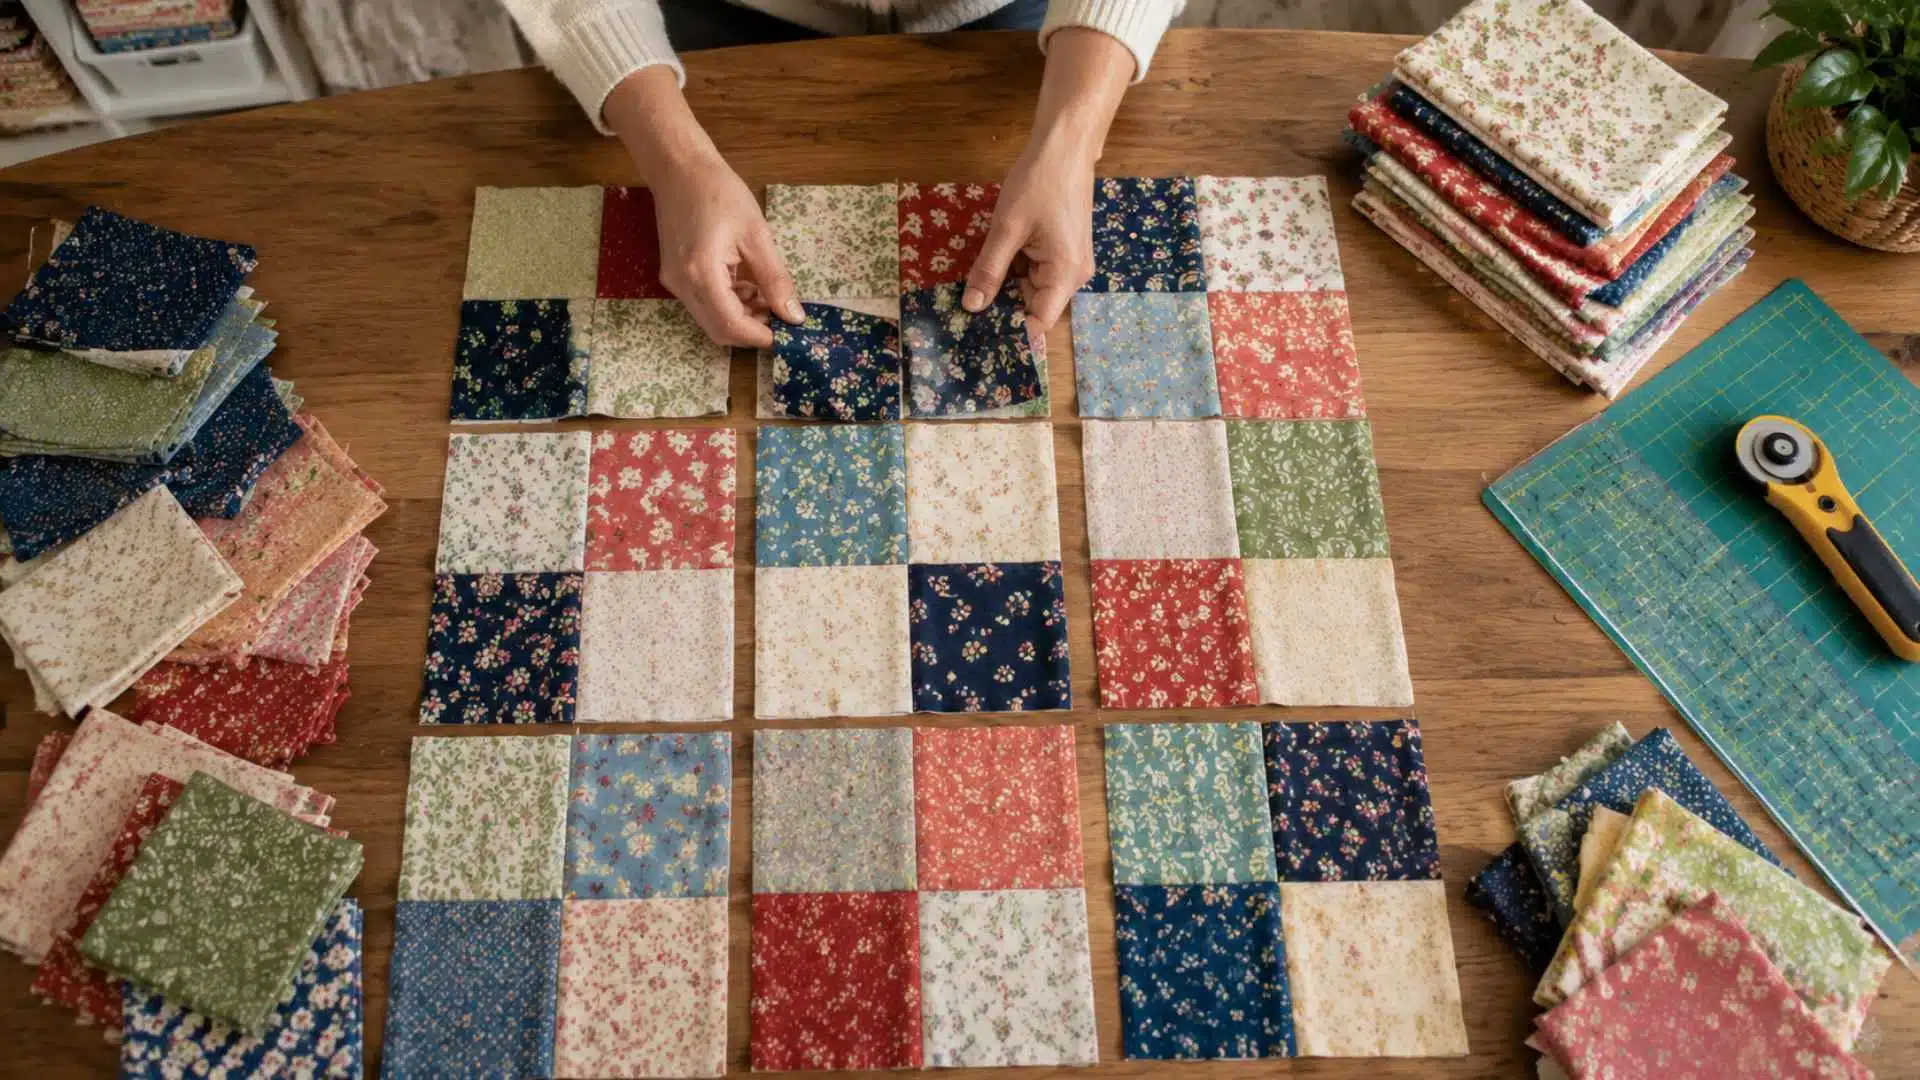
Picking a design before you cut a single piece of fabric saves a lot of guesswork later.
Simple block patterns like the nine-patch, rail fence, or log cabin are great starting points because they rely on straight cuts and basic sewing.
Once you settle on a pattern, decide on your quilt size.
Baby quilts measure around 36 by 52 inches, lap quilts run 50 by 65 inches, and twin quilts come in around 60 by 80 inches.
From there, lay your pieces out on a flat surface and mix light, medium, and dark tones to create contrast across the finished quilt.
Step 2: Cut and Prepare Your Fabric Pieces
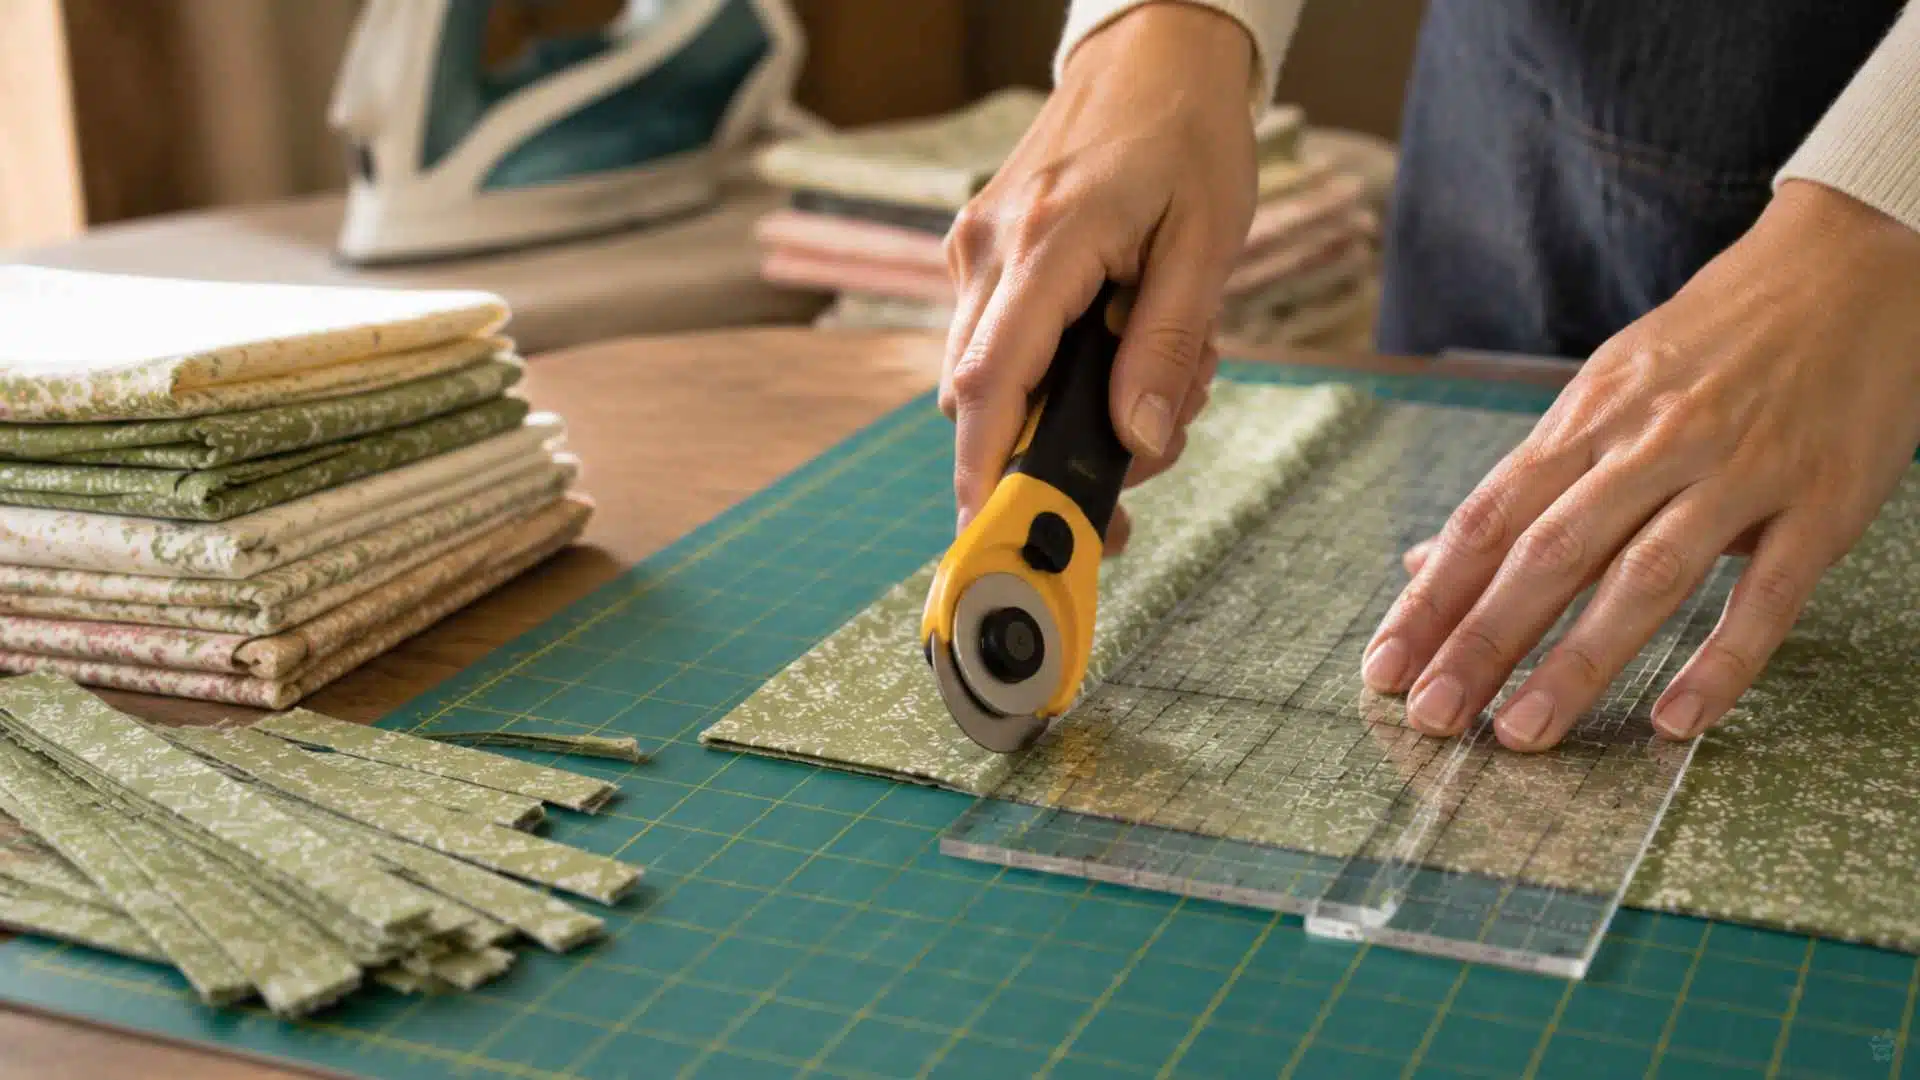
Fabric prep is one of the most important steps in quilting and one that beginners often skip.
Start by washing and drying all your fabric before cutting, since cotton can shrink, and pre-washing prevents your finished quilt from puckering after its first wash.
Once dry, press everything with a hot iron so you are working with flat, wrinkle-free fabric.
From there, measure and mark your pieces carefully using a clear acrylic ruler and a fabric marking pen.
Double-checking measurements before you cut is a habit worth building early since even a small error can compound across multiple blocks.
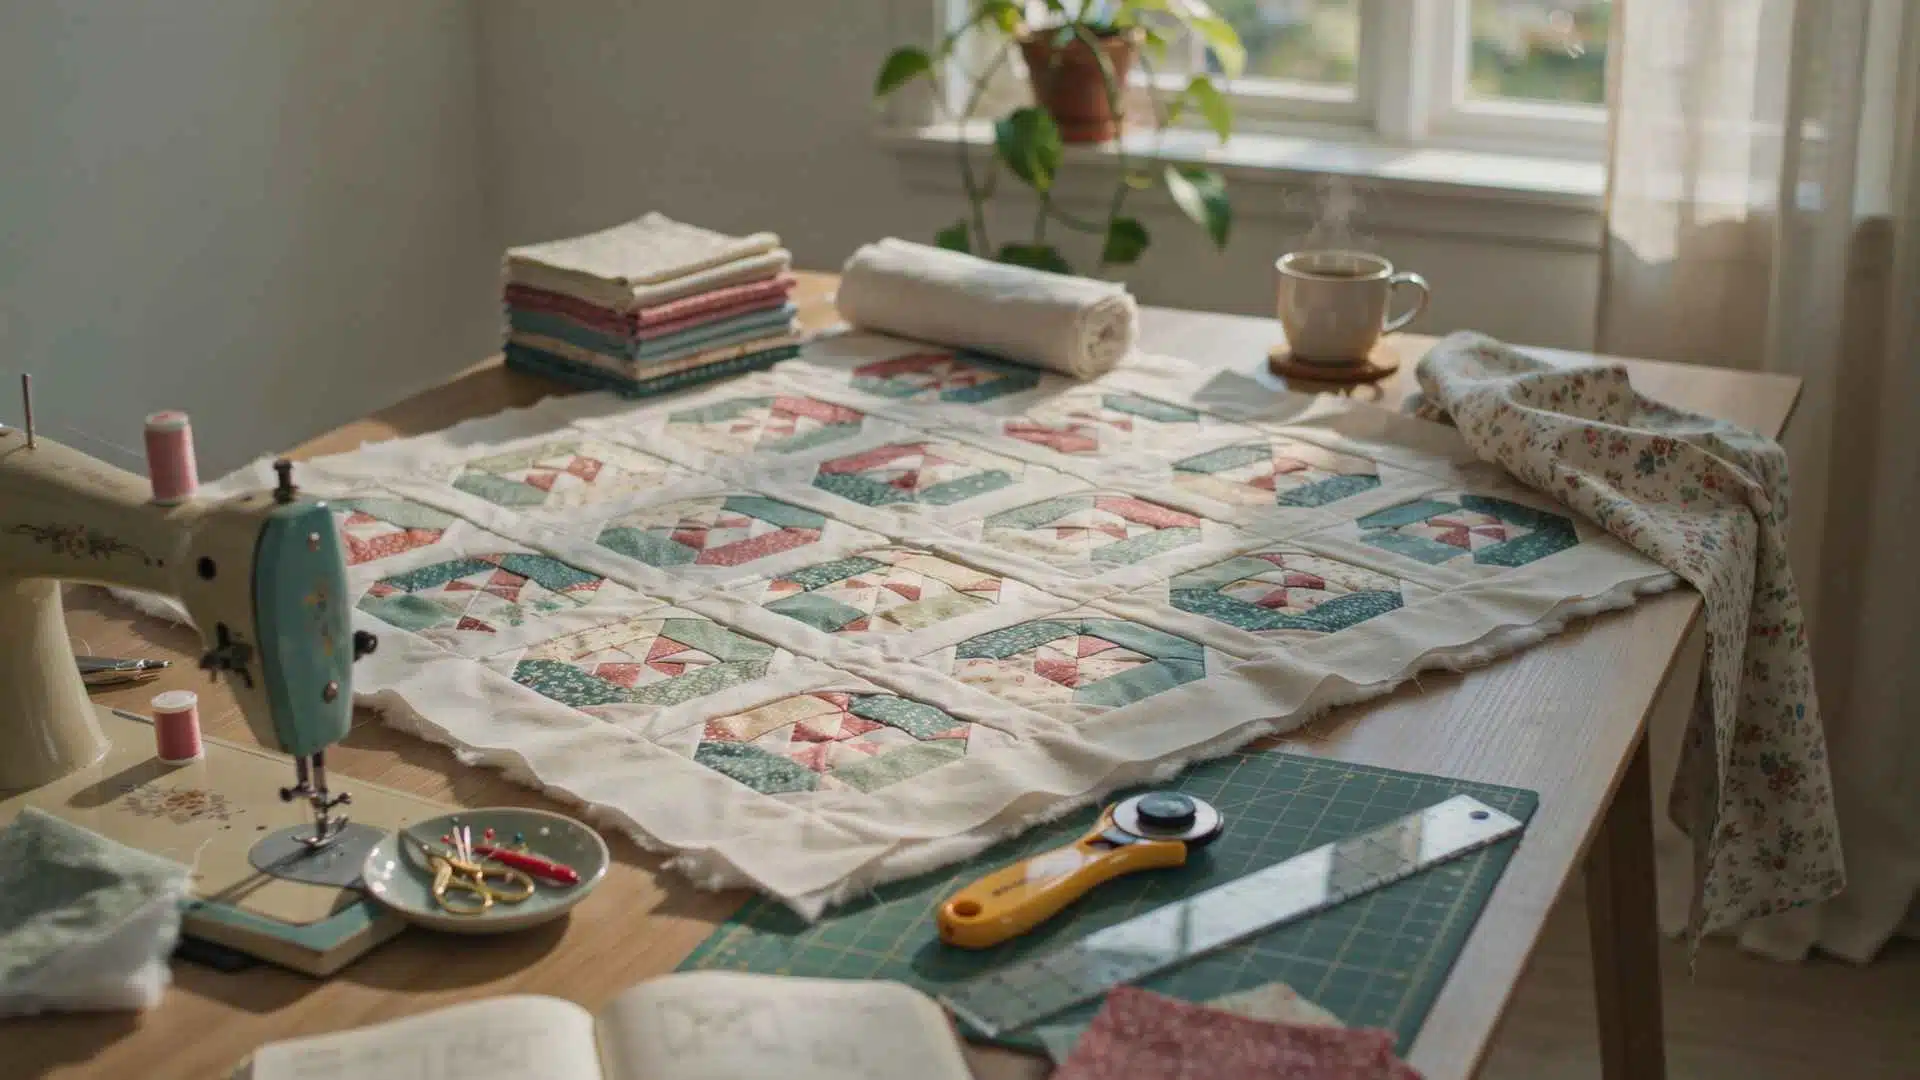
Step 3: Sew Quilt Top Pieces Together
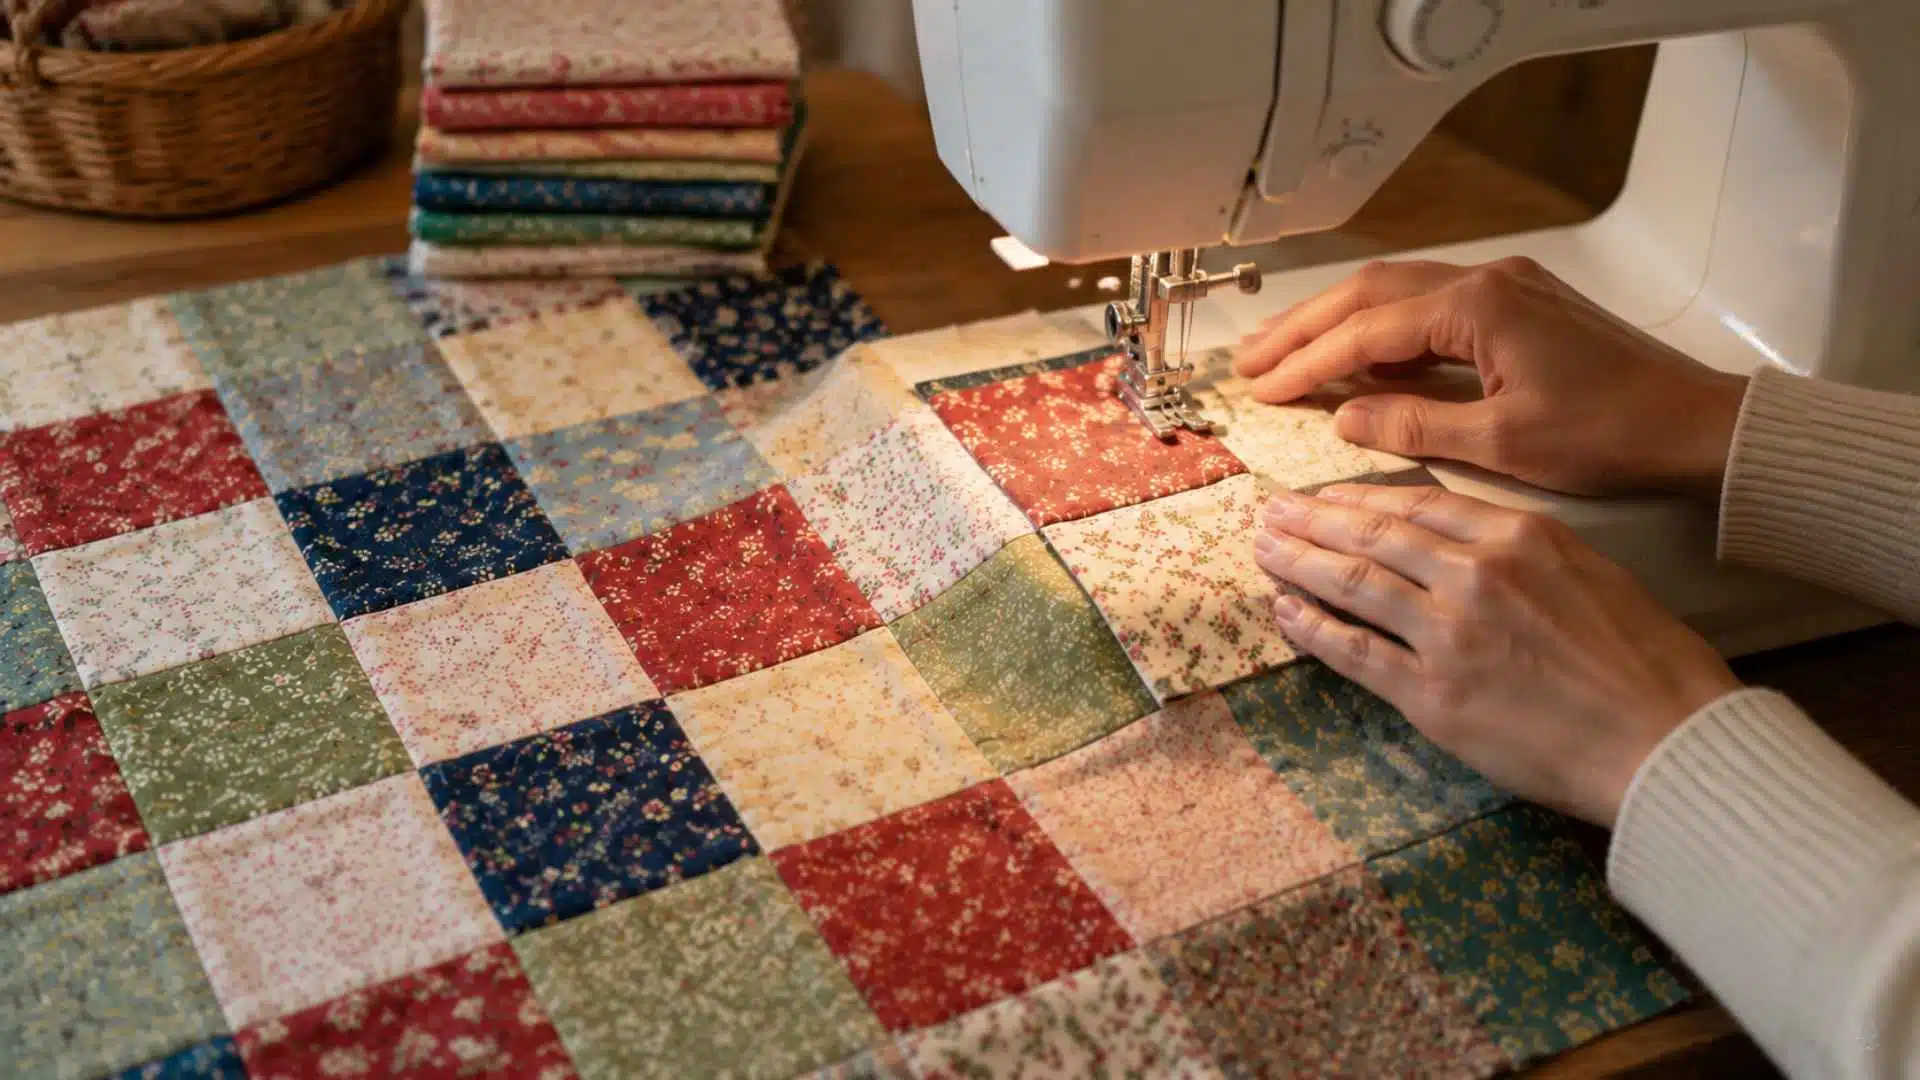
Once your fabric is cut and ready, sewing the pieces together is where your quilt starts to take shape.
Begin by joining individual blocks into rows, sewing each piece right sides together with a consistent quarter-inch seam allowance.
Working row by row keeps everything organized and makes it easier to catch alignment issues early.
When all your rows are done, join them together one at a time, matching seams carefully as you go.
Press every seam with a hot iron since well-pressed seams lie flat and give your quilt top a clean finish.
Step 4: Create the Quilt Sandwich and Baste Layers
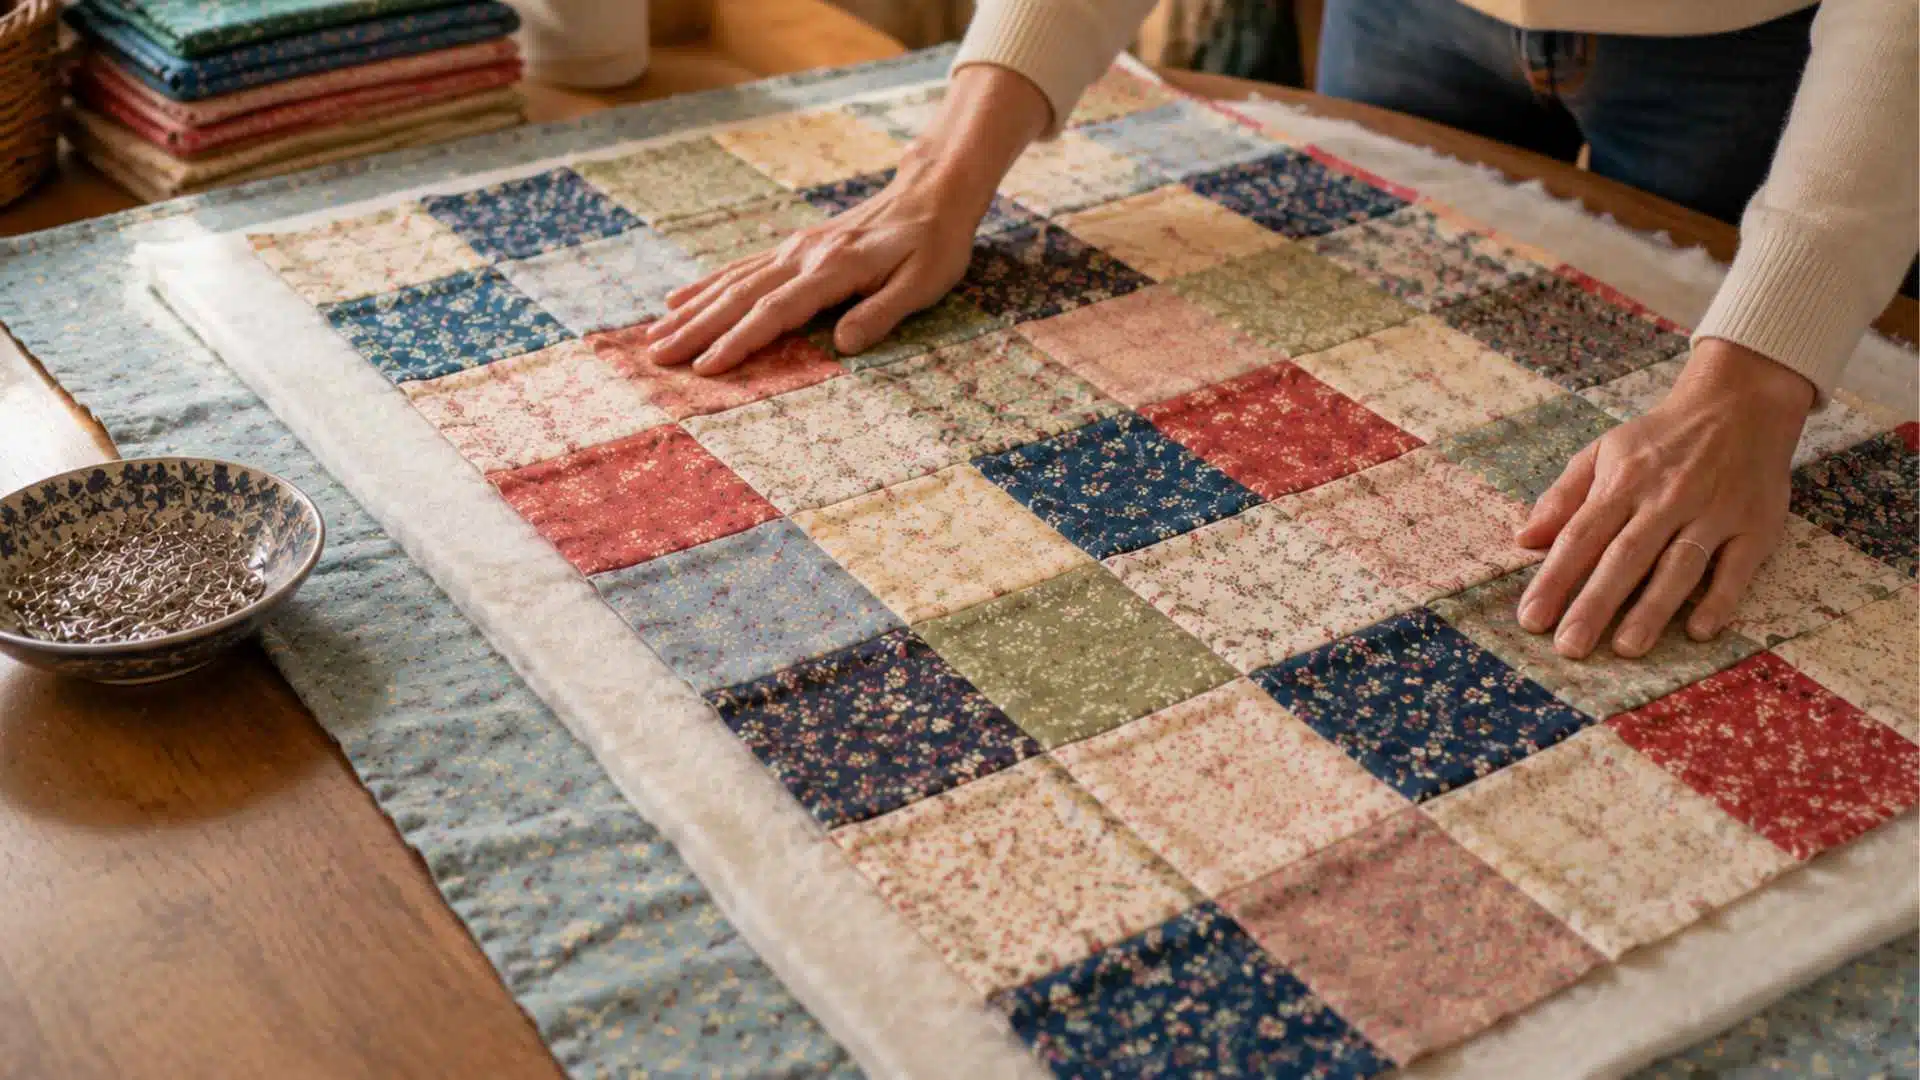
With your quilt top finished, the next step is layering all three components together.
Start by laying your backing fabric flat with the right side facing down, then center your batting on top, followed by your quilt top with the right side facing up.
Smooth out each layer carefully to remove any wrinkles before securing anything in place.
Once all three layers are aligned, baste them together with safety pins spaced every 4 to 6 inches, or use spray basting adhesive for a faster, pin-free alternative.
Step 5: Quilt the Layers Together
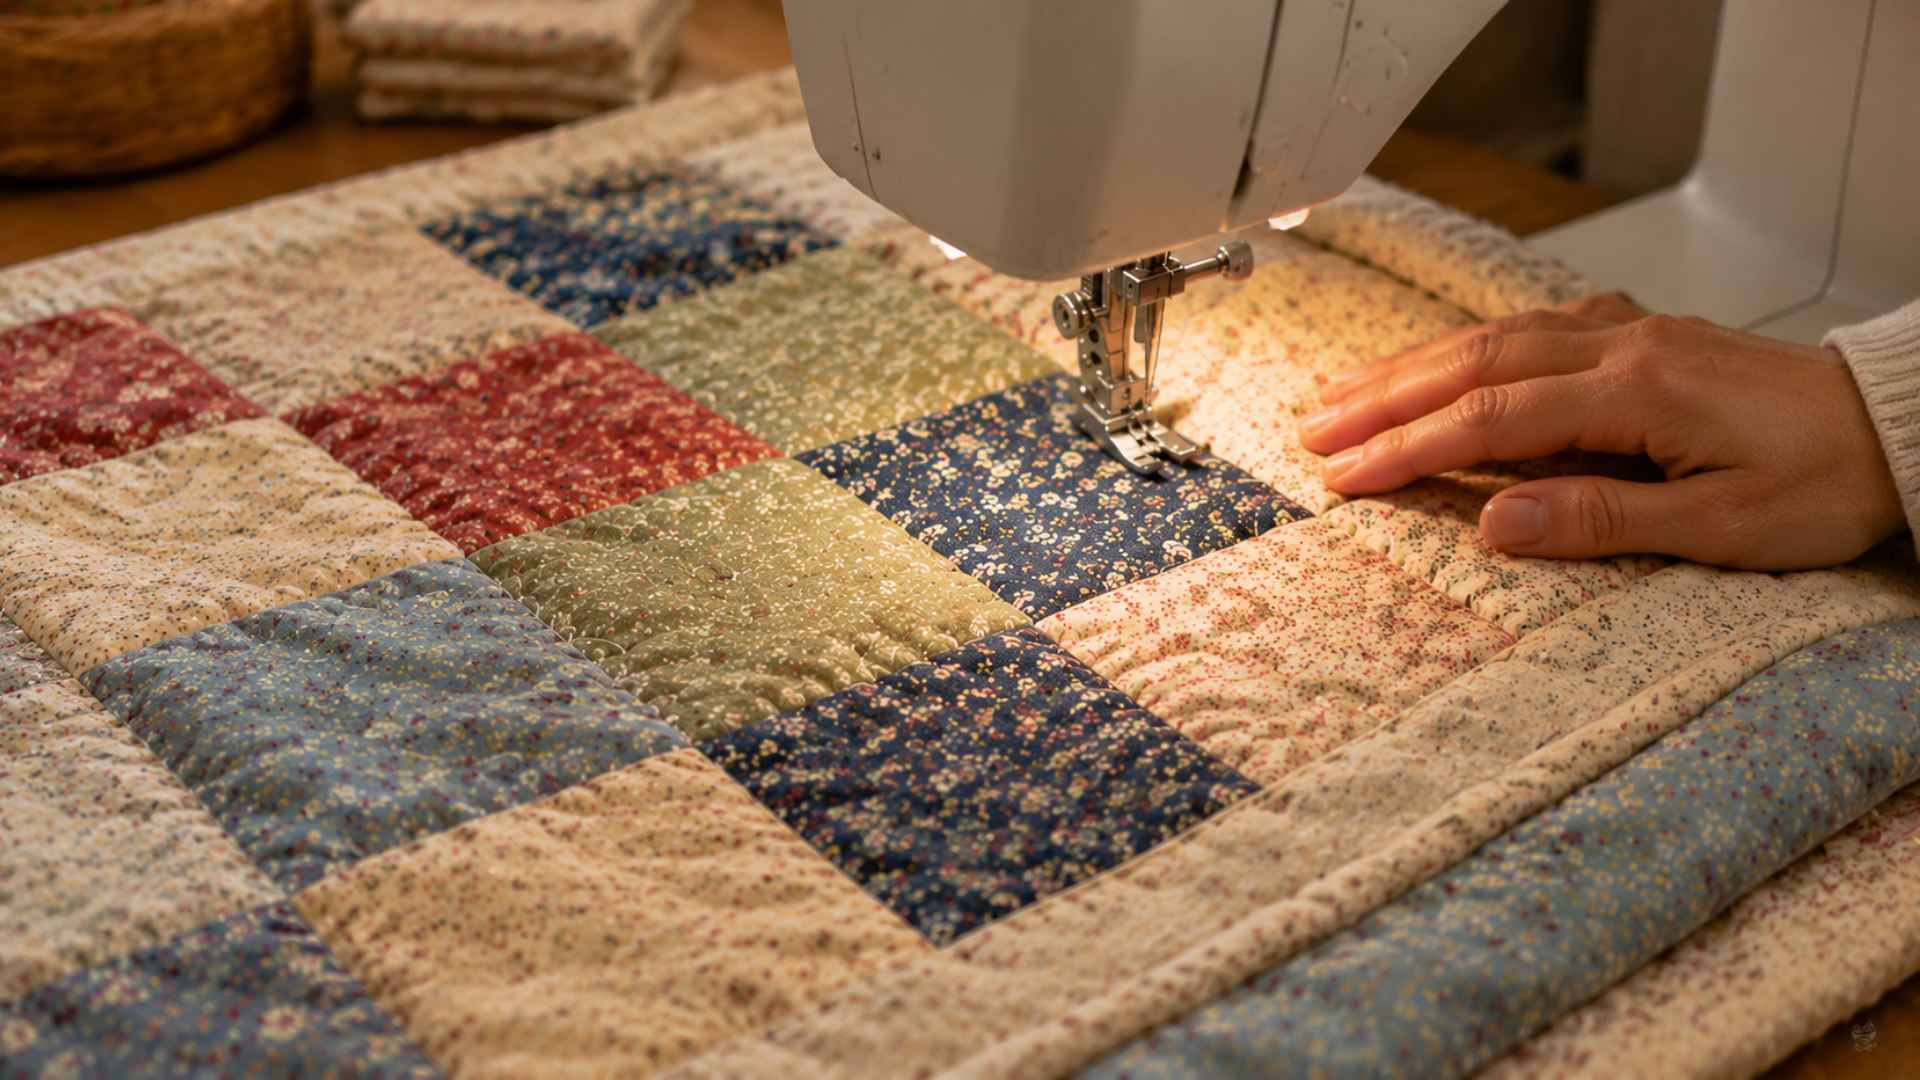
Quilting is what holds all three layers together and gives your quilt its finished texture and structure.
For machine quilting, stitching in the ditch along your seam lines is the easiest place to start since the seams act as a natural guide and the stitching stays mostly hidden.
Hand quilting is slower but gives a soft, traditional look, using a short needle and running stitch to sew through all three layers in a simple pattern.
Either way, focus on keeping your stitches even and consistent by working at a steady pace and avoiding the urge to rush through larger sections.
Step 6: Finish the Quilt With Binding and Final Touches
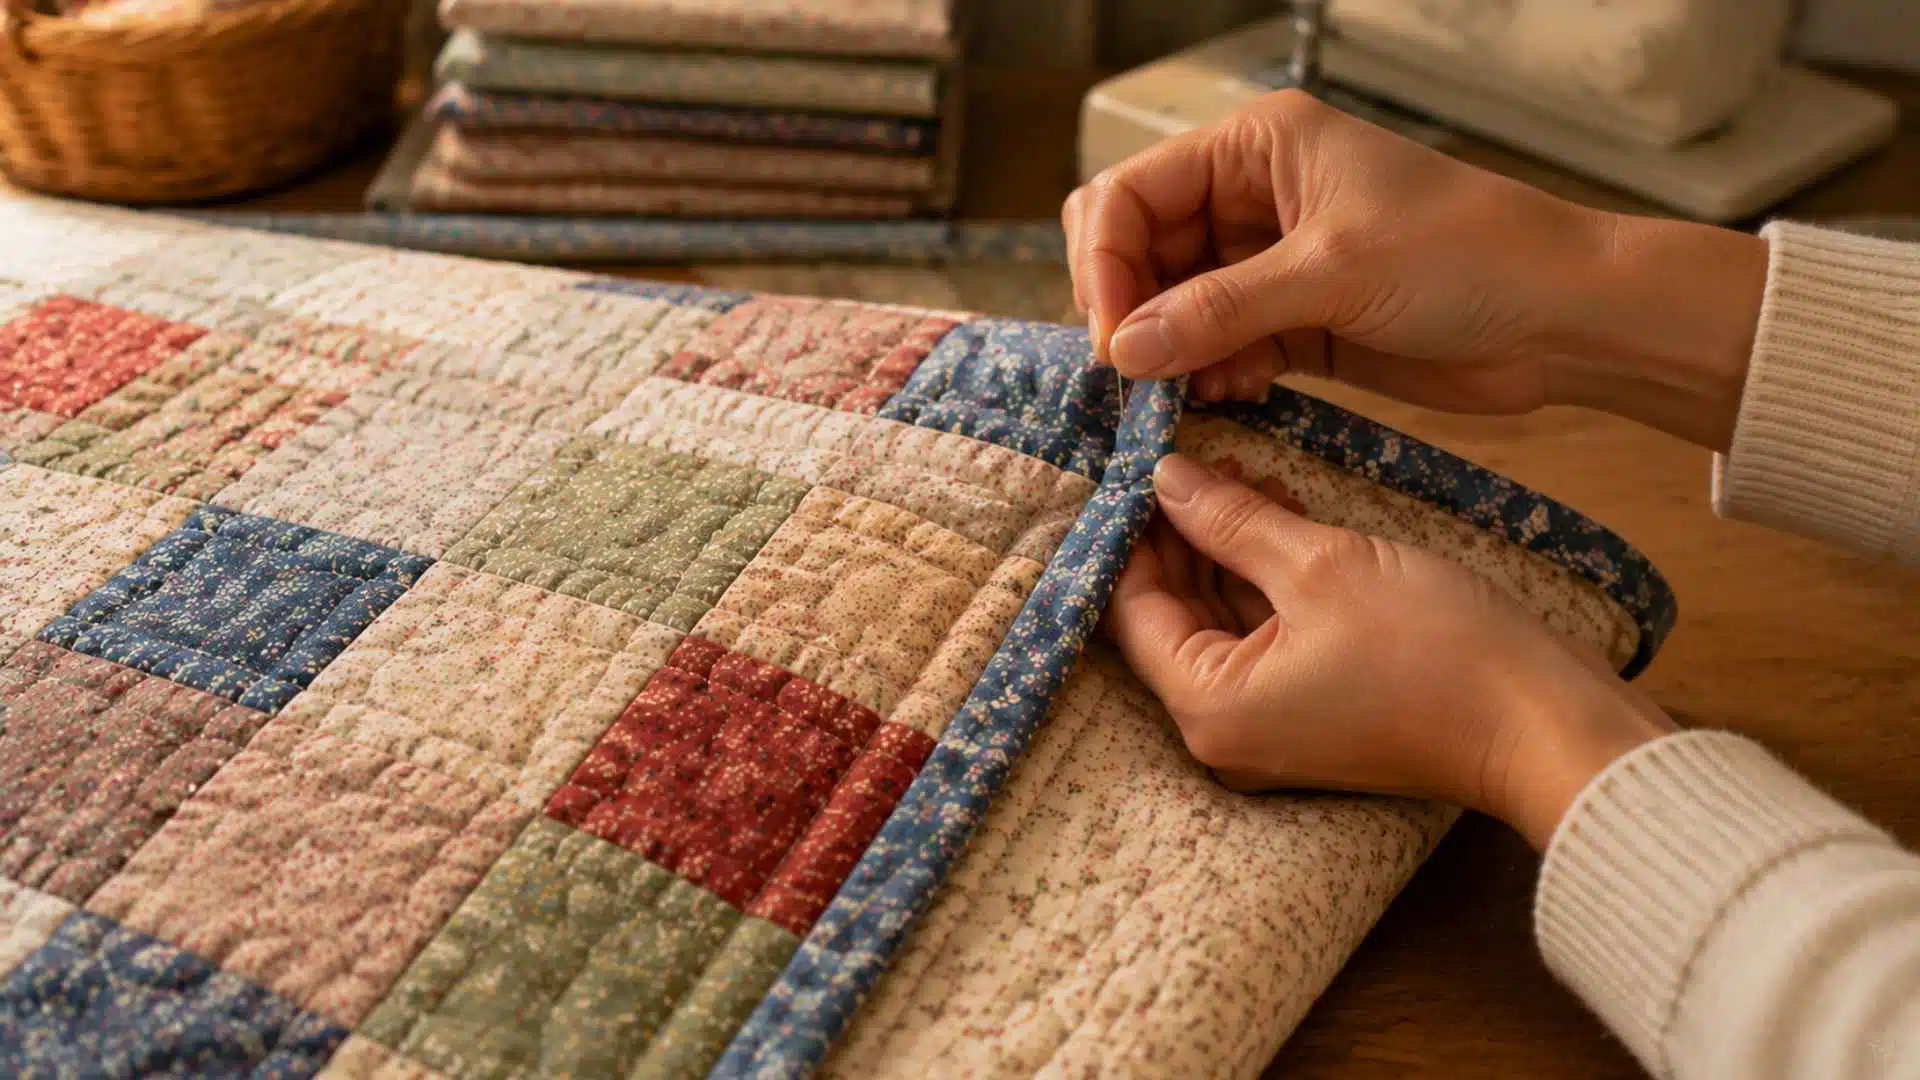
Binding is the fabric strip that wraps around the raw edges of your quilt to give it a clean and finished look.
Cut your binding strips on the straight grain, sew them together end to end, then fold and press them in half lengthwise before attaching them to the quilt edge.
Miter the corners as you go for neat, flat folds that lie smooth on all four sides.
Once the binding is hand-stitched down on the back, give the entire quilt a final press with a warm iron and wash it according to your fabric type to keep it looking its best.
How to Make a Quilt by Hand for Beginners?
Hand quilting starts with a few simple supplies like cotton fabric, thread, needles, small scissors, and a ruler.
The running stitch is the basic hand stitch, where the needle moves in and out of the fabric in a steady pattern. For hand piecing, fabric blocks are sewn together one by one, with edges carefully aligned.
Hand quilting methods usually involve stitching through all layers to hold the quilt together.
This process takes time, often several days or weeks depending on size and pace. Beginners often start with small projects like lap quilts or baby quilts since they are easier to finish and help build steady sewing skills.
Mistakes to Avoid and Tips for Success
Every beginner makes a few missteps along the way, but knowing what to watch out for and how to set yourself up for success can make the whole process much smoother.
- Always use a ruler and rotary cutter for every cut since uneven pieces lead to mismatched seams.
- Press seams with an iron between steps so your blocks stay flat and easy to assemble.
- Take the time to properly smooth and baste every layer to avoid puckering while you quilt.
- Start with simple square or rectangular patterns like the nine-patch, so you can focus on technique.
- Use pre-cut fabric bundles, such as jelly rolls or charm packs, to save time on cutting and color planning.
- Work through each step fully before moving on, since rushing is where most beginner mistakes happen.
Taking it one step at a time and giving yourself room to learn as you go is what turns a first quilt into a finished one.
Final Thoughts
Learning how to make a quilt comes down to steady steps, simple tools, and a bit of patience.
Once you understand fabric cutting, sewing blocks, layering, and finishing edges, the whole process feels more manageable.
If you also want to know how to sew a quilt, starting with basic stitches and small practice pieces helps build confidence quickly. Your first quilt does not need to look perfect to be meaningful or useful.
Try a simple pattern, take your time, and enjoy each stage. Have you tried making a quilt before? Share your thoughts or questions in the comments below and join the conversation.
Frequently Asked Questions
Can a Beginner Make a Quilt without Sewing Experience?
Yes, starting with a simple pattern and taking it one step at a time makes it very manageable, even with no prior experience.
What is the Easiest Quilt Pattern to Start With?
The nine-patch is the most beginner-friendly option since it only requires cutting and sewing together basic squares.
How Long Does It Take to Make a Quilt?
A simple beginner quilt can take anywhere from a weekend to a few weeks, depending on the size and how much time you have to sew.
How Much Fabric Do I Need to Make a Quilt?
Fabric needed depends on size. A baby quilt needs about 3–4 yards, while a bed quilt may need 6–8 yards total.