


Building a bunk bed at home is easier than most people think. You do not need a woodworking shop or years of experience.
With the right lumber, basic tools, and a clear plan, you can build a sturdy bunk bed that fits your room perfectly and costs a fraction of store prices.
Families with small bedrooms love bunk beds because they free up floor space and give each kid their own sleeping area. Follow the steps below to build a solid, safe bunk bed from scratch.
Why DIY Bunk Beds are Worth Building
Store-bought bunk beds can cost anywhere from $400 to over $1,500. Building your own cuts that cost by more than half.
A basic twin-over-twin bunk bed can be built for $150 to $300 using lumber from any hardware store.
Before building, it also helps to review standard twin bed measurements so your frame fits the mattress properly without extra gaps.
Beyond the savings, you get full control over the design. You can add storage drawers, a built-in desk, or wider stairs instead of a basic ladder.
If your room has an odd layout, you can build around it instead of forcing a pre-made frame to fit.
Important Safety Rules Before You Start
Safety comes first with any bunk bed build. Here are the key rules to follow:
Your room should have at least 8 feet of ceiling height. The person on the top bunk needs a minimum clearance of 30 to 36 inches between the top of the mattress and the ceiling. The CPSC sets 30 inches as the absolute minimum; 36 inches is the safer target
The top bunk must have guardrails on all sides. Rails should be at least 5 inches above the mattress surface. Gaps in the guardrail should be no wider than 3.5 inches to prevent head entrapment.
A standard DIY bunk bed built for children typically supports 150 to 250 pounds per bunk.
Adult-rated builds should target a minimum of 400-500 pounds per bunk, using heavier lumber and additional support. Use thicker lumber and more support slats if building for adults.
Keep mattresses at 6 to 7 inches thick for the top bunk.
A mattress thicker than 7 inches raises the sleeping surface and reduces the effective guardrail height to levels below safe levels. A thicker mattress raises the sleeping surface and reduces the effective guardrail height.
Attach the ladder at a slight angle or at a fully vertical position. Make sure it is bolted securely to the frame, not just resting against it.
Always anchor your bunk bed to a wall stud using L-brackets. This prevents tipping, especially if kids climb on the sides.
Tools and Materials You Will Need
Before you start cutting lumber, make sure you have all the right tools and materials ready. A little preparation upfront makes the build much smoother.
If you are new to furniture building, learning the basic parts of a bed first will make the assembly process much easier to follow.
- Tools: Circular saw, drill with bits, pocket hole jig, level, measuring tape, clamps, sander or sandpaper block
- Lumber: 2x4s for the frame and rails, 2x6s for added strength on the bed frames, 1×4 or 1×3 boards for slats, plywood if building a solid base
- Hardware and supplies: Wood screws (2.5 inch and 3.5 inch), pocket hole screws, wood glue, sandpaper (80 and 120 grit), paint or wood stain, L-brackets for wall anchoring
Once everything is gathered, you are ready to start building the bunk bed frame step by step. Double-check your measurements before making the first cut.
How to Build DIY Bunk Beds (Step by Step)
Building DIY bunk beds is easier when you break the project into simple steps. Follow the process carefully, and focus on keeping every measurement square and level.
Step 1: Measure Your Room and Mattress Size
Start by carefully measuring your mattress and room. A standard twin mattress is 38 x 75 inches, but exact sizes can vary slightly.
Build the frame about 2 to 3 inches larger than the mattress so it fits properly and doesn’t slide. Also, check your floor space and ceiling height.
An 8-foot ceiling is ideal for a safe top bunk. Sketch your measurements before buying lumber to avoid costly mistakes.
Getting the spacing wrong is one of the easiest ways to end up with a bunk bed that feels cramped or unsafe, so it helps to check standard bunk bed dimensions before building.
Step 2: Build the Lower Bed Frame
Cut two long sideboards and two shorter end boards from 2×6 lumber. Assemble them into a rectangle using pocket hole screws and wood glue for extra strength.
Add a center support beam down the middle to prevent mattress sagging. Clamp the frame while drying and check that all corners are square.
Step 3: Build the Upper Bunk Frame
Build the upper frame the same way as the lower one, using identical measurements. Both frames need to match perfectly, or the bunk bed will sit unevenly.
Add another center support beam for extra strength, and compare both frames side by side before moving on.
Step 4: Install Support Slats
Cut 1×4 boards for mattress slats and space them 2 to 3 inches apart across each frame. Avoid wider gaps because they can cause the mattress to sag over time.
You can either screw the slats directly into the frame or rest them on support strips attached to the inside of the rails.
Step 5: Attach the Corner Posts
Cut four 4×4 posts to your desired height, typically 60-65 inches.
Attach the lower frame first, then secure the upper frame on top using pocket screws and corner brackets.
Use a level throughout the process to make sure both frames sit perfectly straight and stable.
Step 6: Add Guardrails
Install guardrails along both long sides of the top bunk using 2×4 boards.
The guardrail on the wall-facing side must be continuous with no breaks. The opposite side may have a ladder-access opening measuring 24 to 30 inches.
The rails should extend at least 5 inches above the mattress height for safety.
Leave a 24- to 30-inch opening for ladder access, and test each rail to make sure it feels solid and has no movement.
Step 7: Build and Secure the Ladder
Cut two 2×4 boards for the ladder sides and smaller boards for the rungs. Space the rungs about 10 to 12 inches apart for comfortable climbing.
Pre-drill all holes to prevent splitting, then bolt the ladder securely to the frame using carriage bolts or lag screws.
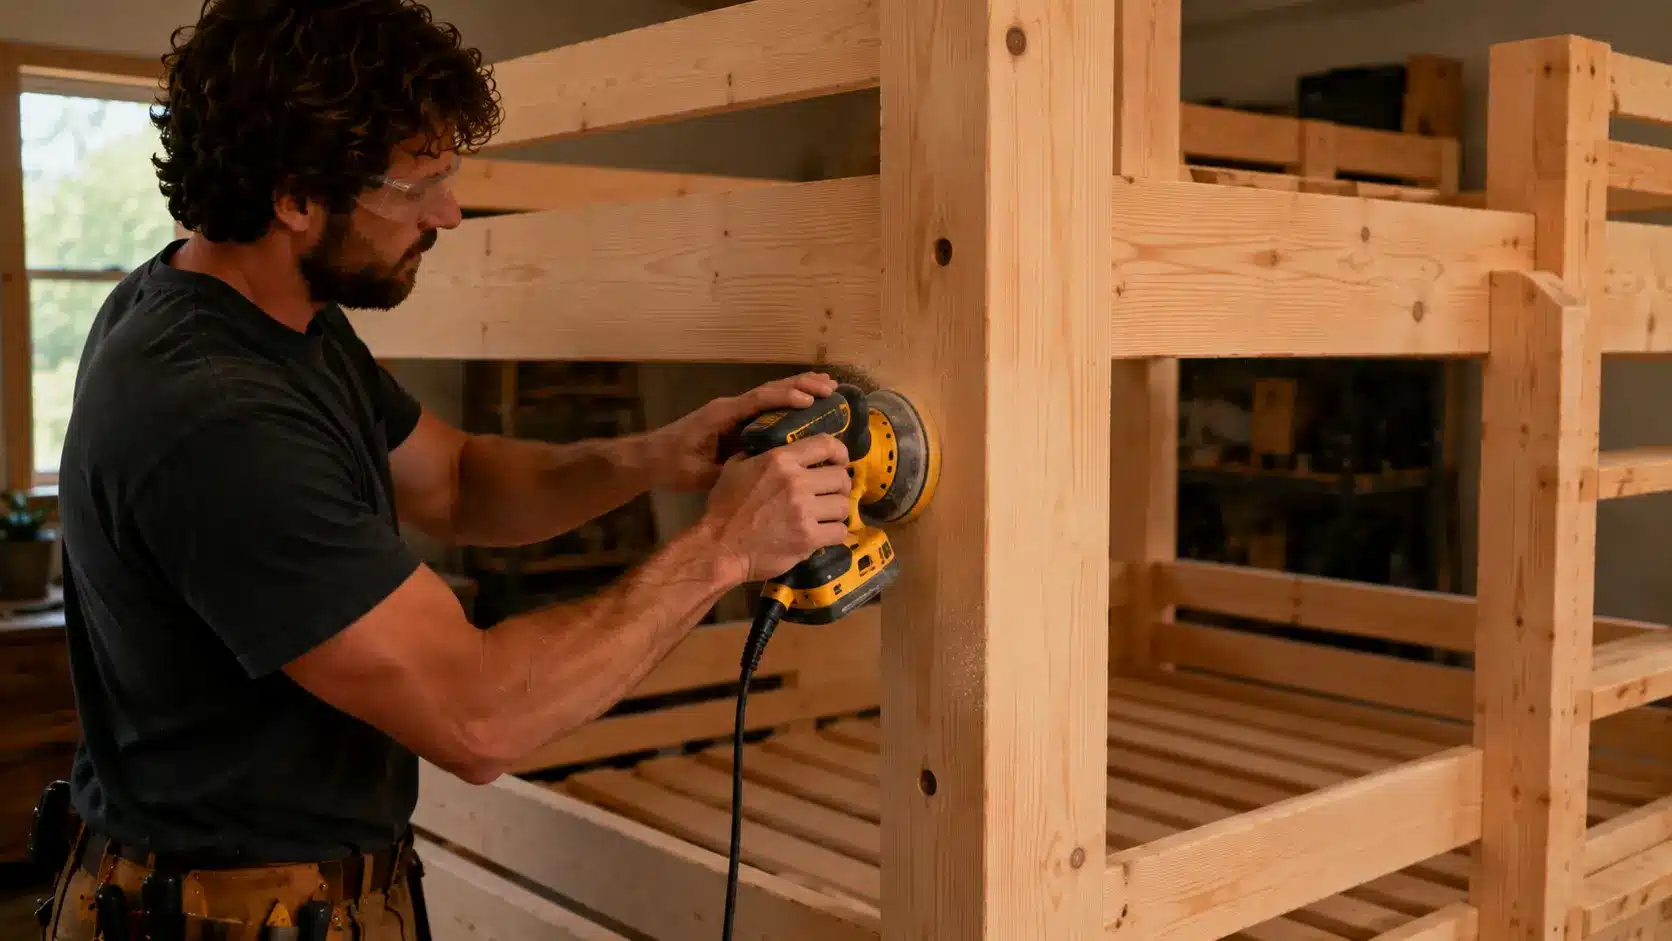
Step 8: Sand All Rough Edges
Sand every surface, corner, and edge using 80-grit sandpaper first, then finish with 120-grit sandpaper for a smoother feel.
Focus especially on guardrails, ladder rungs, and posts where hands make the most contact. Smooth edges make the bed safer and improve the final finish.
Step 9: Paint or Stain the Bunk Bed
Apply primer and two coats of paint for a painted finish, or use stain to highlight the wood grain.
Add a clear protective topcoat for durability and easier cleaning. Let the bed dry completely for at least 24 hours before moving it into the bedroom.
Step 10: Final Safety Check Before Use
Once assembled, shake the frame firmly to check for wobbling. Tighten all screws, inspect the guardrails, and secure the bed to wall studs using L-brackets to prevent tipping.
Test every part carefully before anyone uses the bunk bed.
Best DIY Bunk Bed Design Ideas
Not all DIY bunk beds are built the same, and the right design depends on your room size, storage needs, and who will use the bed. These popular bunk bed ideas offer a variety of layouts, features, and space-saving benefits.
1. Twin Over Twin Bunk Beds
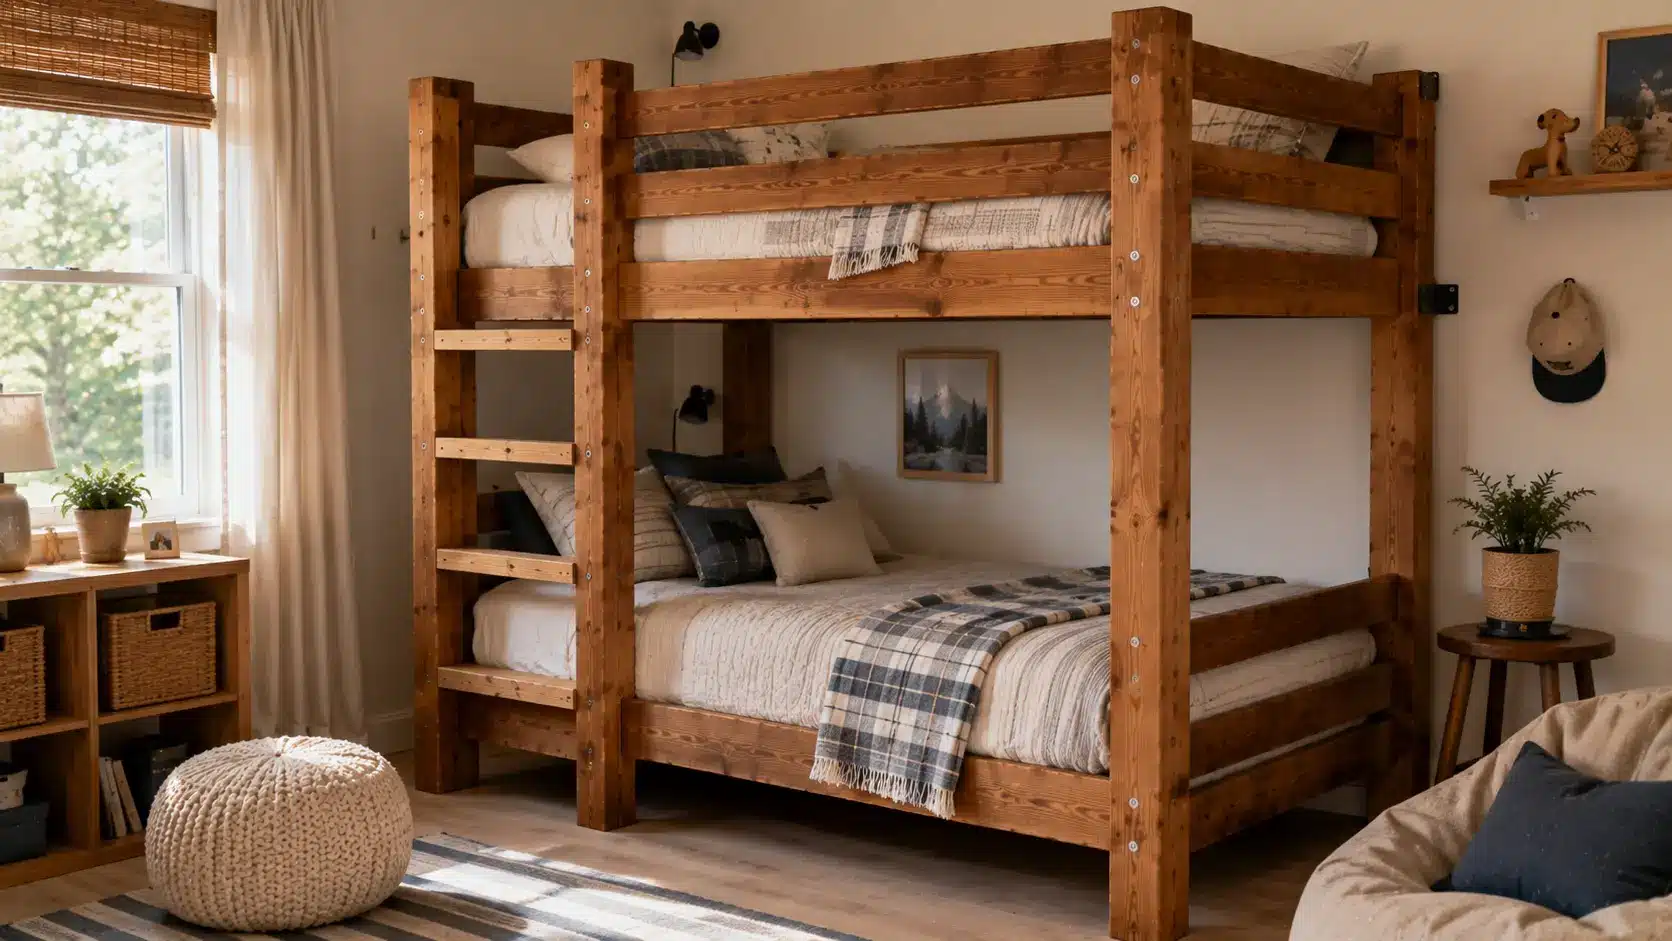
This is the most common and beginner-friendly bunk bed design. It uses two twin mattresses stacked directly on top of each other, making it ideal for shared kids’ rooms. The simple layout also makes it easier and cheaper to build than more complex designs.
2. Built-In Bunk Beds
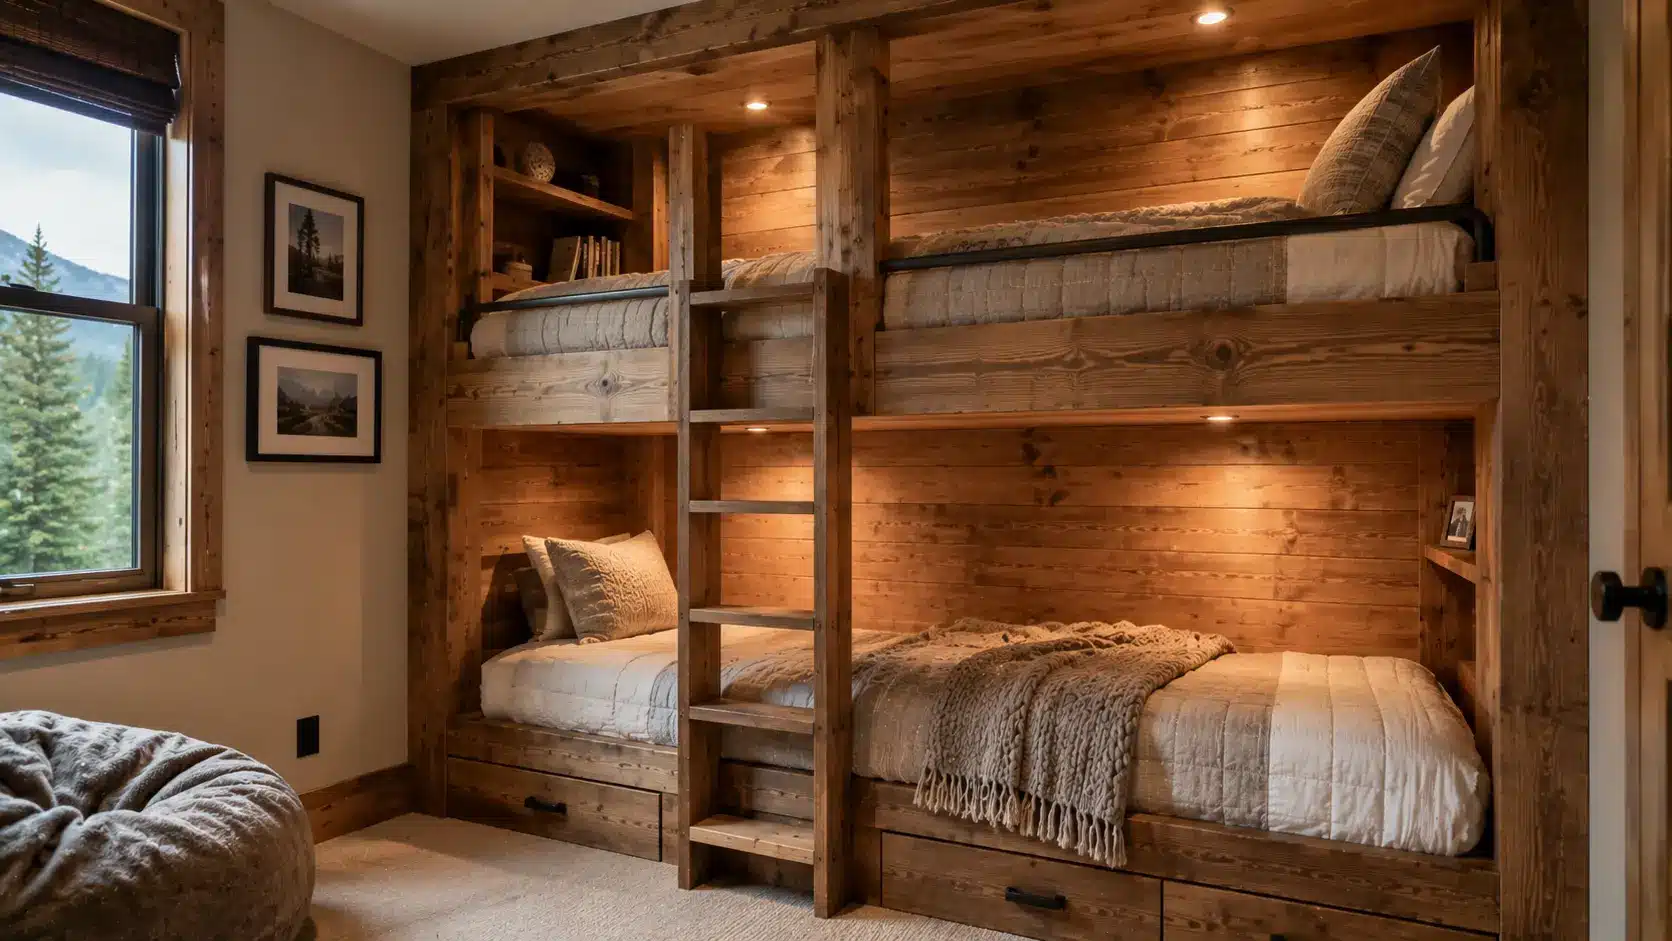
Built-in bunk beds are attached directly to the wall, which makes them extremely stable and space-efficient.
They work especially well in small bedrooms or vacation cabins where maximizing floor space matters. The downside is that they are permanent and much harder to move later.
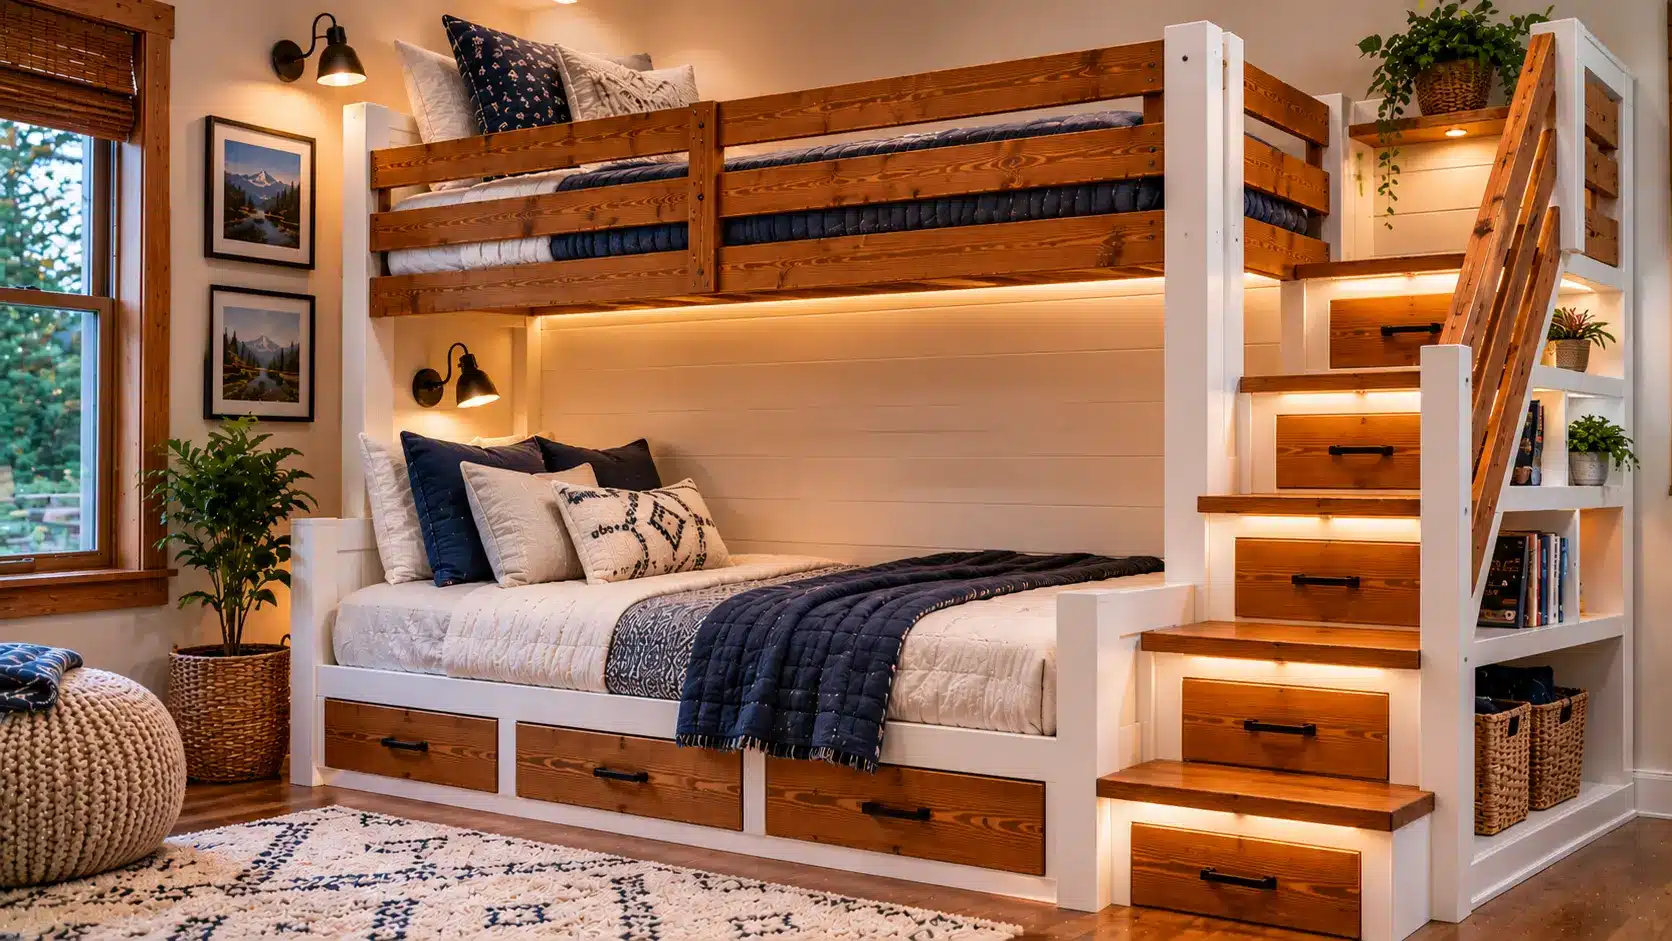
3. Bunk Beds With Stairs and Storage
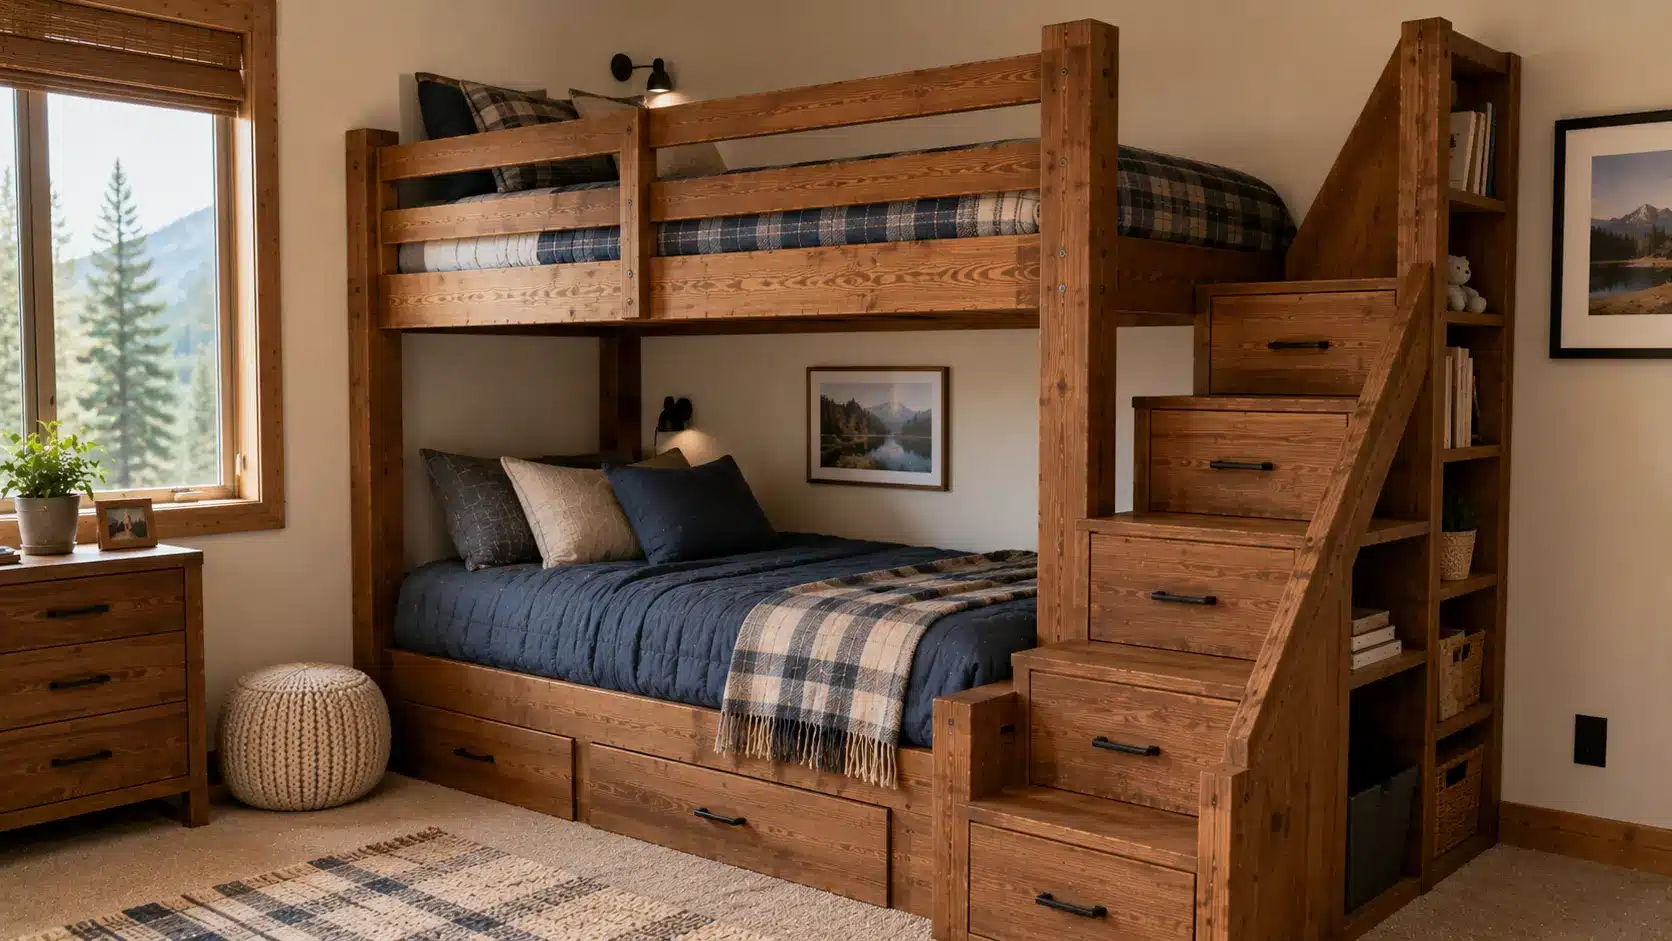
This design replaces the ladder with a staircase that often includes built-in drawers or shelves. It adds extra storage space for clothes, toys, or bedding while making the top bunk easier to access.
The tradeoff is that the staircase takes up more floor space than a regular ladder.
4. L-Shaped Bunk Beds
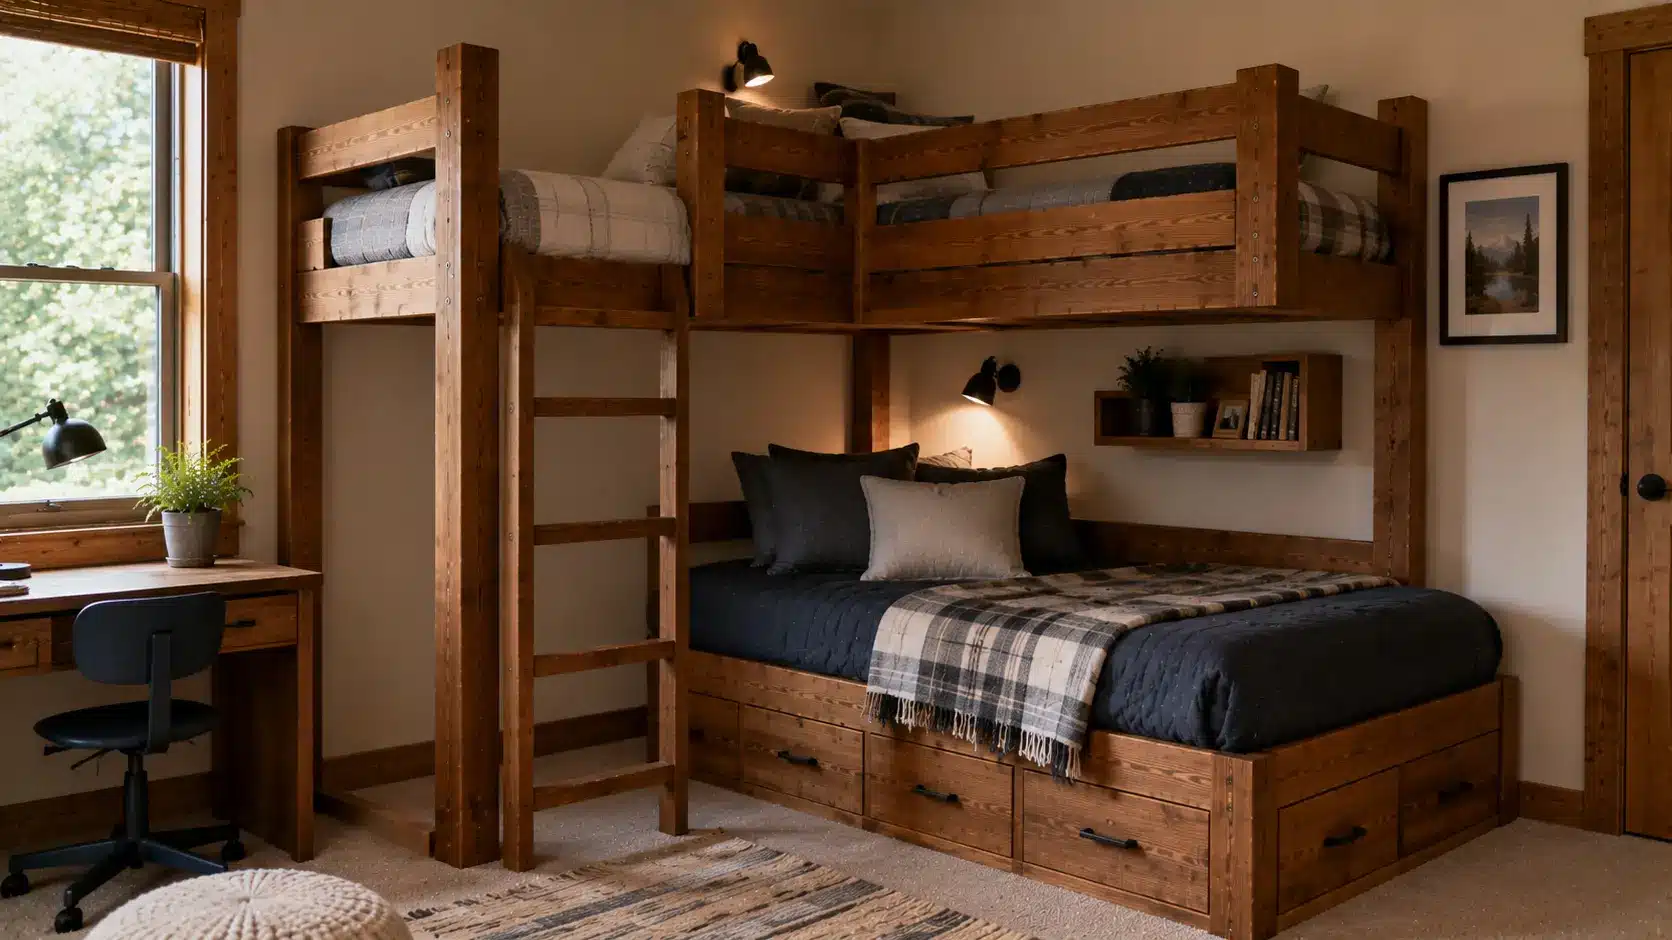
L-shaped bunk beds place the upper bunk perpendicular to the lower bunk instead of directly above it.
This layout works well in corner spaces and gives each sleeper a bit more privacy. Many designs also leave extra room underneath for storage or a desk.
5. Loft Bunk Beds With Desk Underneath
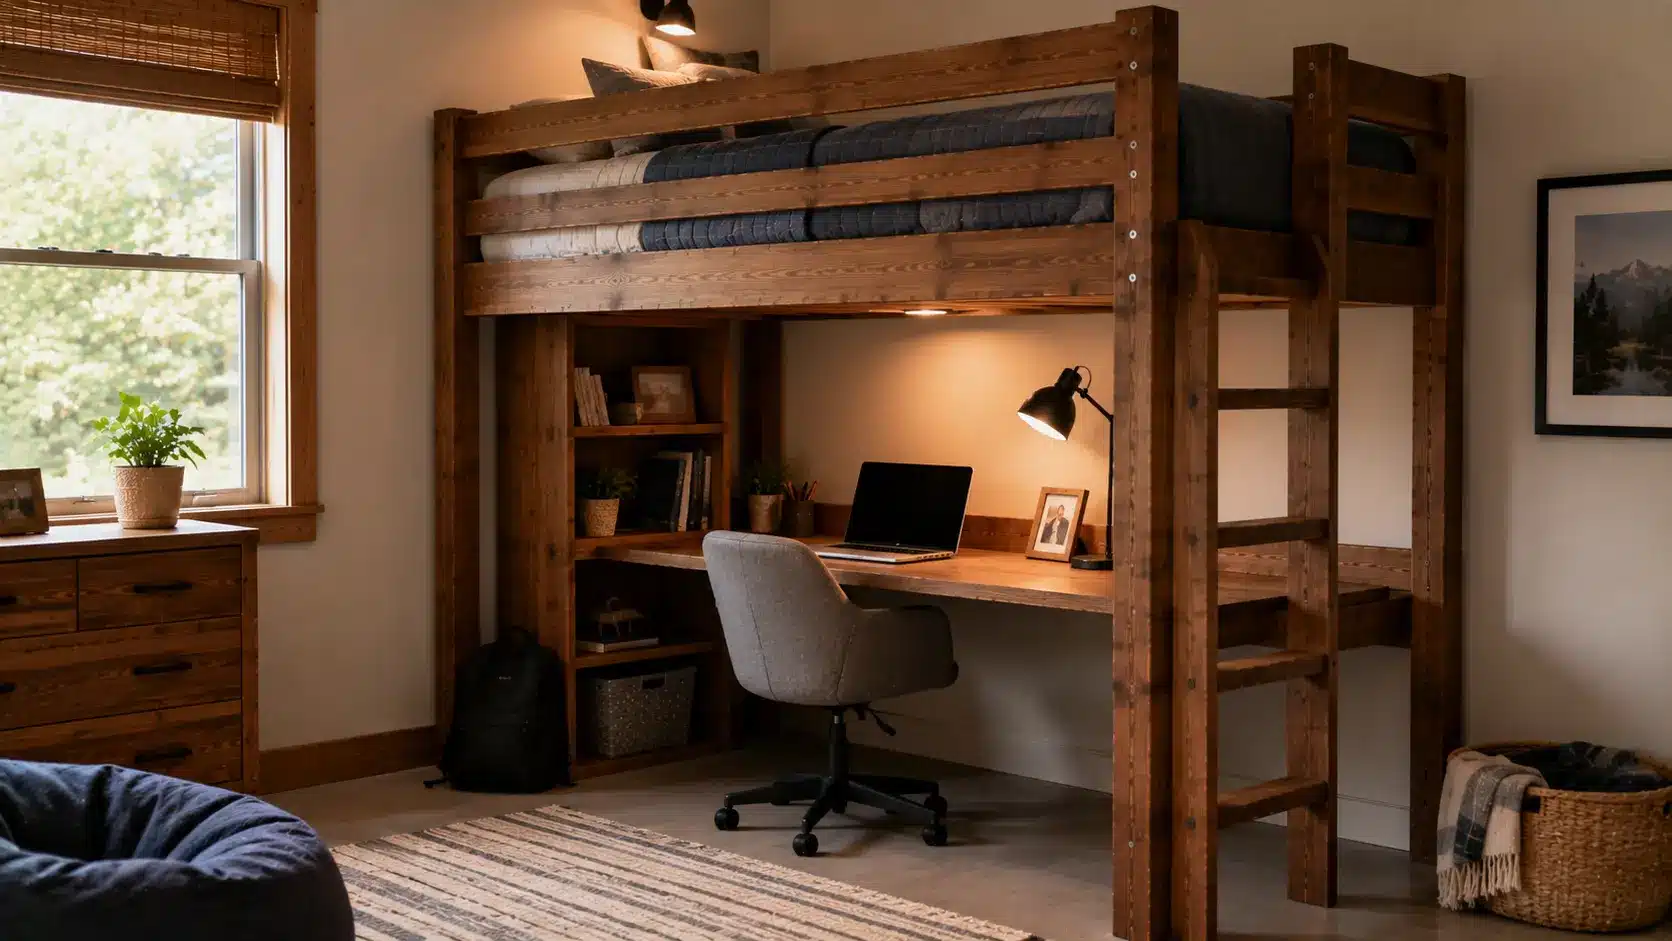
A loft bunk removes the lower bed completely and replaces it with a desk, seating area, or play space.
This design is popular for older kids and teenagers who need a study setup in a smaller room. It also makes the room feel more open compared to traditional bunk beds.
6. Triple Bunk Beds

Triple bunk beds are designed to sleep three people in one compact footprint. Some stack three bunks vertically, while others combine a bunk bed with a trundle or side bed.
These beds require stronger framing, more support, and higher ceilings to stay safe and comfortable.
DIY Bunk Bed Plans for Different Skill Levels
Not every DIY bunk bed project requires advanced woodworking skills. Some designs are simple enough for beginners, while others need more experience and precision.
- Beginner: A basic twin over twin with a vertical ladder. Uses standard lumber cuts and pocket hole joinery. Can be built in a weekend.
- Intermediate: Bunk beds with a staircase, storage drawers, or a built-in shelf. Requires more precise cuts and planning.
- Advanced: Full built-in bunk beds with trim work, painted finish, and integrated desk or shelving. Involves more wall work and finishing details.
Choose a plan that matches your skill level and the tools you have available, rather than jumping into an overly complex build. A simpler bunk bed built correctly is far better than an ambitious design built poorly.
How Much Does It Cost to Build DIY Bunk Beds
The total cost of DIY bunk beds depends on the design, lumber type, and extra features you add. Simple builds stay affordable, while custom designs with storage or hardwood can cost significantly more.
| Bunk Bed Type | Estimated Cost |
|---|---|
| Basic Twin Over Twin | $150 to $300 |
| Bunk Bed With Stairs and Storage | $300 to $700 |
| Built-In Bunk Beds | $400 to $1,200 |
| Custom Hardwood Bunk Beds | $800 and up |
Most of the budget goes toward lumber and hardware. Pine and Douglas fir keep costs lower, while hardwoods like oak or maple increase both strength and price.
Best Wood for DIY Bunk Beds
Pine is the top pick for most DIY builders. It is affordable, light, and easy to cut and drill. Douglas fir is slightly stronger and works well for frame boards.
Plywood is great for flat surfaces, such as a solid bed base or stair treads.
If you want something that lasts for decades, look into maple or poplar, though these cost more and are harder to work with.
Finishing Ideas for a Better Look
White or gray paint gives bunk beds a clean, modern look that fits most rooms. A natural wood stain shows off the grain and works well with pine or fir.
Two-tone finishes, like a white frame with stained slats, add some style without extra effort.
You can also add small LED strip lights under the upper bunk for a reading light that stays out of the way.
Common Mistakes to Avoid
A DIY bunk bed can look solid but still have hidden structural problems if you overlook the basics. These are the most common mistakes that lead to wobbling, sagging, or unsafe builds.
- Weak frame joints: Always use both screws and wood glue. Screws alone can loosen over time.
- Wrong slat spacing: Keep slats no more than 3 inches apart. Wider gaps can let a mattress sag through.
- Low-quality lumber: Avoid warped or knotted boards. Check each board for straightness before buying.
- Skipping wall anchors: Even a solid frame can tip under sudden weight shifts. Always anchor to studs.
- Poor weight planning: Know the total weight the bed will hold and build the frame to exceed that by at least 25 percent.
Most bunk bed failures come from rushed assembly or weak materials, not complicated design flaws. Paying attention to these details early will save you from major safety problems later.
| Are DIY Bunk Beds Safe for Adults? Yes, with the right build. Use 2×6 boards for the main frame instead of 2x4s. Add more slats and a center support beam. Increase corner post size to 4×6 if building for two adults. A well-built DIY bunk bed can hold 400 to 600 pounds per bunk when done correctly. |
Final Thoughts
Building DIY bunk beds saves money, fits your exact space, and gives you full control over the final look.
A basic twin-over-twin can be built in a weekend with simple tools and affordable lumber. Just stick to the measurements, follow each build step carefully, and never skip the safety checks.
A well-built bunk bed can last for years without wobbling or wearing down. Take your time, sand every edge smooth, and finish it with paint or stain for a clean, polished result.
Your kids will love it, and you will be glad you built it yourself.
Frequently Asked Questions
At What Age is a Top Bunk Bed Safe?
Most safety guidelines recommend that children under 6 years old should not sleep on the top bunk. Younger kids are more likely to fall while sleeping or climbing.
Can Bunk Beds Damage Hardwood Floors?
Yes, heavy bunk beds can leave dents or scratches if the weight is concentrated in small areas. Furniture pads or rubber protectors under the posts help prevent floor damage.
Do Bunk Beds Need Box Springs?
No, most bunk beds are designed to work without box springs because the slats already support the mattress. Adding a box spring can also reduce guardrail safety clearance on the top bunk.