


A leaking air mattress always picks the worst time to go out, leaving you sinking lower by the minute with no obvious fix in sight.
Before you give up on it or head out to buy a replacement? You will be amazed to know that learning how to patch an air mattress is easier than you think, and in most cases, you can fix it with things you already have at home.
We’ve put together everything you need to know, how to track down the leak, which patching method works best for your situation, and how to make sure it holds up long-term.
By the end of this, your air mattress will feel as good as new.
Quick Checklist: Do You Actually Have a Leak?
|
Smart Ways to Find the Leak in a Mattress
Confirmed there’s a leak? Now you need to find it. Holes can be pinhole-sized and nearly invisible, so the right method matters. Here are five ways to track it down and make your mattress last longer.
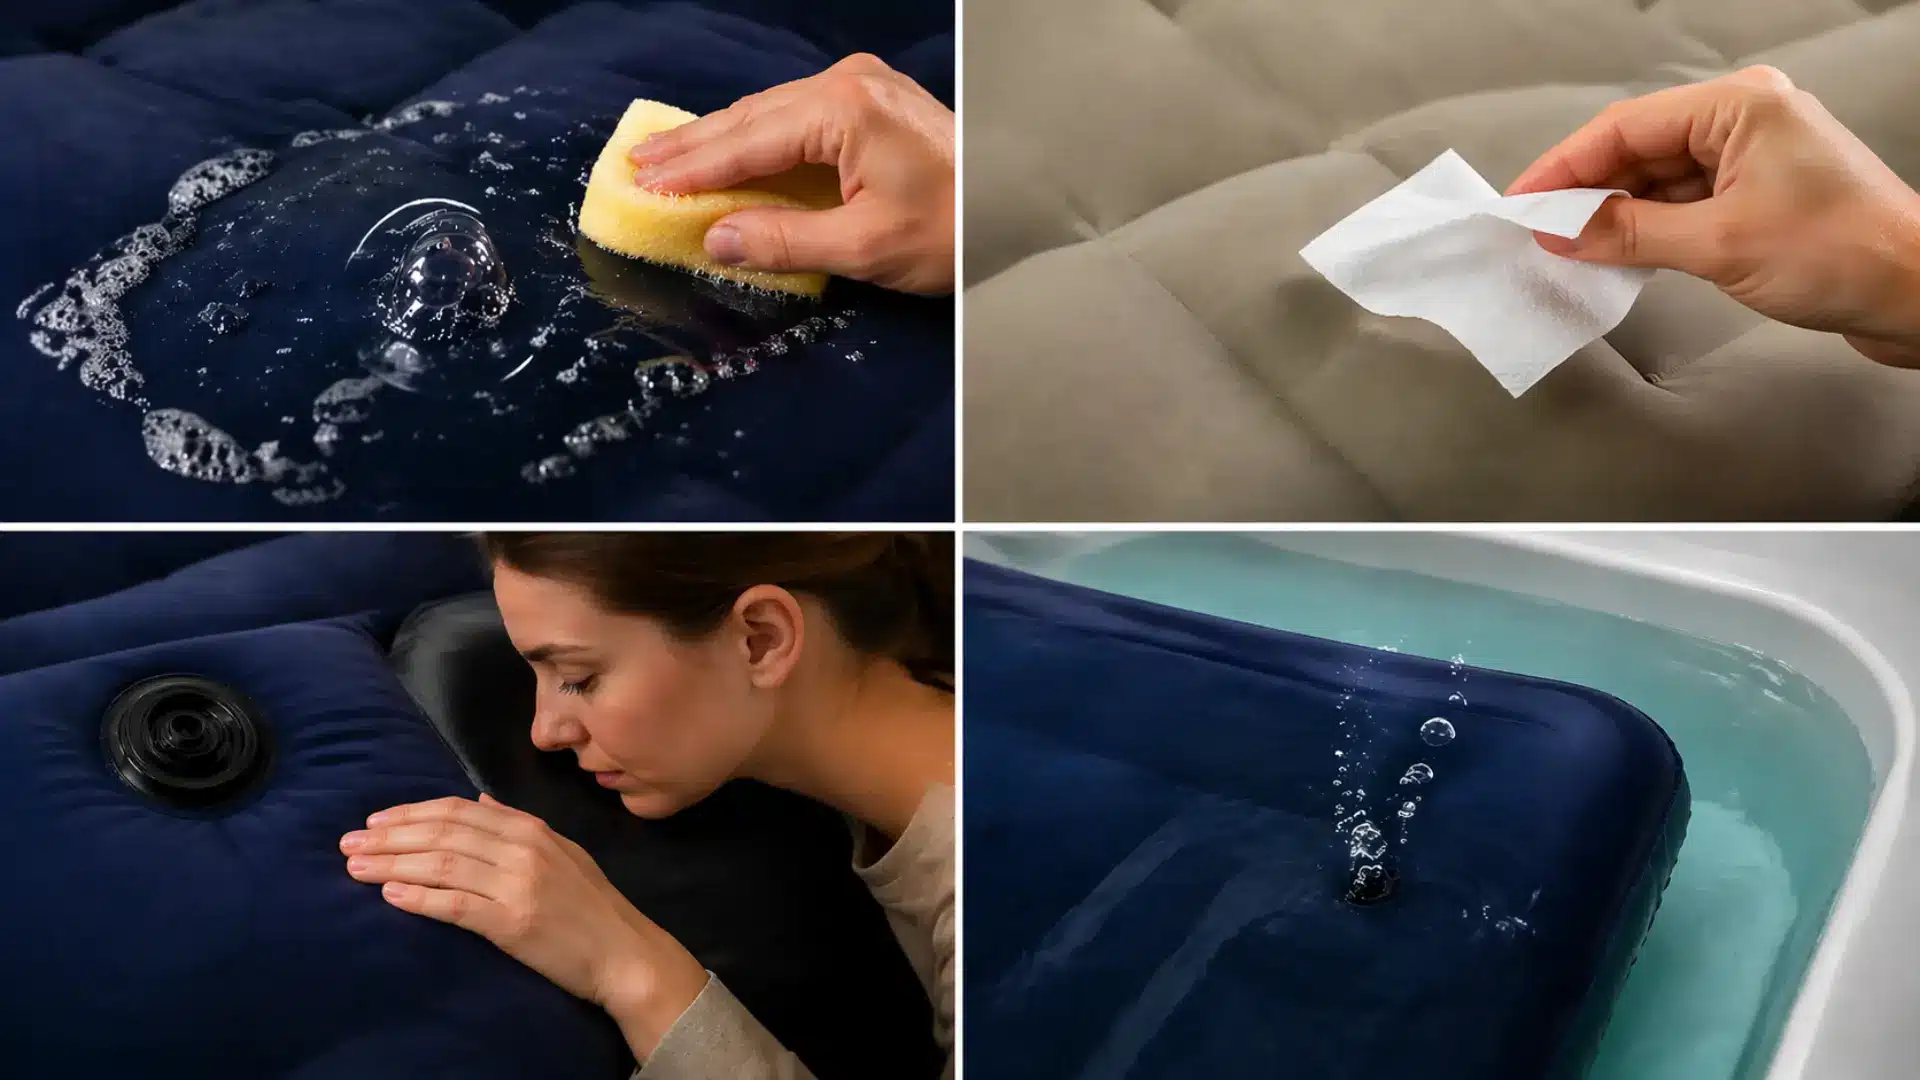
1. Soapy Water Method (Most Accurate)
Mix dish soap with water and sponge it onto the inflated mattress in sections. Wherever bubbles form, that’s your leak.
Mark it right away, then dry the spot completely before patching; soap residue prevents adhesive from sticking. This method works on any surface: seams, valves, and the flat body of the mattress all respond equally well.
If bubbles appear slowly, press gently on the surrounding area to increase air pressure and make them easier to spot.
2. Tissue Paper Test (Underrated Trick)
Hold a sheet of tissue paper about an inch from the surface and move it slowly across. Over a leak, it’ll flutter or be slightly pulled inward.
This only works in a draught-free room; a fan or open window will throw it off. Single-ply tissue works better than thicker sheets; it’s more sensitive to small changes in airflow.
If you’re not seeing movement, try slowing down; most people move too fast and miss the reaction.
3. Listening Method (Silent Room Hack)
Inflate fully, silence the room, and run your hand or cheek slowly across the surface. A real leak hisses faintly but consistently.
Late at night, when background noise drops, this method gets noticeably more reliable. Pay extra attention around the valve and seams first; those are the most common failure points.
If you feel a slight coolness on your cheek before you hear anything, you’re close.
4. Submerge Method (Advanced)
Lower sections of the inflated mattress into a bathtub and watch for rising bubbles. It’s the most dependable method for seam and valve leaks, though only practical if your inflatable is small enough to fit in a tub.
Keep the mattress pressed just below the surface and move slowly; bubbles from a pinhole are easy to miss if you’re rushing.
Once you spot them, mark the spot with a waterproof marker before pulling the mattress out.
5. Flashlight Angle Trick (Visual Hack)
In a dark room, hold a flashlight at a low, sharp angle across the surface rather than pointing straight at it.
The raking light picks up punctures and stress marks that are invisible under normal lighting. Run the beam slowly in one direction, then repeat from the opposite side; some punctures only show up depending on the angle.
If you spot a suspicious mark, circle it and confirm with the soapy water method before patching.
Fastest vs. Most Accurate Way
Different methods of detecting leaks vary in speed, accuracy, and the effect on mattress cleanliness. Choosing the right one depends on whether you need a quick check or a precise diagnosis.
| Goal | Best Method |
| Quickest result | Listening method |
| Pinpoint accuracy | Soapy water method |
| No mess | Tissue paper test |
| Seam or valve leak | Submerge method |
| Large surface scan | Flashlight trick |
When in doubt, start with your ears and finish with soap and water; that combination catches most leaks in under ten minutes.
Also, explore: Between latex and memory foam, which mattress is best for your sleep style?
What You Actually Need to Patch an Air Mattress?
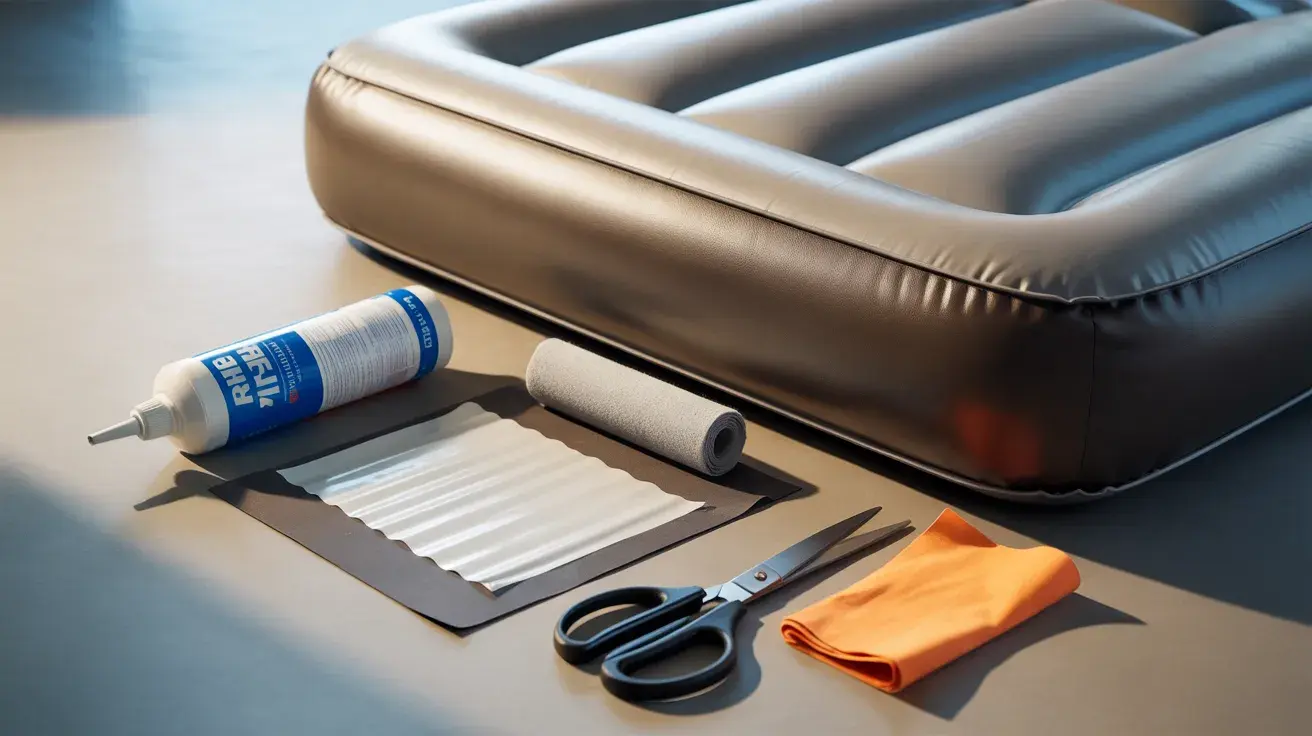
You do not need many supplies to fix an air mattress. What matters is using a patch material that can flex with the surface and an adhesive that will not crack once the mattress is reinflated.
If You Have a Patch Kit
A patch kit is the most reliable fix, but a rushed application usually fails within a few nights.
- Adhesive: Use the glue included in the kit or any vinyl-safe adhesive.
- Vinyl Patch: Cut it slightly larger than the hole to fully seal the area.
Recommeded Air Mattress Patch Kit for quick fix
If You Don’t (DIY Mode)
No patch kit? A few household materials can hold a seal long enough to matter.
- Shower Curtain: A clear shower curtain liner works well because it is flexible and similar to vinyl.
- Plastic Packaging: Use only thick, smooth plastic, not thin or crinkly packaging.
- Super Glue/Rubber Cement: Rubber cement is better for flexibility. Super glue works only as a short-term fix because it dries hard.
Before trying any of these methods, make sure your mattress is not severely damaged; if it’s only mildly worn, a simple fix can work wonders.
How to Patch an Air Mattress: Step-by-Step Guide
Patching an air mattress isn’t complicated, but the order of steps matters more than most people expect. Rush any stage, prep, adhesive, or cure time, and you’ll likely have to do it again within a week.
Step 1: Mark the Hole. Circle the leak with a marker so you don’t lose track of it during the repair.
Step 2: Deflate Completely. Let all the air out. A flat surface is far easier to work with.
Step 3: Clean & Dry the Area. Wipe the surface clean and let it dry fully; moisture or dirt will weaken the bond.
Step 4: Lightly Sand the Surface. A few passes with fine sandpaper roughen the area just enough to give the adhesive something to grip.
Step 5: Apply Adhesive & Patch. Spread a thin, even layer of adhesive, place the patch over the hole, and smooth it down firmly.
Step 6: Apply Pressure. Press down hard, then set a heavy object on top to hold it flat while it sets.
Step 7: Let It Cure. This is the step most people skip too early. Give it the full time based on your adhesive:
| Adhesive Type | Cure Time |
|---|---|
| Super glue | 1–2 hours |
| Rubber cement | 6–8 hours |
| Patch kit adhesive | 12–24 hours |
Step 8: Test the Seal. Inflate the mattress and listen for or feel any air escaping around the patch.
If the mattress still loses air after a proper repair, the leak is either in a second spot or along a seam, both worth checking before writing the mattress off.
A single repair done right, though, can extend the life of a mattress by months.
Quick Fix vs Permanent Fix
Not every situation calls for a perfect repair. Sometimes you just need a quick solution to get through the night, while other times a long-lasting fix makes more sense.
| Situation | Best Fix | Duration |
|---|---|---|
| Emergency (guests) | Duct tape | 1–2 nights |
| Camping | Repair tape | Few days |
| Home use | Patch kit | Long-term |
The fix you choose now determines if you’re doing this again next week, so it’s worth being honest about how long you actually need the mattress to last.
Common Mistakes That Ruin Repairs
Most failed repairs come down to a few avoidable mistakes. Getting the basics right matters more than using fancy materials.
The most common one is skipping surface prep; if the area isn’t fully dry, moisture breaks the adhesive bond before it even sets.
Similarly, skipping a light sand means the patch is sitting on smooth vinyl with nothing to grip. Once the patch is on, patience matters: reinflating before the glue has fully cured is enough to lift it straight off.
And if you’re sourcing your own adhesive, avoid anything hard-setting, as it cracks the moment the mattress flexes under weight.
Quick Hacks To Prevent Future Leaks
|
Final Thoughts
Fixing an air mattress comes down to a few simple steps: find the leak, clean and dry the area, apply the patch, let it cure properly, and then test it.
The approach you choose depends on your situation. If it is an emergency fix at 2 AM, a quick tape solution can get you through the night.
For camping, temporary fixes work fine, but at home, a proper patch kit is the better long-term option.
Beginners can stick to basic patching, while a more careful method with sanding, pressure, and full curing gives pro-level results.
So now you are well-versed in how to patch an air mattress, both in terms of time and durability.
Frequently Asked Questions
Why Does My Air Mattress Keep Deflating Overnight?
Small leaks, a loose valve, or cooler nighttime temperatures can reduce air pressure. Check the valve, seams, and surface underneath to find the most likely cause.
How Can I Find a Leak in an Air Mattress?
Inflate the mattress fully and listen for hissing or feel for escaping air by hand. For better results, apply soapy water and watch for bubbles where the leak is.
What is the Best Way to Fix an Air Mattress Leak?
Clean and dry the damaged area, then seal it with a proper patch or strong adhesive. Let it cure fully before inflating the mattress again to ensure a lasting repair.
How do I Stop My Air Mattress from Deflating?
Make sure the valve is tightly closed and keep the mattress on a flat, smooth surface. Inspect it regularly for small leaks so you can repair them before they get worse.