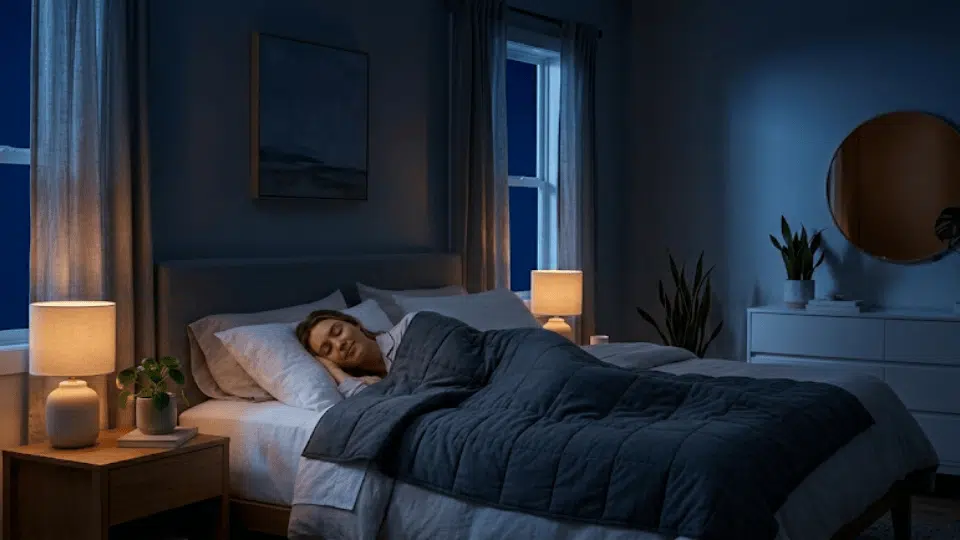

Your bed is the centerpiece of your bedroom, but without a headboard, it can look bare, flat, and unfinished. The problem is that many upholstered headboards come with designer price tags, turning a simple style upgrade into an expensive purchase.
A DIY upholstered headboard is one of the easiest ways to upgrade your bedroom with a soft, polished, high-end look, without overspending. With the right materials and a clear plan, you can create a custom piece that adds comfort, texture, and character to your space while perfectly matching your room.
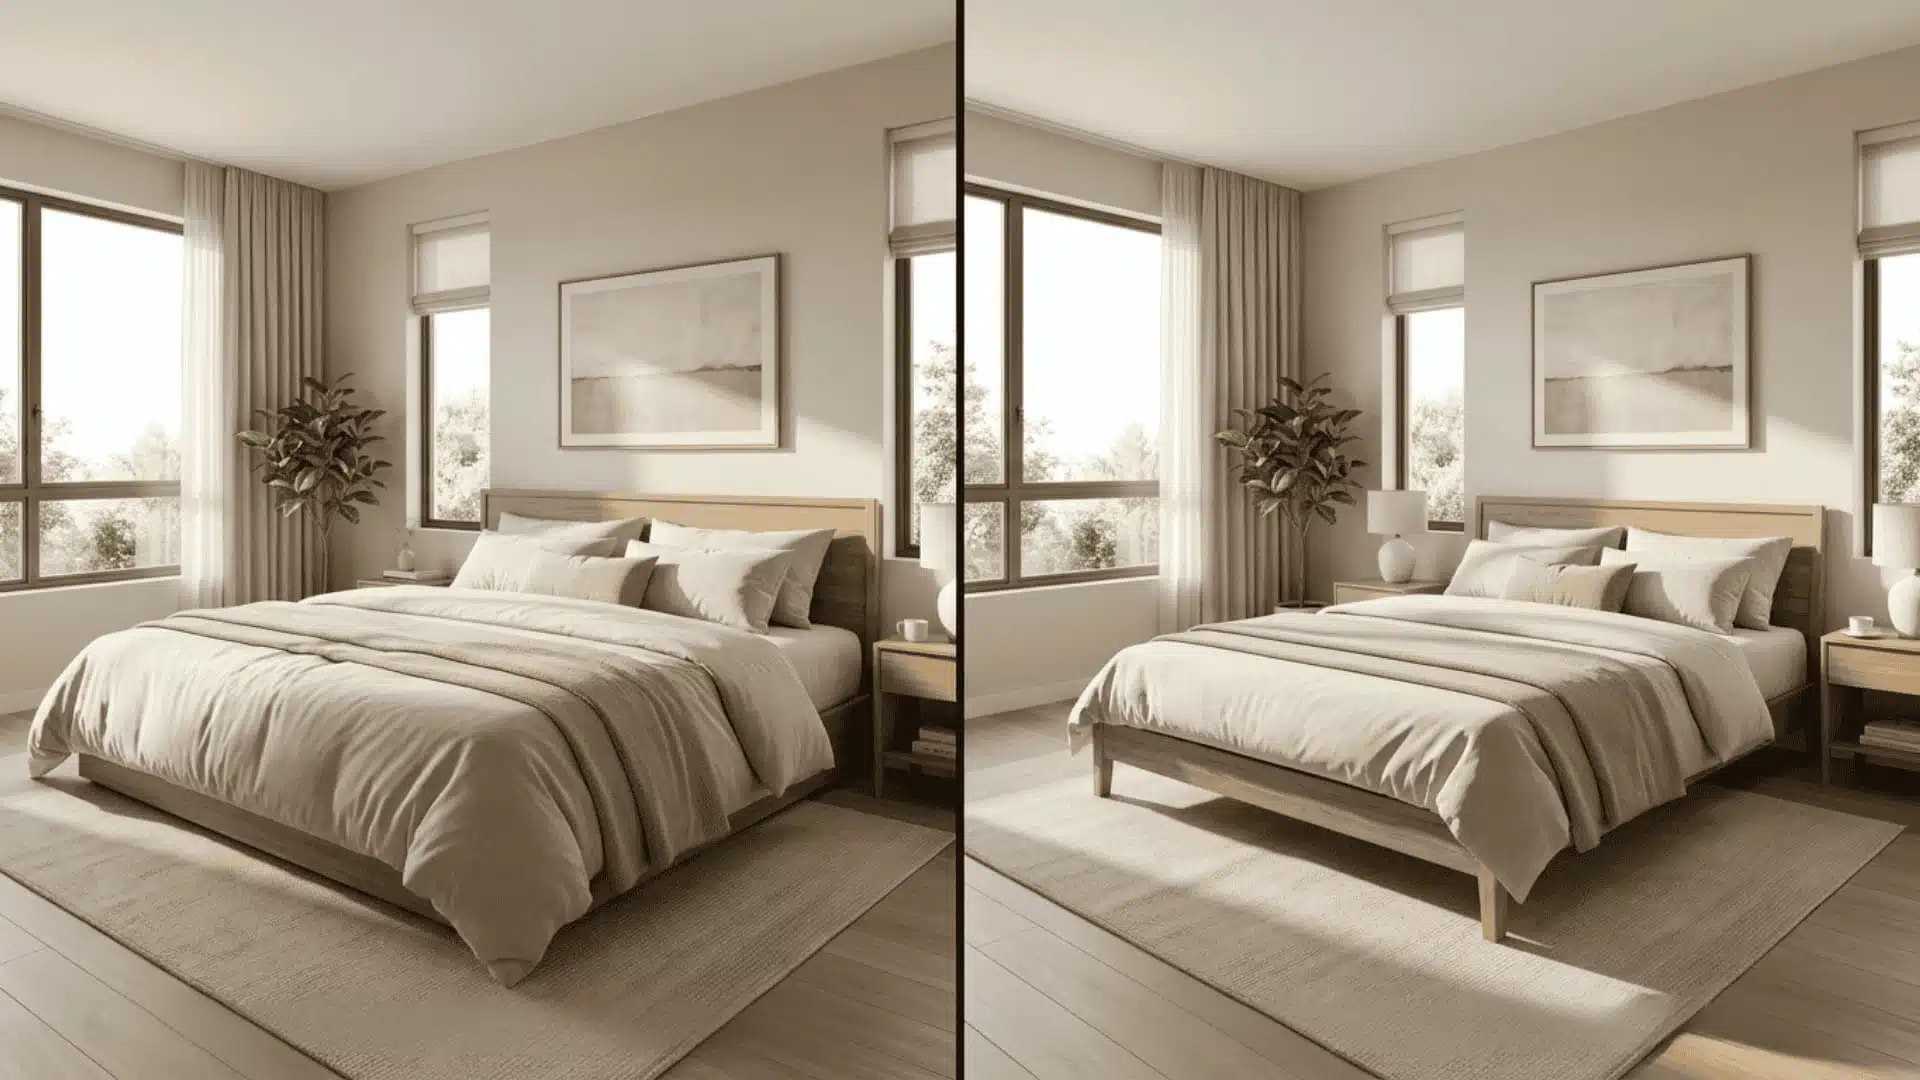
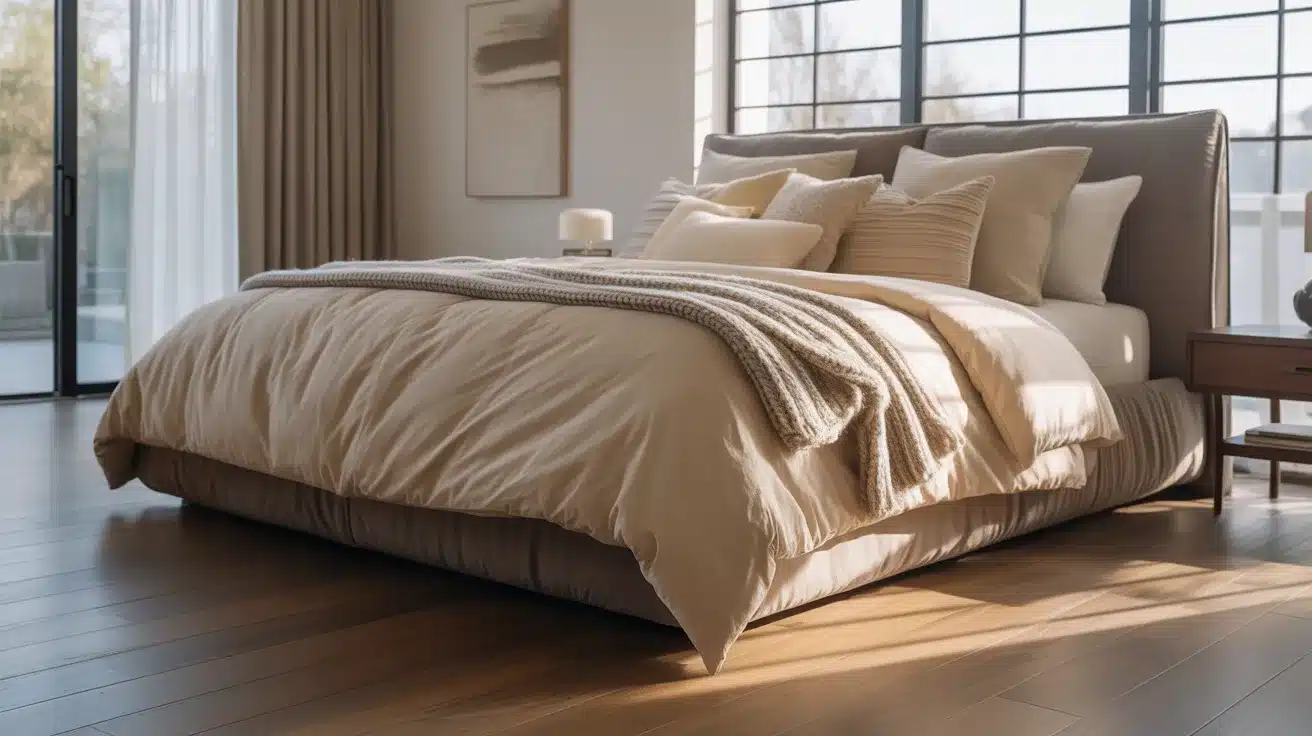
A sleek modern panel or a tufted design can both add style and function to the bed. The finished headboard makes the bedroom feel warmer, more complete, and far more expensive than it actually was.
What is an Upholstered Headboard?
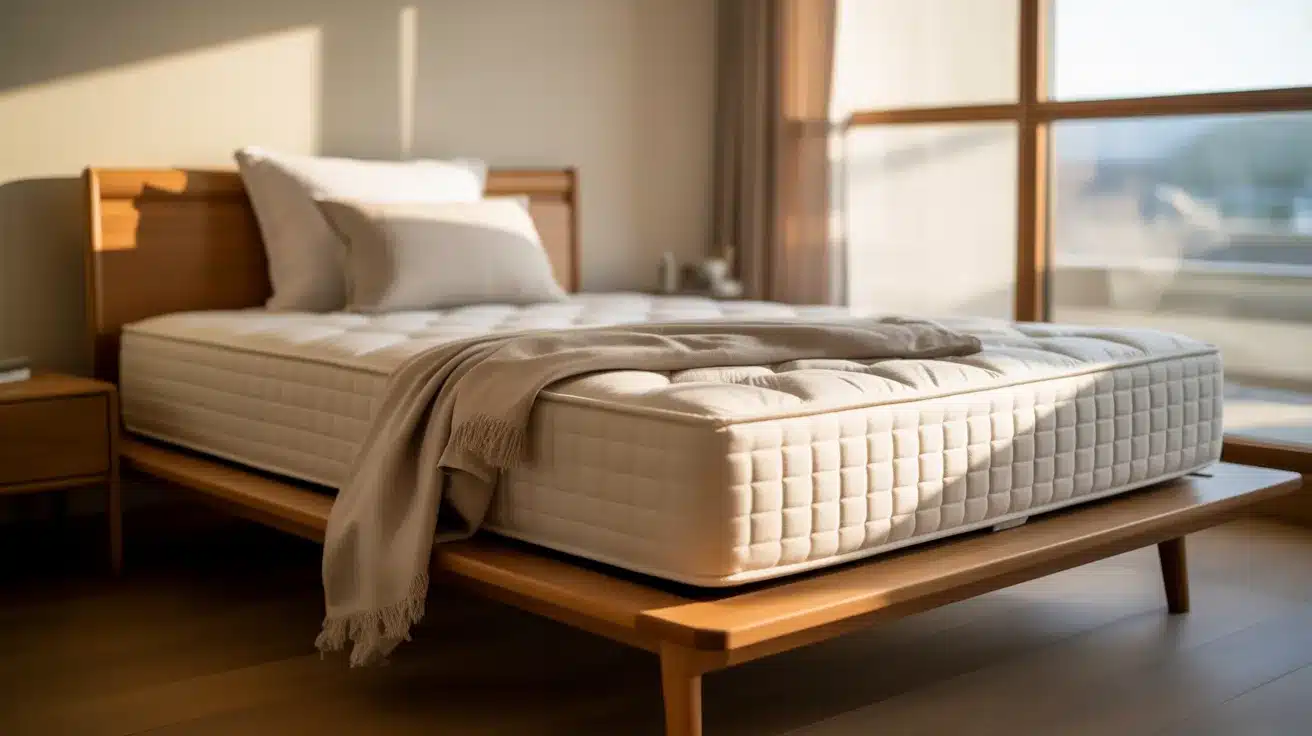
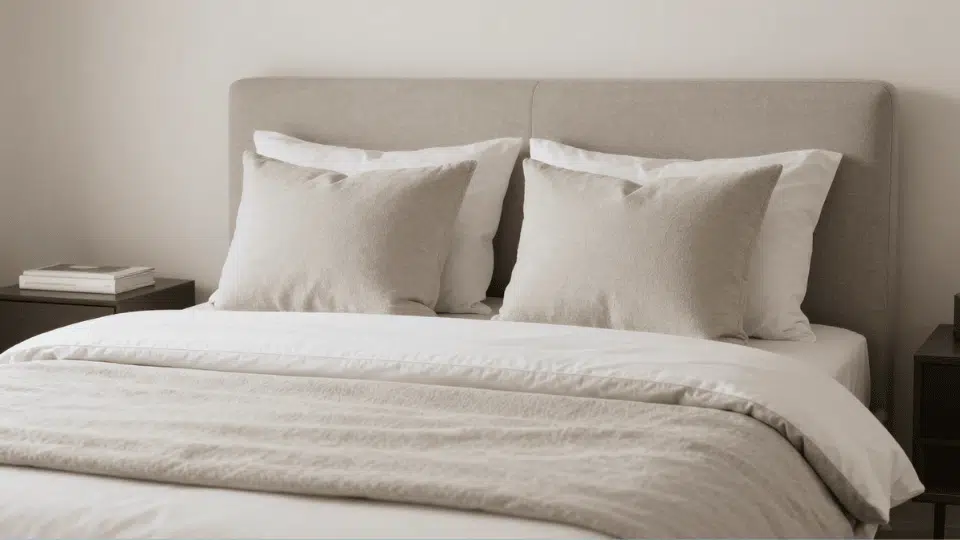
An upholstered headboard is a padded panel covered with fabric, leather, or other soft materials that attaches to the head of a bed. Unlike wooden or metal headboards, it is designed to offer both comfort and style, making it ideal for sitting up to read, watch TV, or relax in bed.
The padding, usually made from foam and batting, creates a cushioned surface, while the outer fabric allows you to customize the look to match your bedroom décor. Upholstered headboards come in various styles, from simple flat panels to more decorative tufted designs.
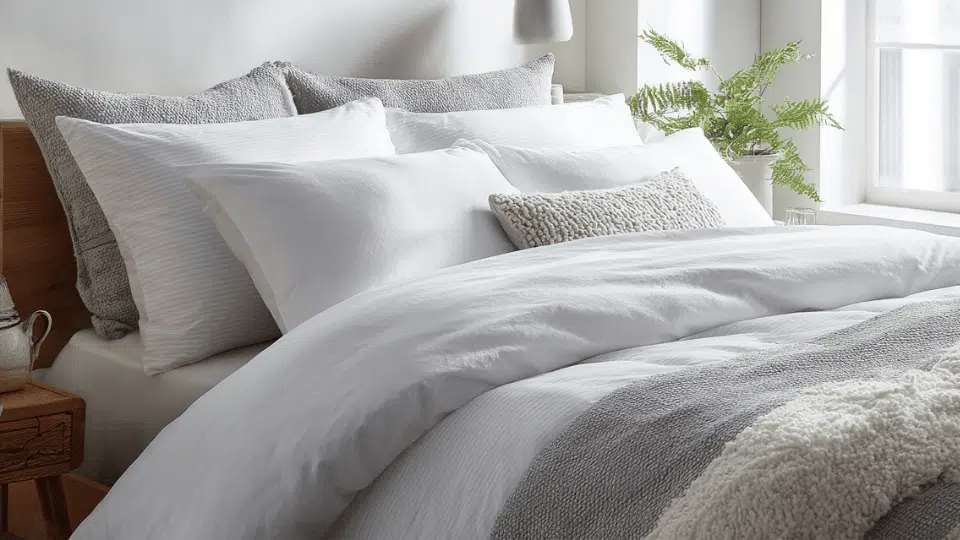
They are a popular choice because they combine comfort and style, adding warmth, texture, and a finished look while making it more comfortable to sit up in bed.
Why Make a DIY Upholstered Headboard?
Making your own headboard gives you complete control over the design, size, and materials used in your bedroom.
Store-bought options often limit your creativity, while DIY allows you to choose everything, from fabric and padding to height and style.
Unlike mass-produced headboards, your handmade version can be customized to match your exact aesthetic, whether that’s modern, minimal, or luxurious.
The cost savings are significant, as DIY headboards are much cheaper than store-bought ones. Plus, building your own furniture brings a sense of satisfaction and creativity that you simply can’t buy.
Most DIY upholstered headboards cost between $100 and $200, depending on the materials, making them a budget-friendly alternative to store-bought options.
Materials You’ll Need
A few basic tools and materials are all it takes to build a sturdy, stylish upholstered headboard that looks polished, feels comfortable, and fits the bed properly.
Tools
- Staple gun (manual or electric)
- Scissors
- Measuring tape
- Marker or chalk
- Drill (optional)
Materials
- Plywood or MDF board
- Foam padding (1–3 inches typical, 2–3 inches for a plush feel)
- Batting
- Upholstery-grade fabric (medium- to heavy-weight linen, velvet, or thick cotton for durability)
- Spray adhesive (optional)
- Mounting brackets or screws
Note: The size of your board depends on your bed. A headboard should be at least the width of your mattress, ideally extending 2–4 inches wider on each side for better visual balance.
How to Make an Upholstered Headboard
This is the easiest and fastest way to make a headboard. It involves padding a wooden board and covering it with fabric, with no sewing or advanced tools required.
Follow these steps to create a clean, professional-looking headboard in just a few hours.
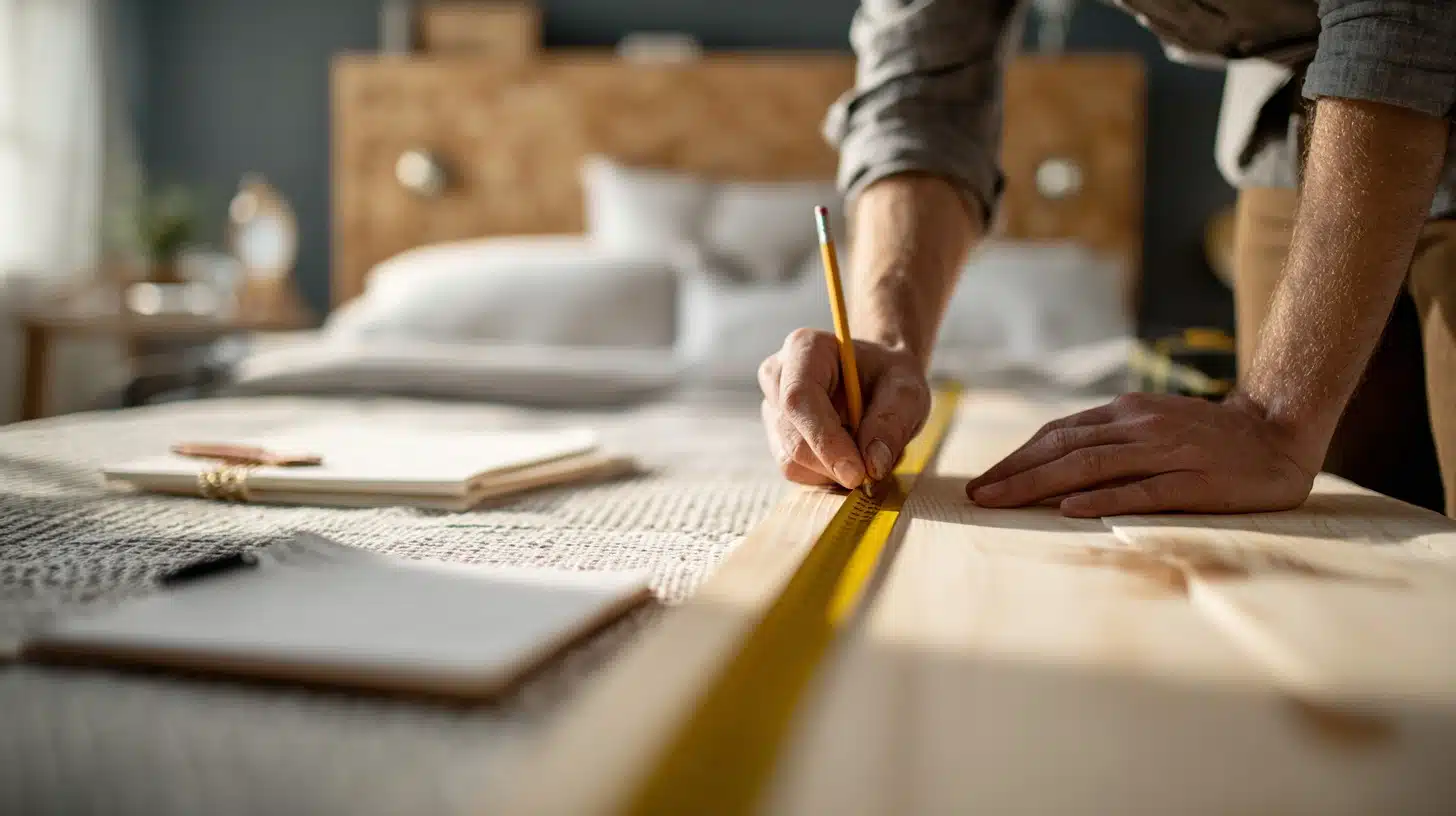
Step 1: Measure & Plan
Measure the width of the mattress and add 2–4 inches on each side for better balance. Decide on the height based on the desired look.
Mark the final dimensions clearly on the board before cutting to avoid sizing mistakes later.
Step 2: Cut the Board
Cut the plywood or MDF board to the marked size, or have it cut at a hardware store for convenience.
Sand the edges thoroughly so the surface feels smooth. This helps prevent fabric snags and gives the finished headboard a cleaner shape.
Step 3: Attach Foam Padding
Cut the foam slightly larger than the board, apply spray adhesive, and trim it flush for smooth edges.
Use medium- to high-density foam for durability and support. A thickness of 1–3 inches usually creates a soft, comfortable, padded appearance.
Step 4: Add Batting
Lay batting over the foam and wrap it around all sides of the board. Pull it gently so it sits smoothly without bunching.
Staple it loosely at the back. This layer softens edges, improves shape, and gives the headboard a polished finish.
Step 5: Upholster with Fabric
Place the fabric face-down on a flat surface, leaving 6–8 inches around the board for wrapping.
Set the padded board on top, then pull the fabric tight and staple from the center outward. Fold corners neatly to keep the finish smooth and clean.
Step 6: Mount, Finish & Install
Attach the headboard based on the preferred setup. It can be fixed to the bed frame, mounted on the wall with brackets or a French cleat, or leaned against the wall. Once secured properly, the headboard is finished and ready to use.
Once installed, your headboard is ready to use immediately.
Key Mistakes to Watch Out For
Loose fabric is the most common issue and leads to wrinkles over time. Always pull tightly before stapling.
Using thin foam results in a flat, uncomfortable headboard. Choose at least 2 inches for better comfort.
Skipping batting can cause sharp edges and an uneven finish. Don’t skip this step if you want professional results.
Not securing the headboard properly can cause instability, so always mount it into studs or use strong anchors.
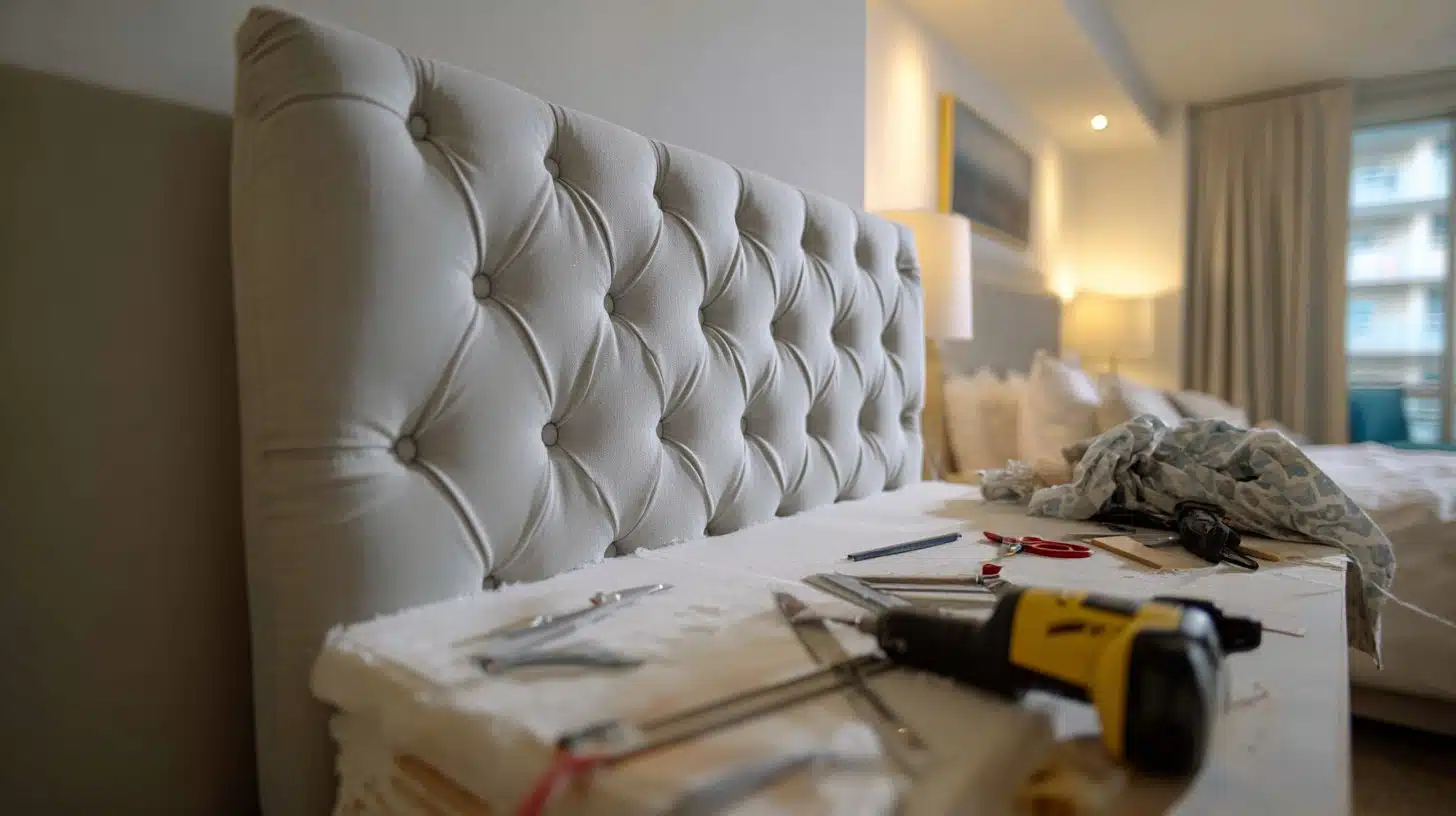
How to Make a Tufted Headboard
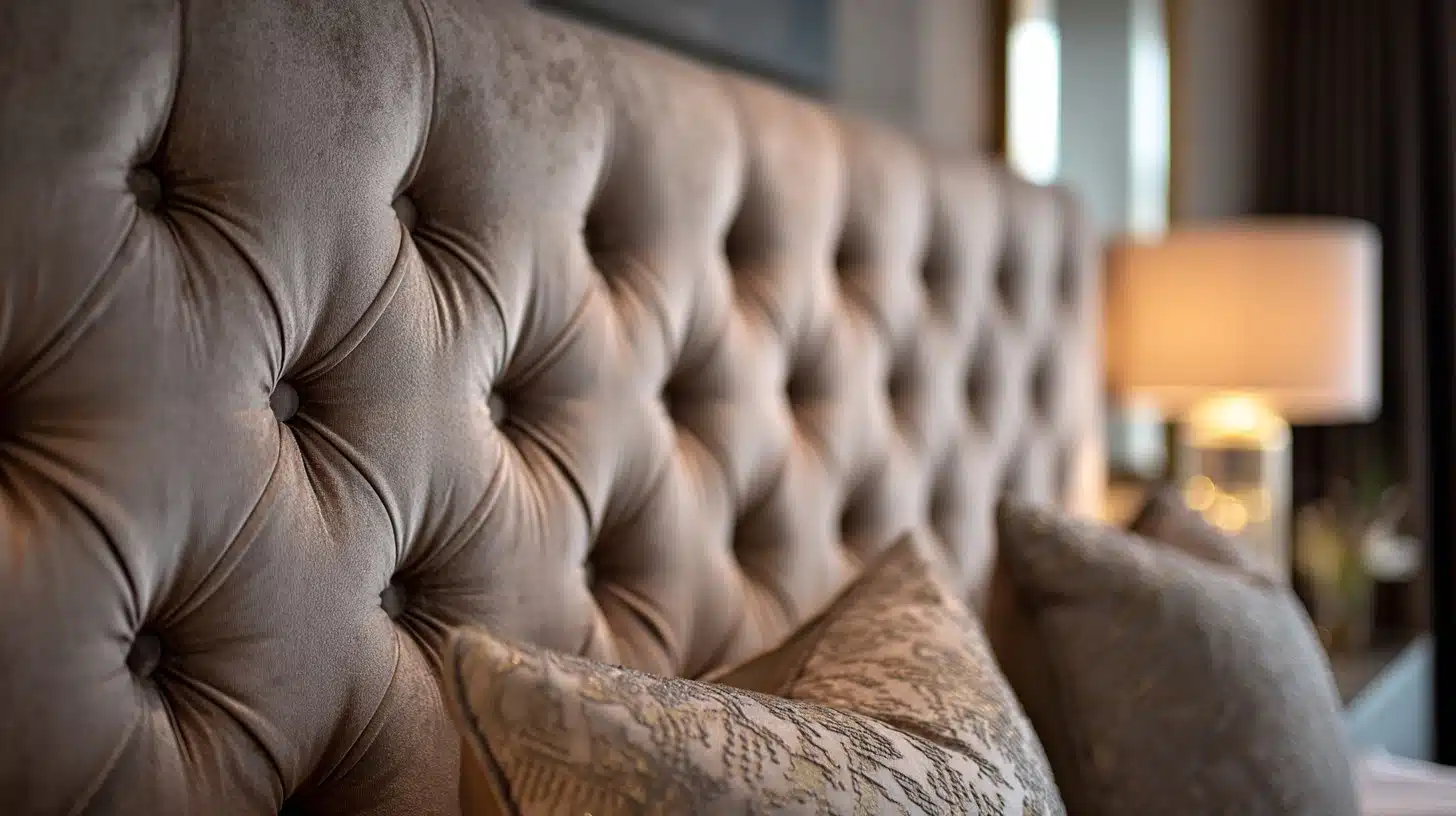
A tufted headboard adds a more refined, decorative look to the bed and requires a few additional materials, including buttons, a needle, strong thread, and a drill, as well as the step-by-step process below.
- Mark Tufting Points: Measure and mark evenly spaced points (typically 6–8 inches apart) on the board where the buttons will go for consistent tufting.
- Drill Holes: Drill holes through the board at each marked point. These holes will allow you to pull the buttons through.
- Add Foam, Batting & Fabric: Follow the same layering process as before: foam, then batting, then fabric.
- Insert Buttons: Thread buttons through the fabric and foam, pulling them tightly through the drilled holes. Secure them firmly at the back of the board.
- Finish & Install: Once all buttons are secured, mount the headboard using your preferred method.
A tufted headboard adds a refined, luxurious touch to your bedroom. With patience and the right steps, you can create a statement piece that beautifully enhances your space.
Essential Supplies & Your First Starter Kit
A DIY upholstered headboard project only requires a few basic tools and materials to get started. A staple gun, measuring tape, foam padding, batting, and durable upholstery fabric are enough for a simple panel design.
These essentials make it easy to create a clean, polished look without investing in expensive equipment.
If you want to try tufting later, you can expand your kit with buttons, strong thread, and a drill. For beginners, starting simple is the best approach.
Effort and Cost Comparison
Before choosing a DIY upholstered headboard style, it helps to compare the time, skill level, and budget required for each option.
A simple panel headboard is ideal for beginners who want a fast and affordable project, while a tufted headboard takes a bit more effort but delivers a more refined, luxurious finish.
| Method | Active Time | Total Time | Difficulty | Cost |
|---|---|---|---|---|
| Simple Panel | 2–4 hours | Same day | Easy | Low |
| Tufted | 4–6 hours | Same day | Medium | Medium |
If you want a quick, budget-friendly project with minimal complexity, a simple panel headboard is the best choice.
If your goal is a more premium, designer-inspired look, a tufted headboard is worth the extra time and cost.
Getting Started with Your DIY Headboard
Creating an upholstered headboard is a simple way to give the bedroom a more polished and personalized look. A clean, modern panel design or a decorative tufted style can combine comfort, function, and style in one custom piece.
It also offers a practical upgrade without the higher cost of store-bought options.
For beginners, starting with a basic design helps build confidence and achieve professional-looking results. With more experience, different fabrics, shapes, and details can be explored to create a unique finish.
The final result is a custom headboard that enhances the bedroom and reflects personal style. Ready to begin? Gather materials and start creating a DIY upholstered headboard today.
Frequently Asked Questions
Can You Make An Upholstered Headboard Without Power Tools?
Yes, you can. If the board is pre-cut at a hardware store, a manual staple gun, scissors, measuring tape, and fabric are enough for a simple DIY headboard.
How Much Fabric Do You Need For An Upholstered Headboard?
Choose enough fabric to cover the front, wrap around the edges, and staple securely at the back. Adding extra inches on all sides helps prevent fitting issues.
What Type Of Foam Is Best For An Upholstered Headboard?
High-density upholstery foam works best because it provides support, comfort, and a fuller appearance. It helps the headboard keep its shape while making it more comfortable.
How Do You Keep An Upholstered Headboard Clean?
Vacuum it regularly using a soft brush attachment to remove dust. For stains, spot-clean gently with a fabric-safe cleaner, and always check care instructions first.