

Your mattress harbors millions of dust mites, bacteria, and dead skin cells that trigger allergies and disrupt sleep quality.
The average mattress contains more germs than a toilet seat, yet most people never clean it properly.
This creates a breeding ground for harmful microorganisms that affect your health every night.
This complete guide shows professional sanitization methods that eliminate 99.9% of germs, dust mites, and allergens from your mattress.
You’ll learn natural and chemical-based techniques, targeted stain removal strategies, and maintenance schedules that keep your sleeping surface fresh and hygienic.
Why Mattress Hygiene Matters
Maintaining a clean mattress goes far beyond simple housekeeping; it directly impacts your health, comfort, and wallet.
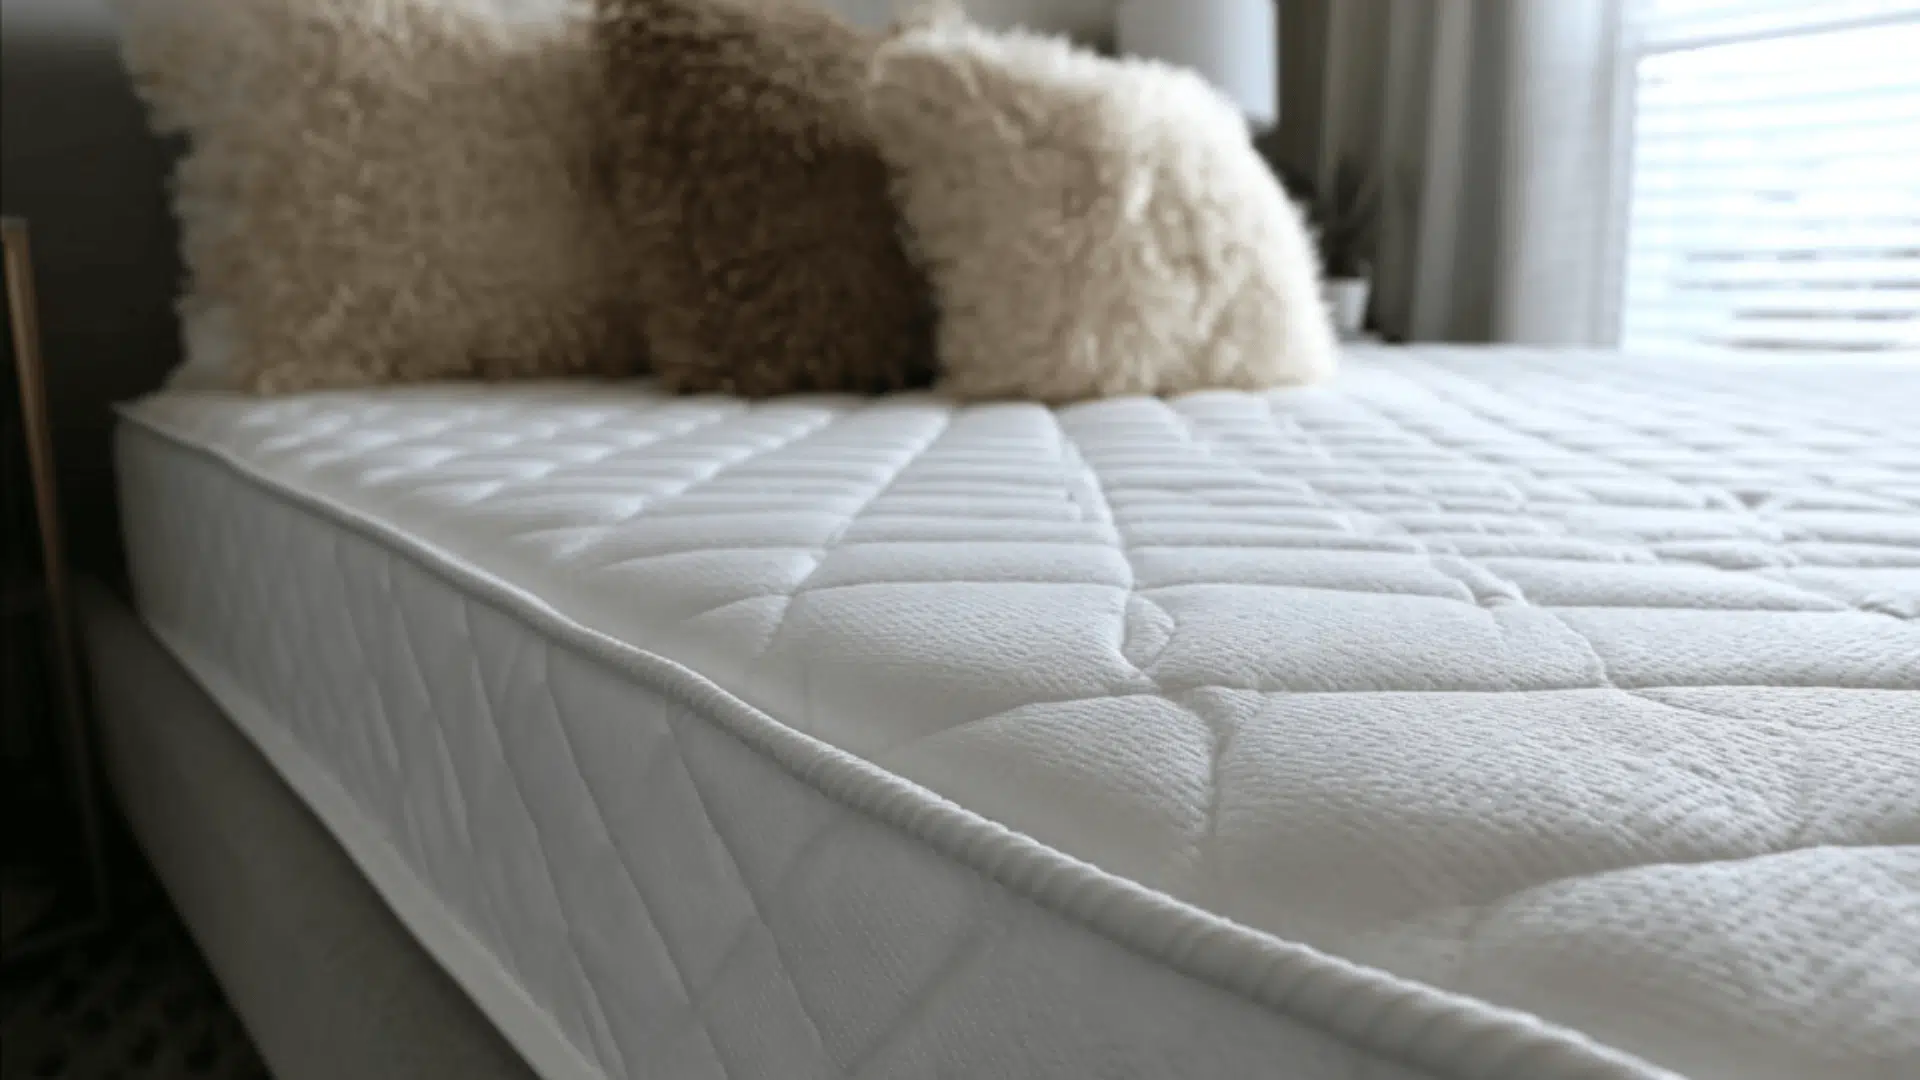
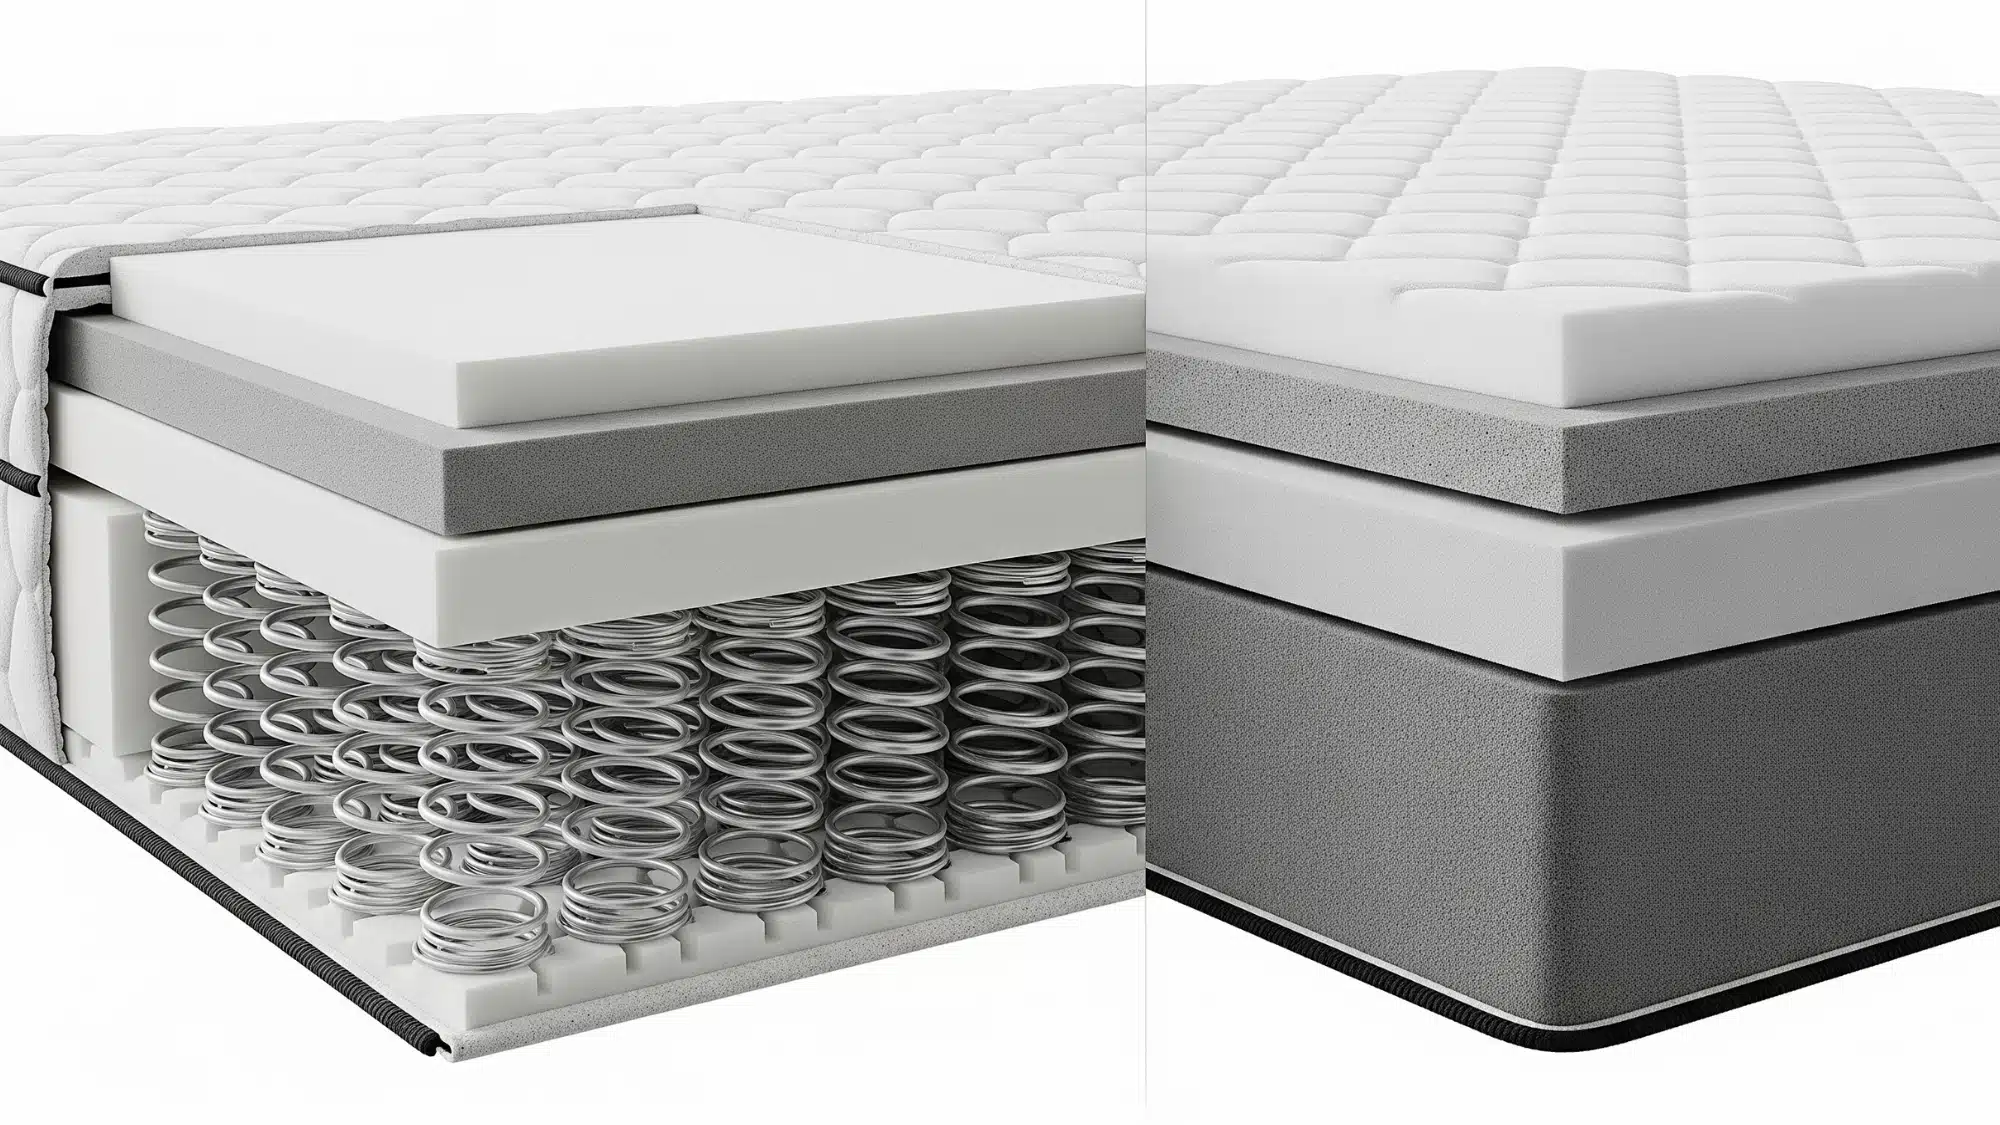
A typical mattress collects dead skin cells, sweat, dust mites, bacteria, and allergens over time.
Without regular cleaning, these accumulations can lead to respiratory issues, skin irritation, and poor sleep quality.
The average person loses about 1.5 liters of sweat each night, creating the perfect breeding ground for dust mites and bacteria.
These microscopic creatures thrive in warm, humid environments and can trigger allergies, asthma, and other respiratory problems. Proper mattress hygiene also extends your mattress’s lifespan significantly.
Regular cleaning prevents the buildup of oils and moisture that break down materials over time, protecting your investment and ensuring years of comfortable sleep.
Step-by-Step Guide to Disinfecting Your Mattress
Follow these systematic steps to thoroughly sanitize your mattress and eliminate harmful bacteria, dust mites, and odors.
Step 1: Strip and Wash All Bedding
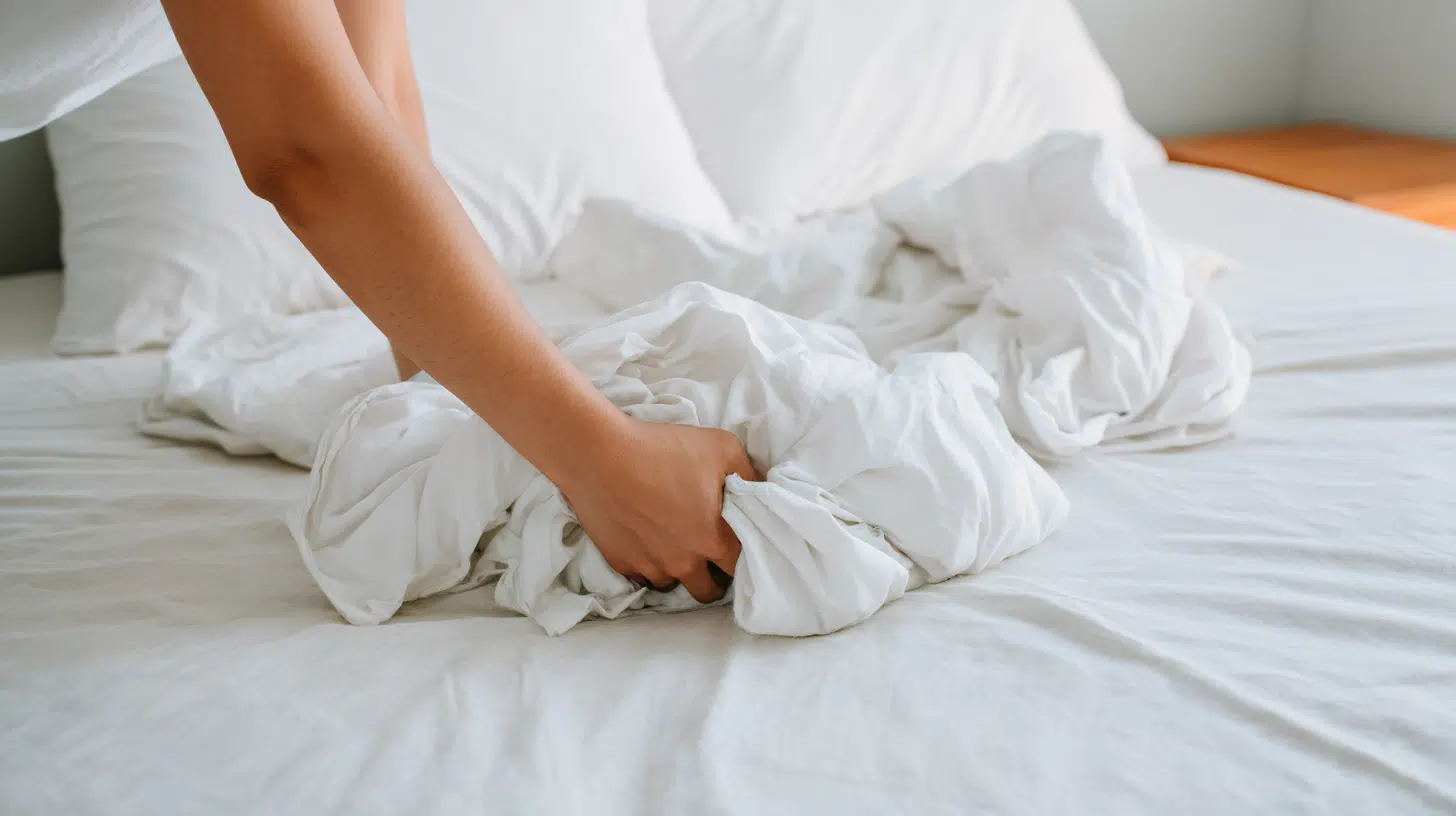
Remove all sheets, pillowcases, mattress covers, and blankets from your bed. Wash everything in hot water at temperatures of 130°F (54°C) or higher.
Use your regular laundry detergent and add a cup of white vinegar to the wash cycle for additional sanitizing power. The high heat, combined with proper detergent, will eliminate most allergens and bacteria.
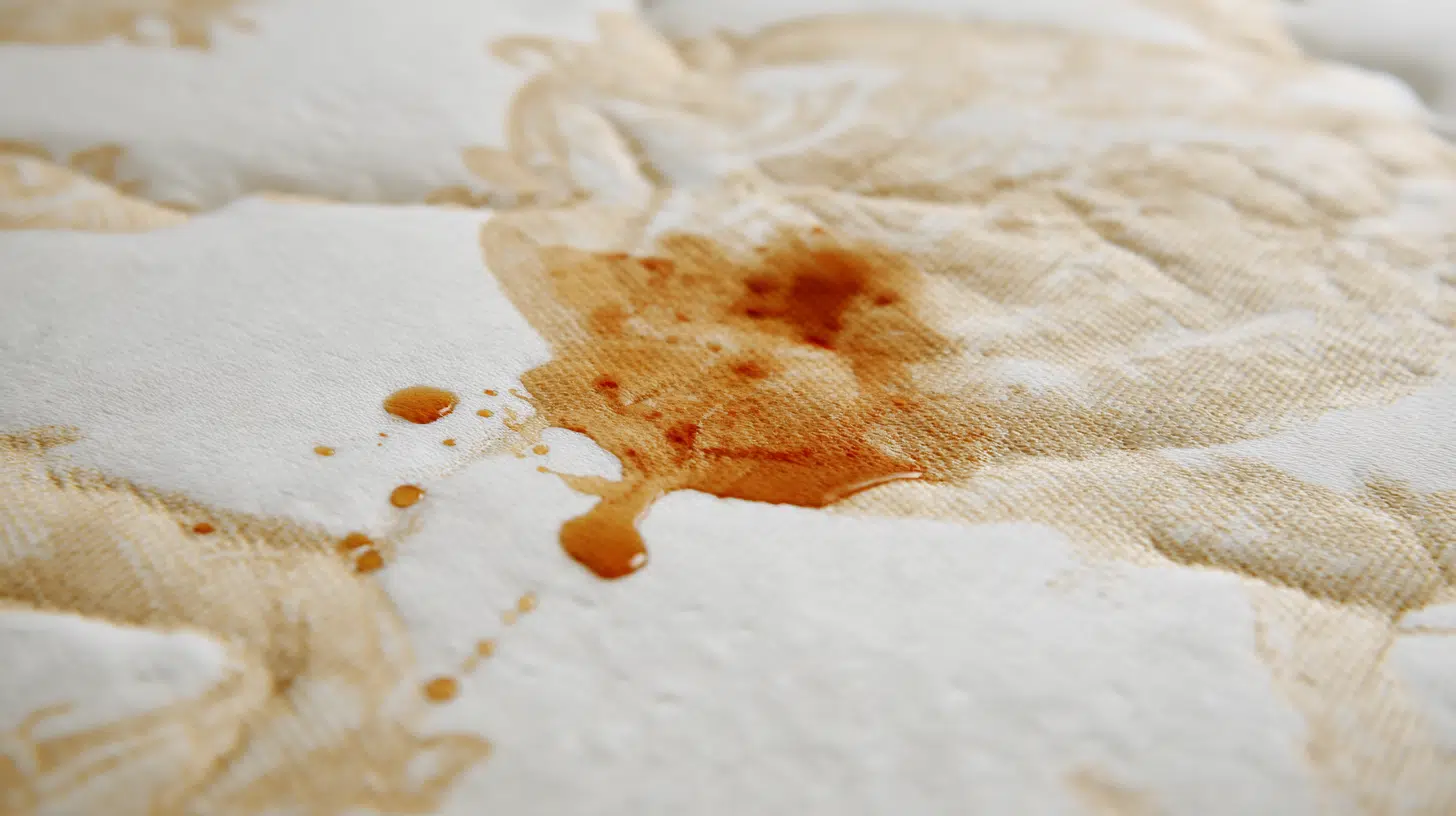
Step 2: Inspect Your Mattress Thoroughly
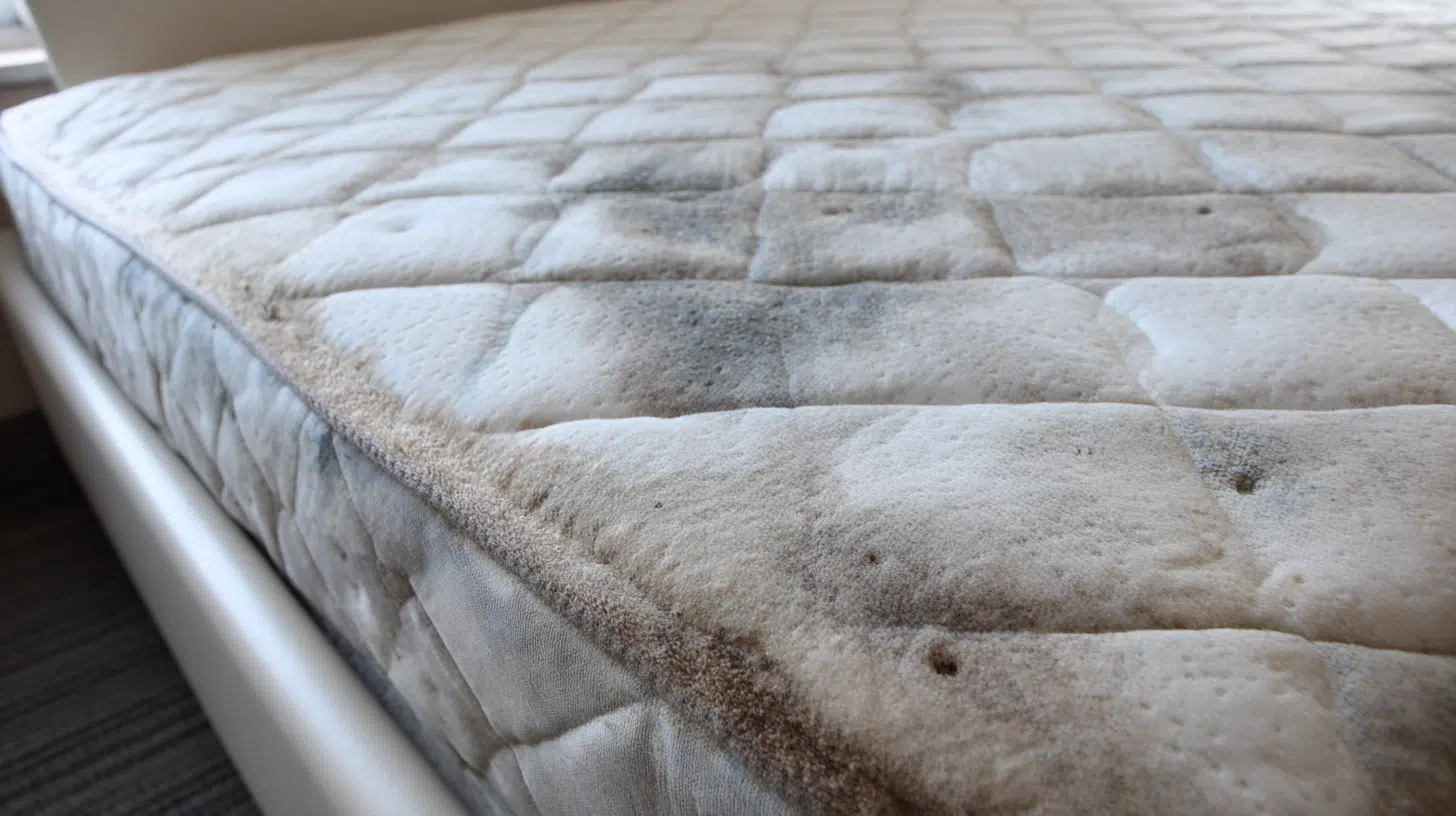
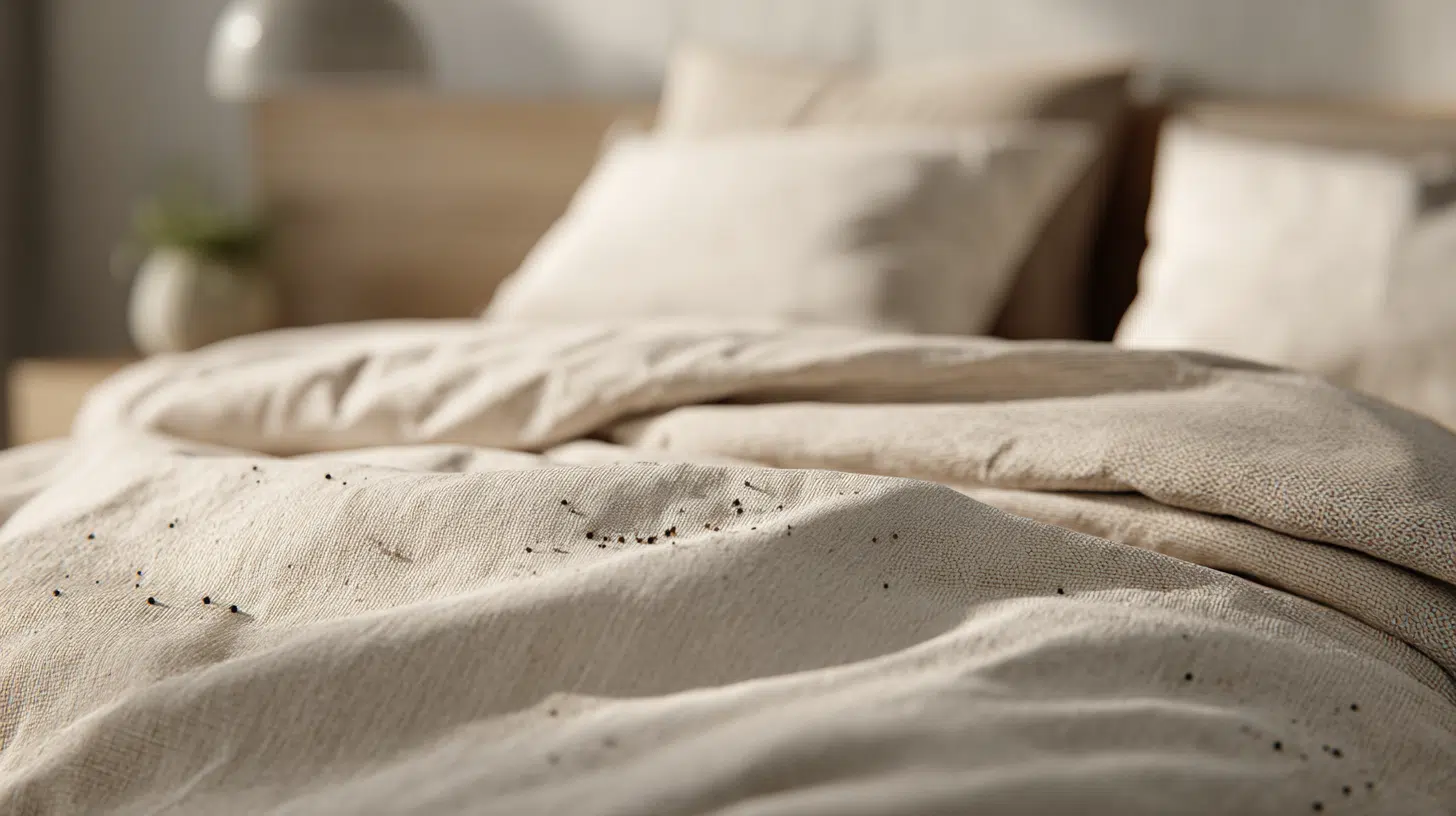
Before beginning the cleaning process, examine your mattress carefully for stains, odors, signs of wear, or pest activity. Look for:
- Discolored spots or stains
- Unusual odors
- Small dark spots that might indicate bed bugs
- Sagging or damaged areas
- Any tears in the fabric
Take photos of any damage you find, as these may be useful for warranty claims later. This inspection also helps you identify areas that need special attention during cleaning.
Step 3: Vacuum the Entire Surface
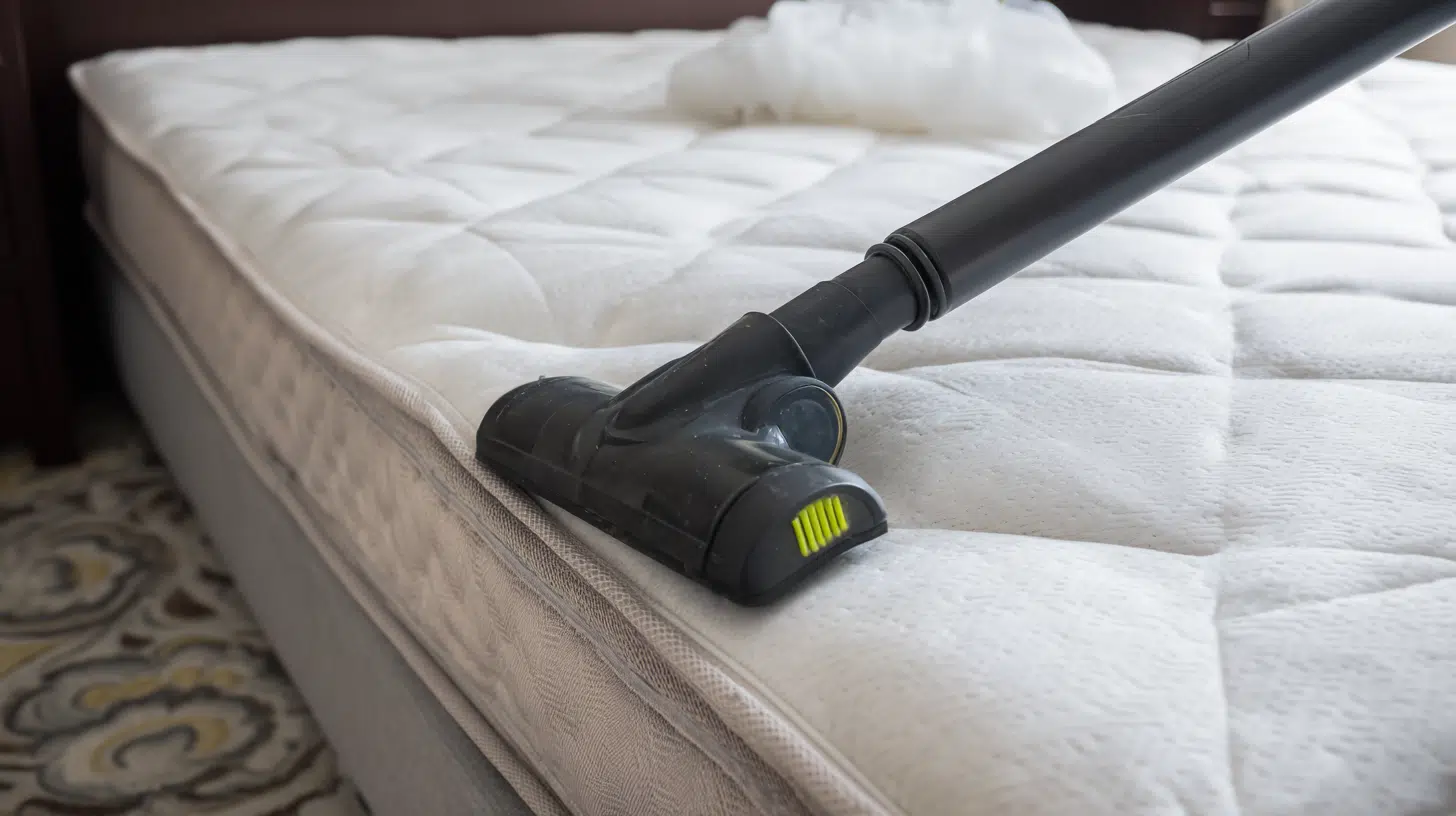
Using your vacuum cleaner’s upholstery attachment, thoroughly vacuum the entire mattress surface. Pay special attention to seams, crevices, and edges where dust, dead skin cells, and allergens tend to accumulate.
Work in overlapping strokes to ensure complete coverage. Don’t forget to vacuum the sides and head of the mattress.
For best results, use a vacuum with HEPA filtration, which captures smaller particles and allergens more effectively than standard filters.
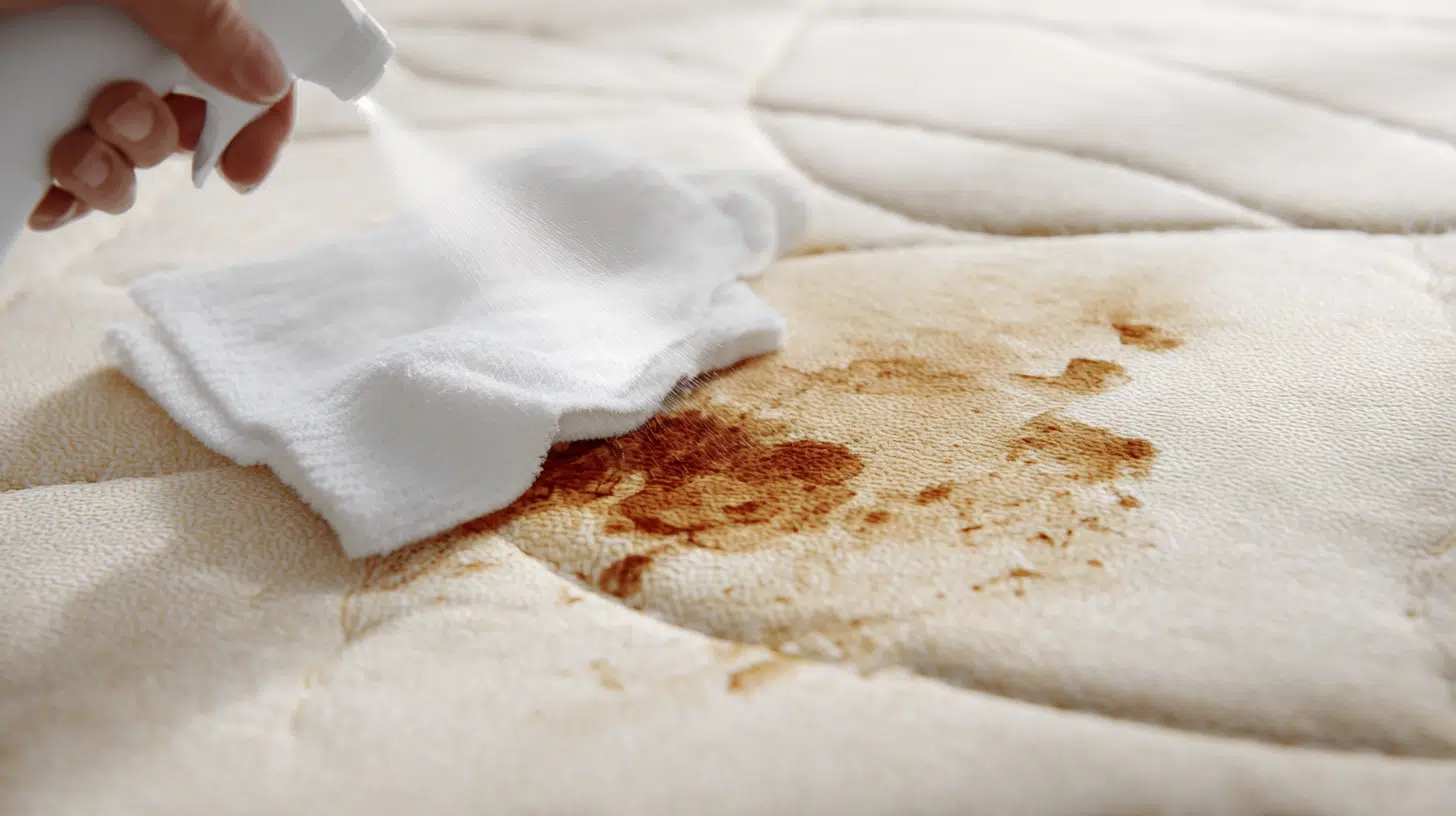
Step 4: Treat Stains Individually
Address any stains you identified during your inspection using appropriate cleaning methods.
Different types of stains require different approaches, which we’ll cover in detail in the spot cleaning section below.
Step 5: Apply Your Chosen Sanitization Method
Select one of the sanitization methods detailed in the next section based on your mattress type and personal preferences.
Regardless of whether it is a natural or chemical-based method, ensure complete coverage for maximum effectiveness.
Step 6: Allow Complete Air Drying
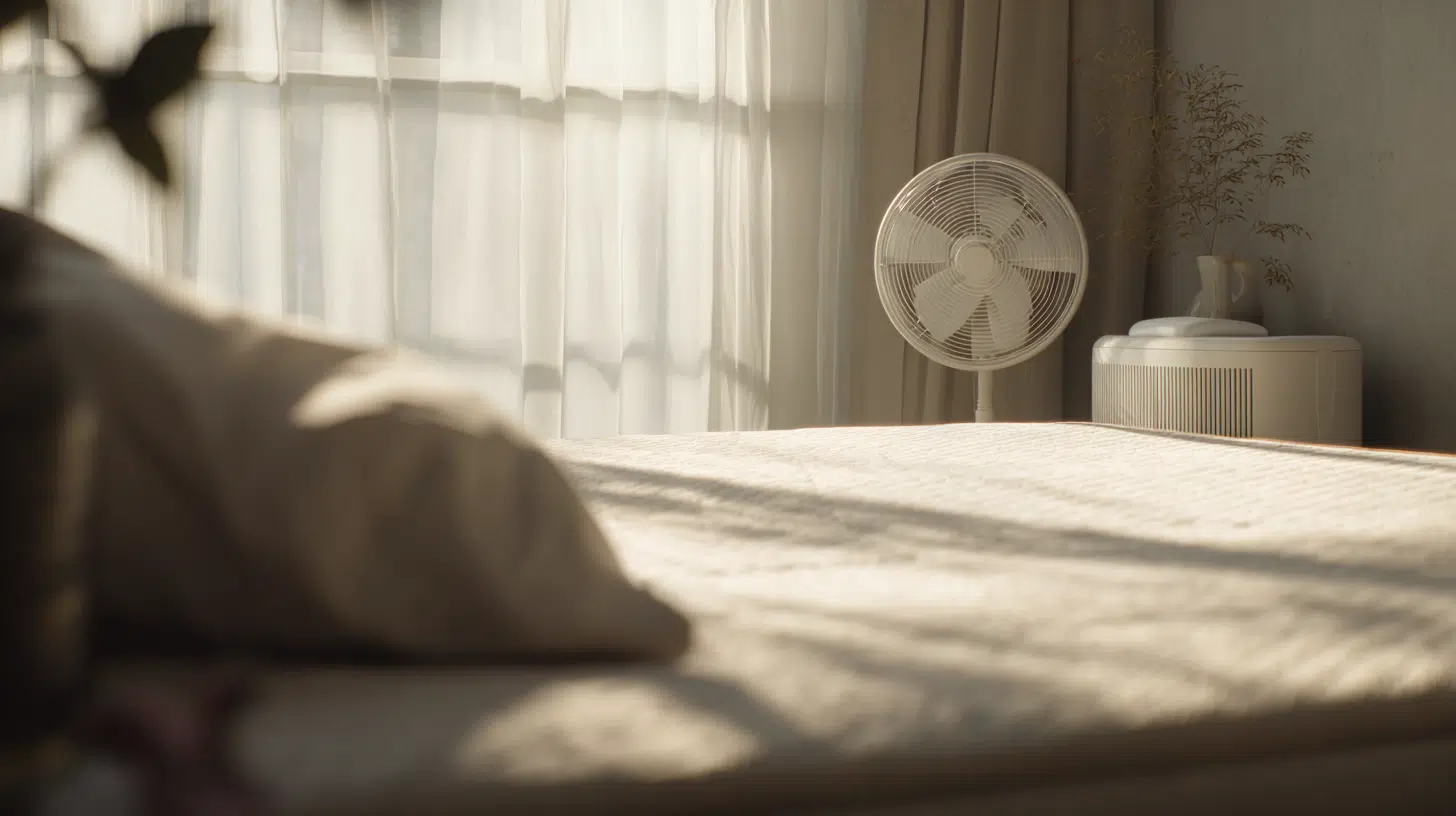
This final step is crucial; never remake your bed on a damp mattress. Allow your mattress to air dry completely, which typically takes 4-8 hours, depending on humidity and airflow.
Open windows, use fans, or run a dehumidifier to speed the drying process. Proper drying prevents mold and mildew growth, which can create new health problems and odors.
Different Methods to Sanitize and Disinfect a Mattress
Choose the sanitization method that best fits your mattress type, available supplies, and personal preferences. Each method has specific advantages for different situations.
Natural Disinfection Methods
These environmentally friendly approaches use common household items and natural processes to sanitize your mattress effectively.
- Steam Cleaning: High-temperature steam kills germs naturally without chemicals. Hold the steamer 6-8 inches away and avoid it on memory foam or latex mattresses.
- Sunlight Exposure: Place the mattress outdoors for 4-6 hours on a sunny day for natural UV disinfection. Flip halfway through for complete treatment on both sides.
- Baking Soda Treatment: Sprinkle a generous amount evenly across the surface to absorb odors and moisture. Let sit 2+ hours (overnight is best), then vacuum thoroughly.
- White Vinegar Solution: Mix equal parts vinegar and water in a spray bottle for a natural bacteria-killing solution. Lightly mist the surface without soaking for general sanitization.
Chemical-Based Sanitization
These methods use commercially available products or common household chemicals for more aggressive sanitization when natural methods aren’t sufficient.
- Hydrogen Peroxide Solution: Mix equal parts 3% hydrogen peroxide and water for effective stain removal and disinfection. Test on an inconspicuous area first, as it can bleach some fabrics.
- Enzyme Cleaners: Particularly effective against protein-based stains like blood, sweat, and urine by breaking down organic matter. Apply according to package directions and let sit 10-15 minutes before blotting.
- Commercial Antibacterial Sprays: Fabric-specific disinfectants like Lysol provide broad-spectrum sanitization for upholstery. Always follow label directions and ensure adequate ventilation when using.
- Cornstarch and Baking Soda Combination: Mix equal parts for enhanced odor absorption and moisture control from oils and greasy residues. Apply like a baking soda treatment and let sit for several hours before vacuuming.
Using a Mattress Protector: Your Best Defense
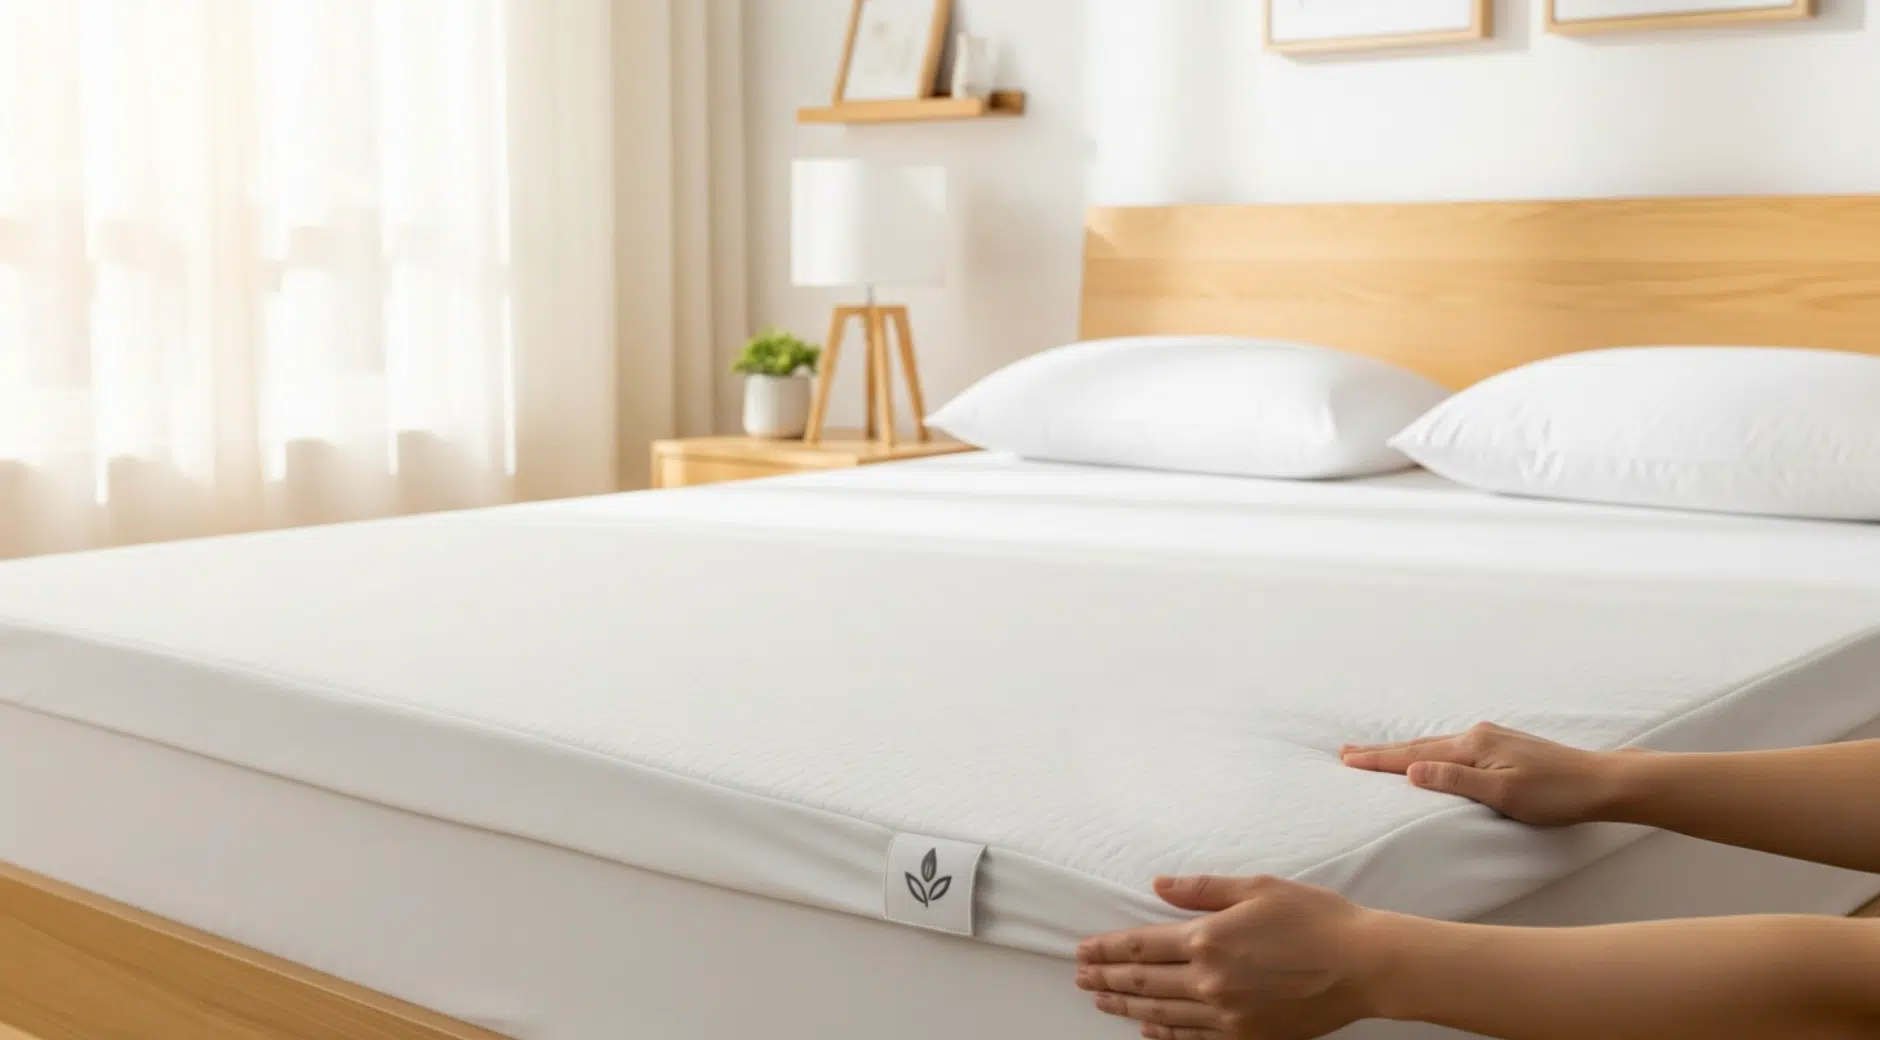
A quality mattress protector serves as your most effective defense against spills, stains, dust mites, and allergens.
Modern protectors offer waterproof protection while remaining breathable and comfortable. They’re machine washable weekly, making maintenance far easier than deep cleaning your mattress.
Most importantly, many mattress warranties require protector use to maintain coverage; stains can void warranties entirely.
Look for protectors that balance waterproofing with breathability, wash them according to care instructions, and keep purchase records for warranty purposes.
This small investment protects your much larger mattress investment while dramatically reducing cleaning needs.
How to Remove Spot Stains & Clean in Specific Situations
Different types of stains require targeted approaches for effective removal. Here’s how to handle the most common mattress stains and specific cleaning situations.
1. General Stain Removal Principles
Always address stains as quickly as possible; fresh stains are much easier to remove than set-in ones. Blot rather than rub stains to avoid pushing them deeper into the mattress fibers.
Use cold water for most stains, as hot water can set protein-based stains permanently. Work from the outside of the stain toward the center to prevent spreading.
Apply cleaning solutions to a cloth rather than directly to the mattress to control moisture levels. Excess moisture can lead to mold and mildew problems inside the mattress.
2. DIY Remedies for Common Stains
Different types of stains require targeted approaches for effective removal. Address stains quickly using these proven methods for the most common mattress stains.
- Sweat/Urine Stains: Mix hydrogen peroxide with baking soda to create a paste. Apply for 30 minutes, then vacuum. For persistent odors, follow with enzyme cleaner.
- Food/Drink Spills: Use an equal parts vinegar and water solution to neutralize stains. Blot thoroughly, then apply baking soda to absorb remaining moisture and odors.
- Blood Stains: Apply hydrogen peroxide directly (never hot water). Let foam for a few minutes, then blot. For older stains, create a paste with hydrogen peroxide and meat tenderizer.
3. Used Mattress Cleaning
If you’re cleaning a used mattress, take extra precautions to ensure it’s safe and sanitary. Inspect carefully for signs of bed bugs, including dark spots, reddish stains, or sweet musty odors.
Air out the mattress in direct sunlight for several hours if possible, then vacuum thoroughly before applying your chosen sanitization method.
Consider using a more aggressive approach, like steam cleaning or commercial disinfectants, for used mattresses.
Follow up with a complete sanitization protocol, including baking soda treatment and proper drying time. Consider having a professional inspect for bed bugs if you have any concerns.
Keeping Your Mattress Smelling Fresh
Maintaining long-term freshness requires ongoing care beyond deep cleaning sessions. These strategies help prevent odors from developing in the first place.
| Frequency | Task | Purpose |
|---|---|---|
| Weekly | Strip the bed and air out the mattress for a few hours | Prevents moisture buildup and allows trapped odors to dissipate |
| Weekly | Change and wash bedding in hot water | Kills bacteria and dust mites, prevents contamination transfer |
| Monthly | Apply the baking soda treatment | Preventive odor control, even when the mattress doesn’t smell bad |
| Quarterly | Rotate mattress | Ensures even wear and prevents odor concentration in specific areas |
| As needed | Use natural deodorizing sprays (water + essential oils) | Antimicrobial properties with pleasant, natural scents |
| Ongoing | Maintain bedroom humidity at 30-50% | Prevents mold, mildew growth, and discourages dust mites |
| Ongoing | Ensure good air circulation with fans/open windows | Prevents stagnant air that allows odors and moisture to accumulate |
Note: Consistency is key to mattress freshness. These preventive measures are more effective and easier than dealing with major odor or contamination problems later.
Conclusion
Regular mattress sanitization is an investment in your health, sleep quality, and mattress longevity.
Choose sanitization methods that work with your mattress type and personal preferences, whether you prefer natural approaches or commercial products.
Remember that mattress protectors make ongoing maintenance much easier while protecting your investment.
Combined with regular cleaning and proper bedroom environment control, these strategies ensure your mattress remains clean, comfortable, and supportive for years to come.
Start implementing these practices today, and you’ll immediately notice improvements in sleep quality and bedroom freshness. Share in the comments below how these strategies worked for you!